reconfiguring
Through the process of deconstructing and defamiliarising, the screen has been taken apart and its functions challenged. Experiments that fall under the theme reconfiguring are about putting the screen back together and resetting screen practice.
Configure the screen differently:
Repurposing:


Meta-study:
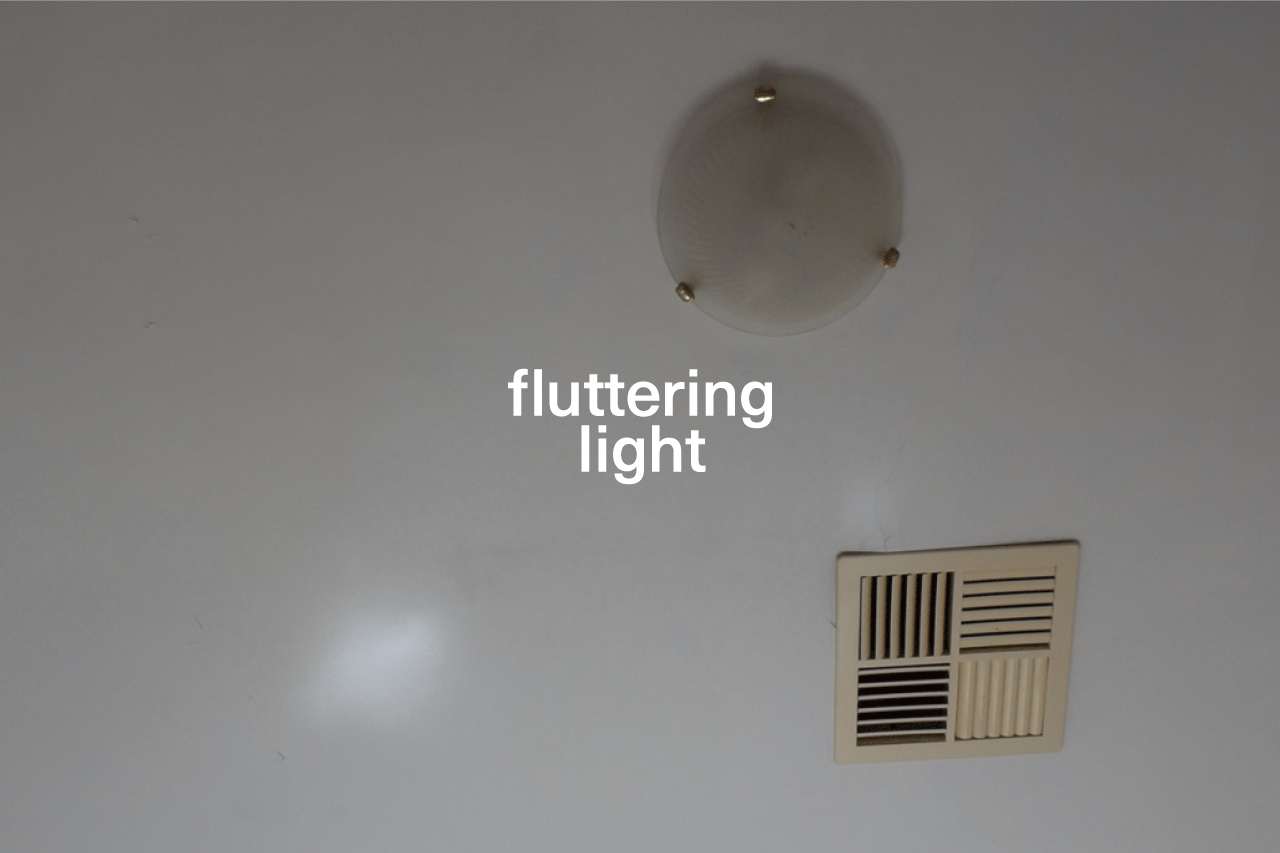
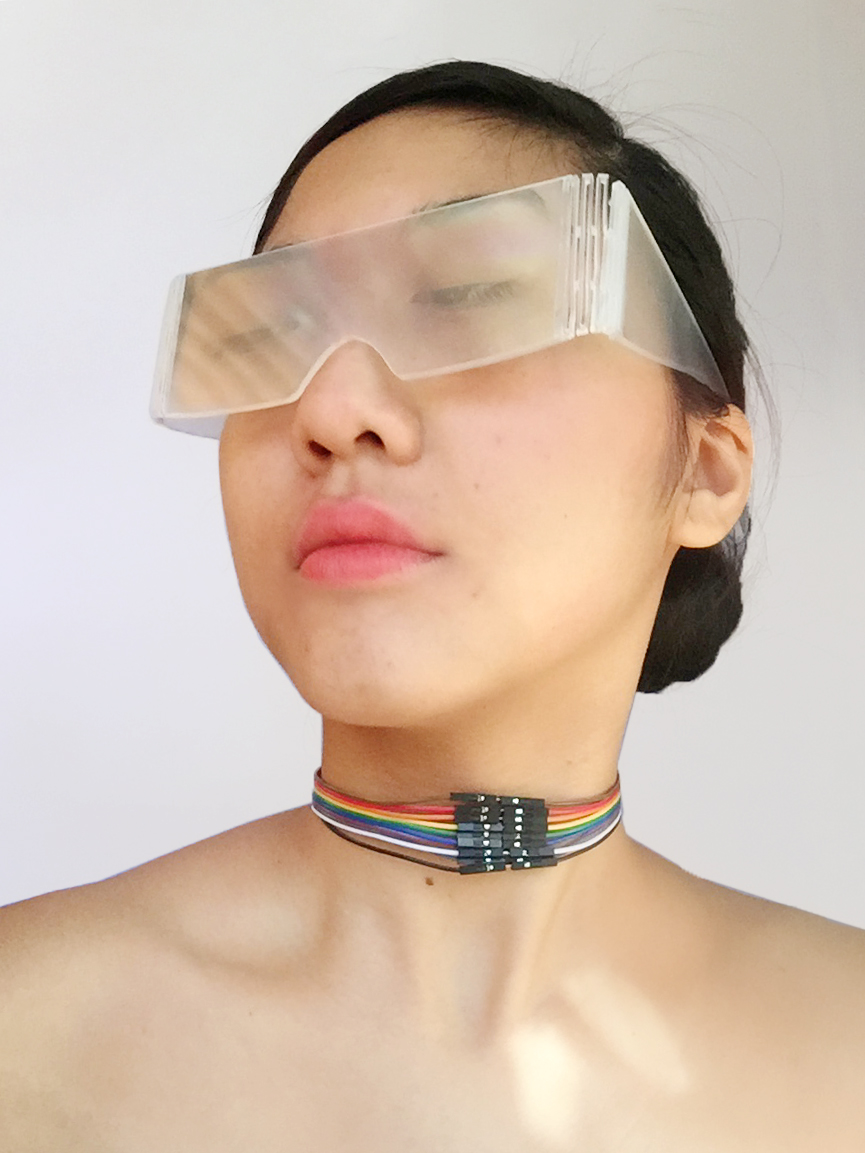
accessory
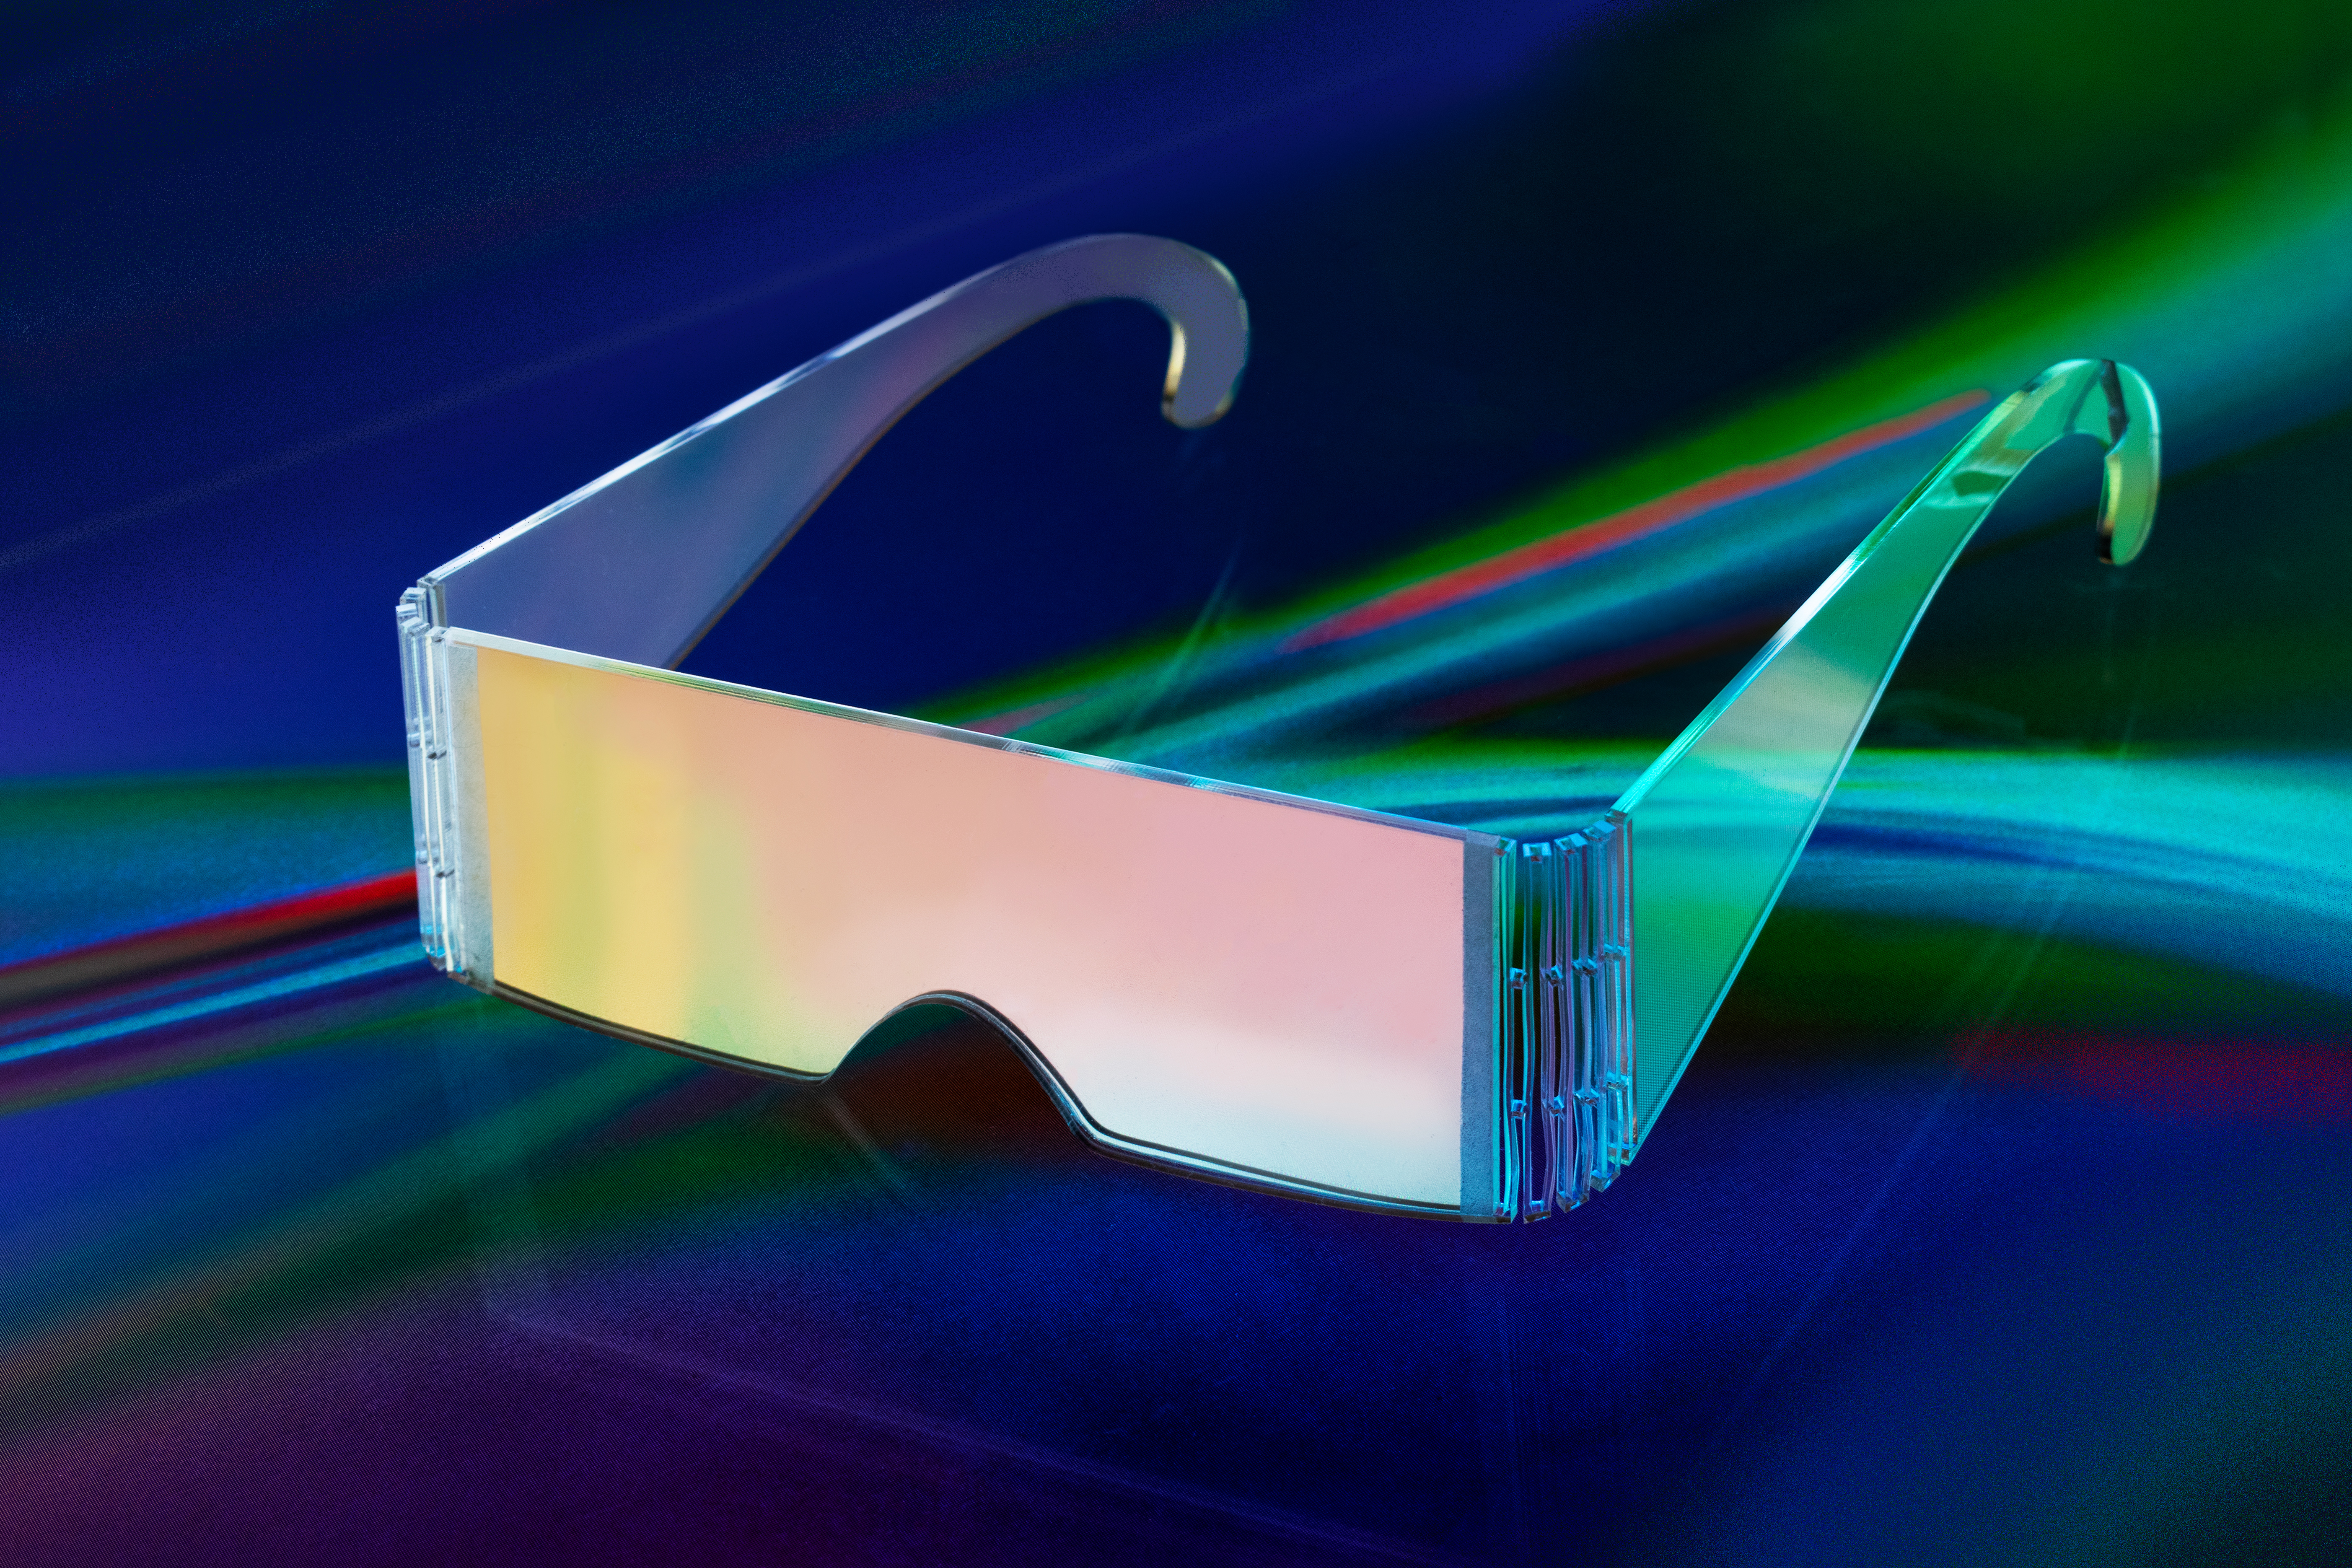
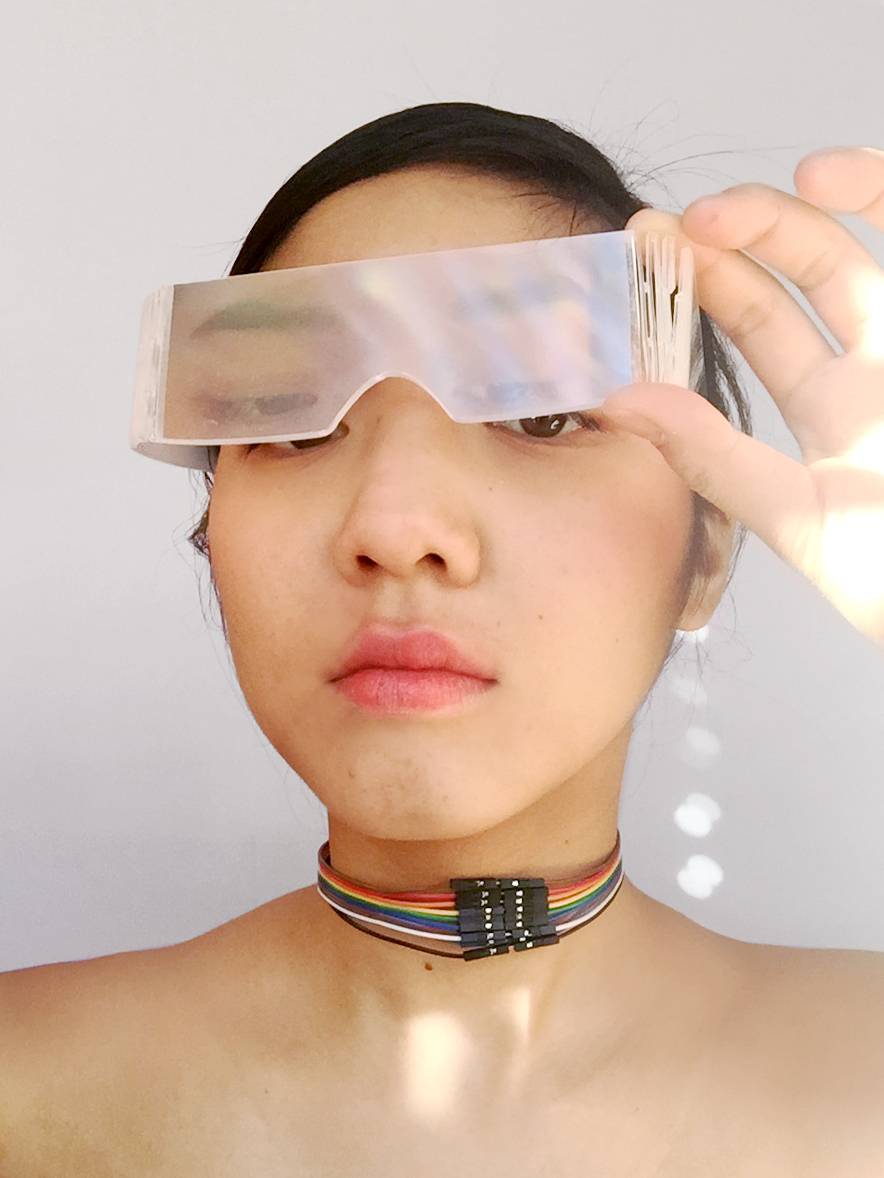
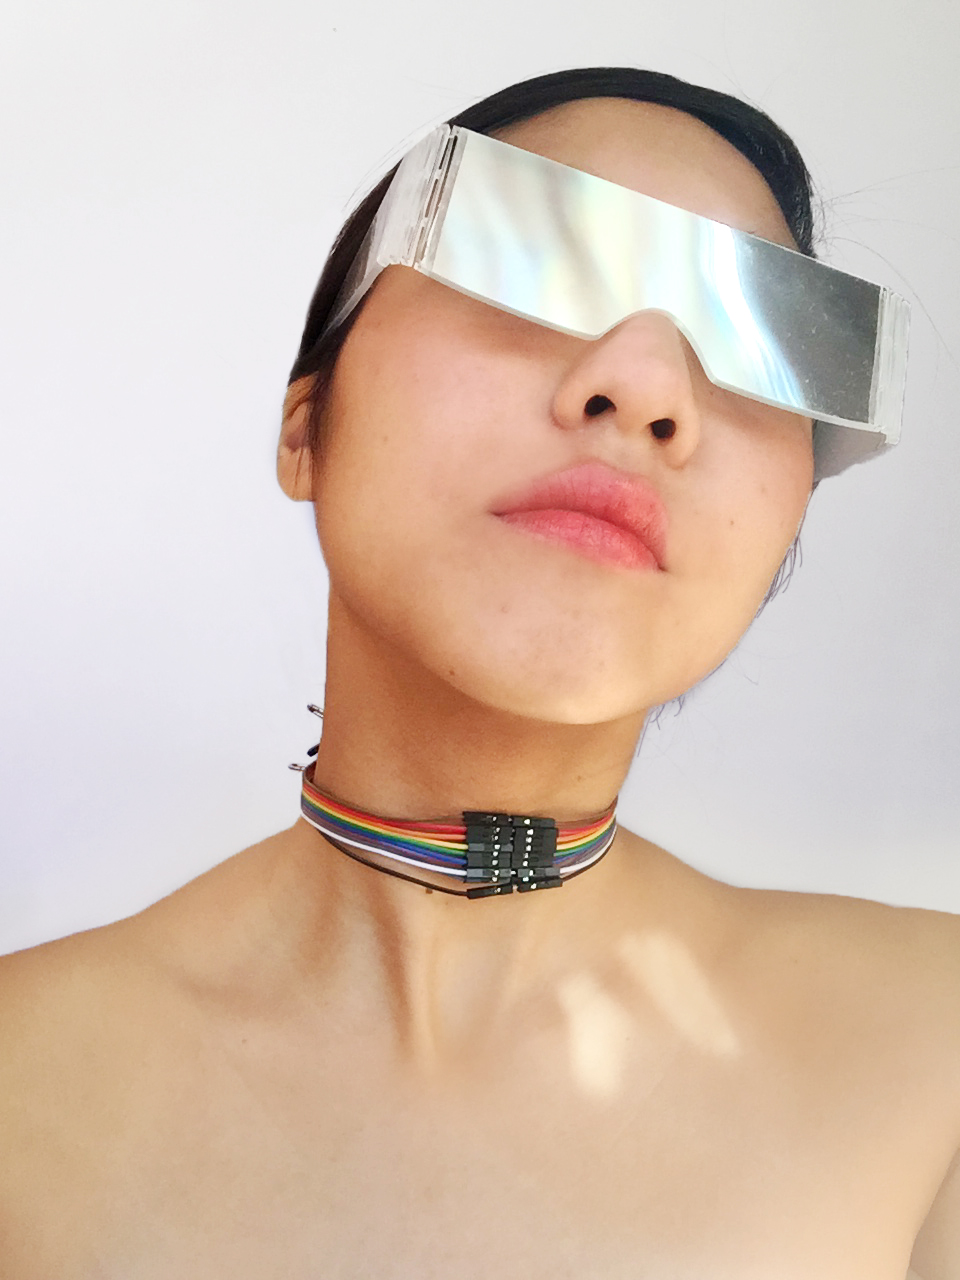
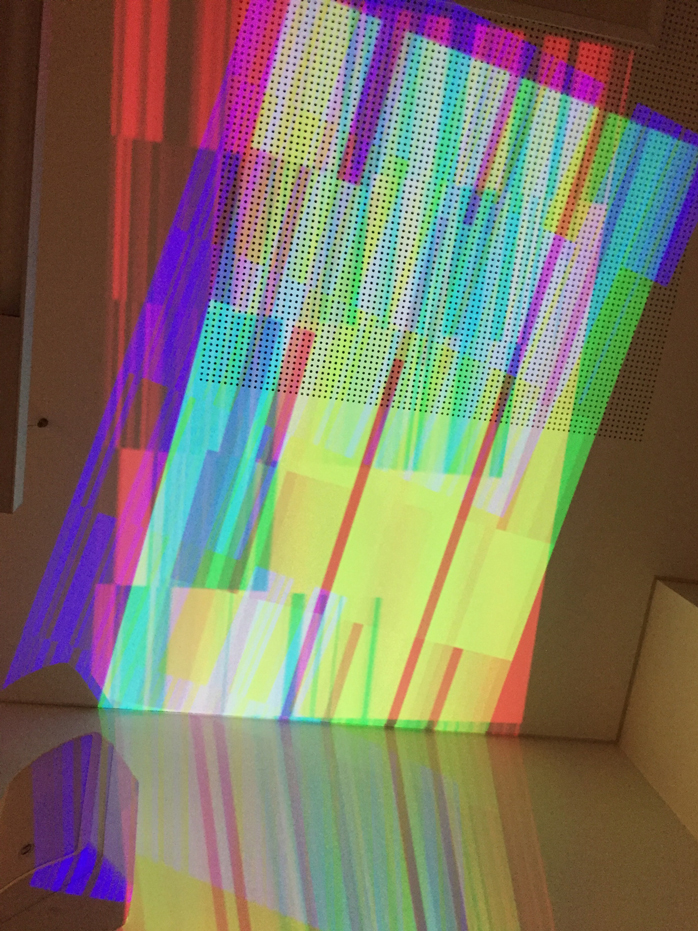
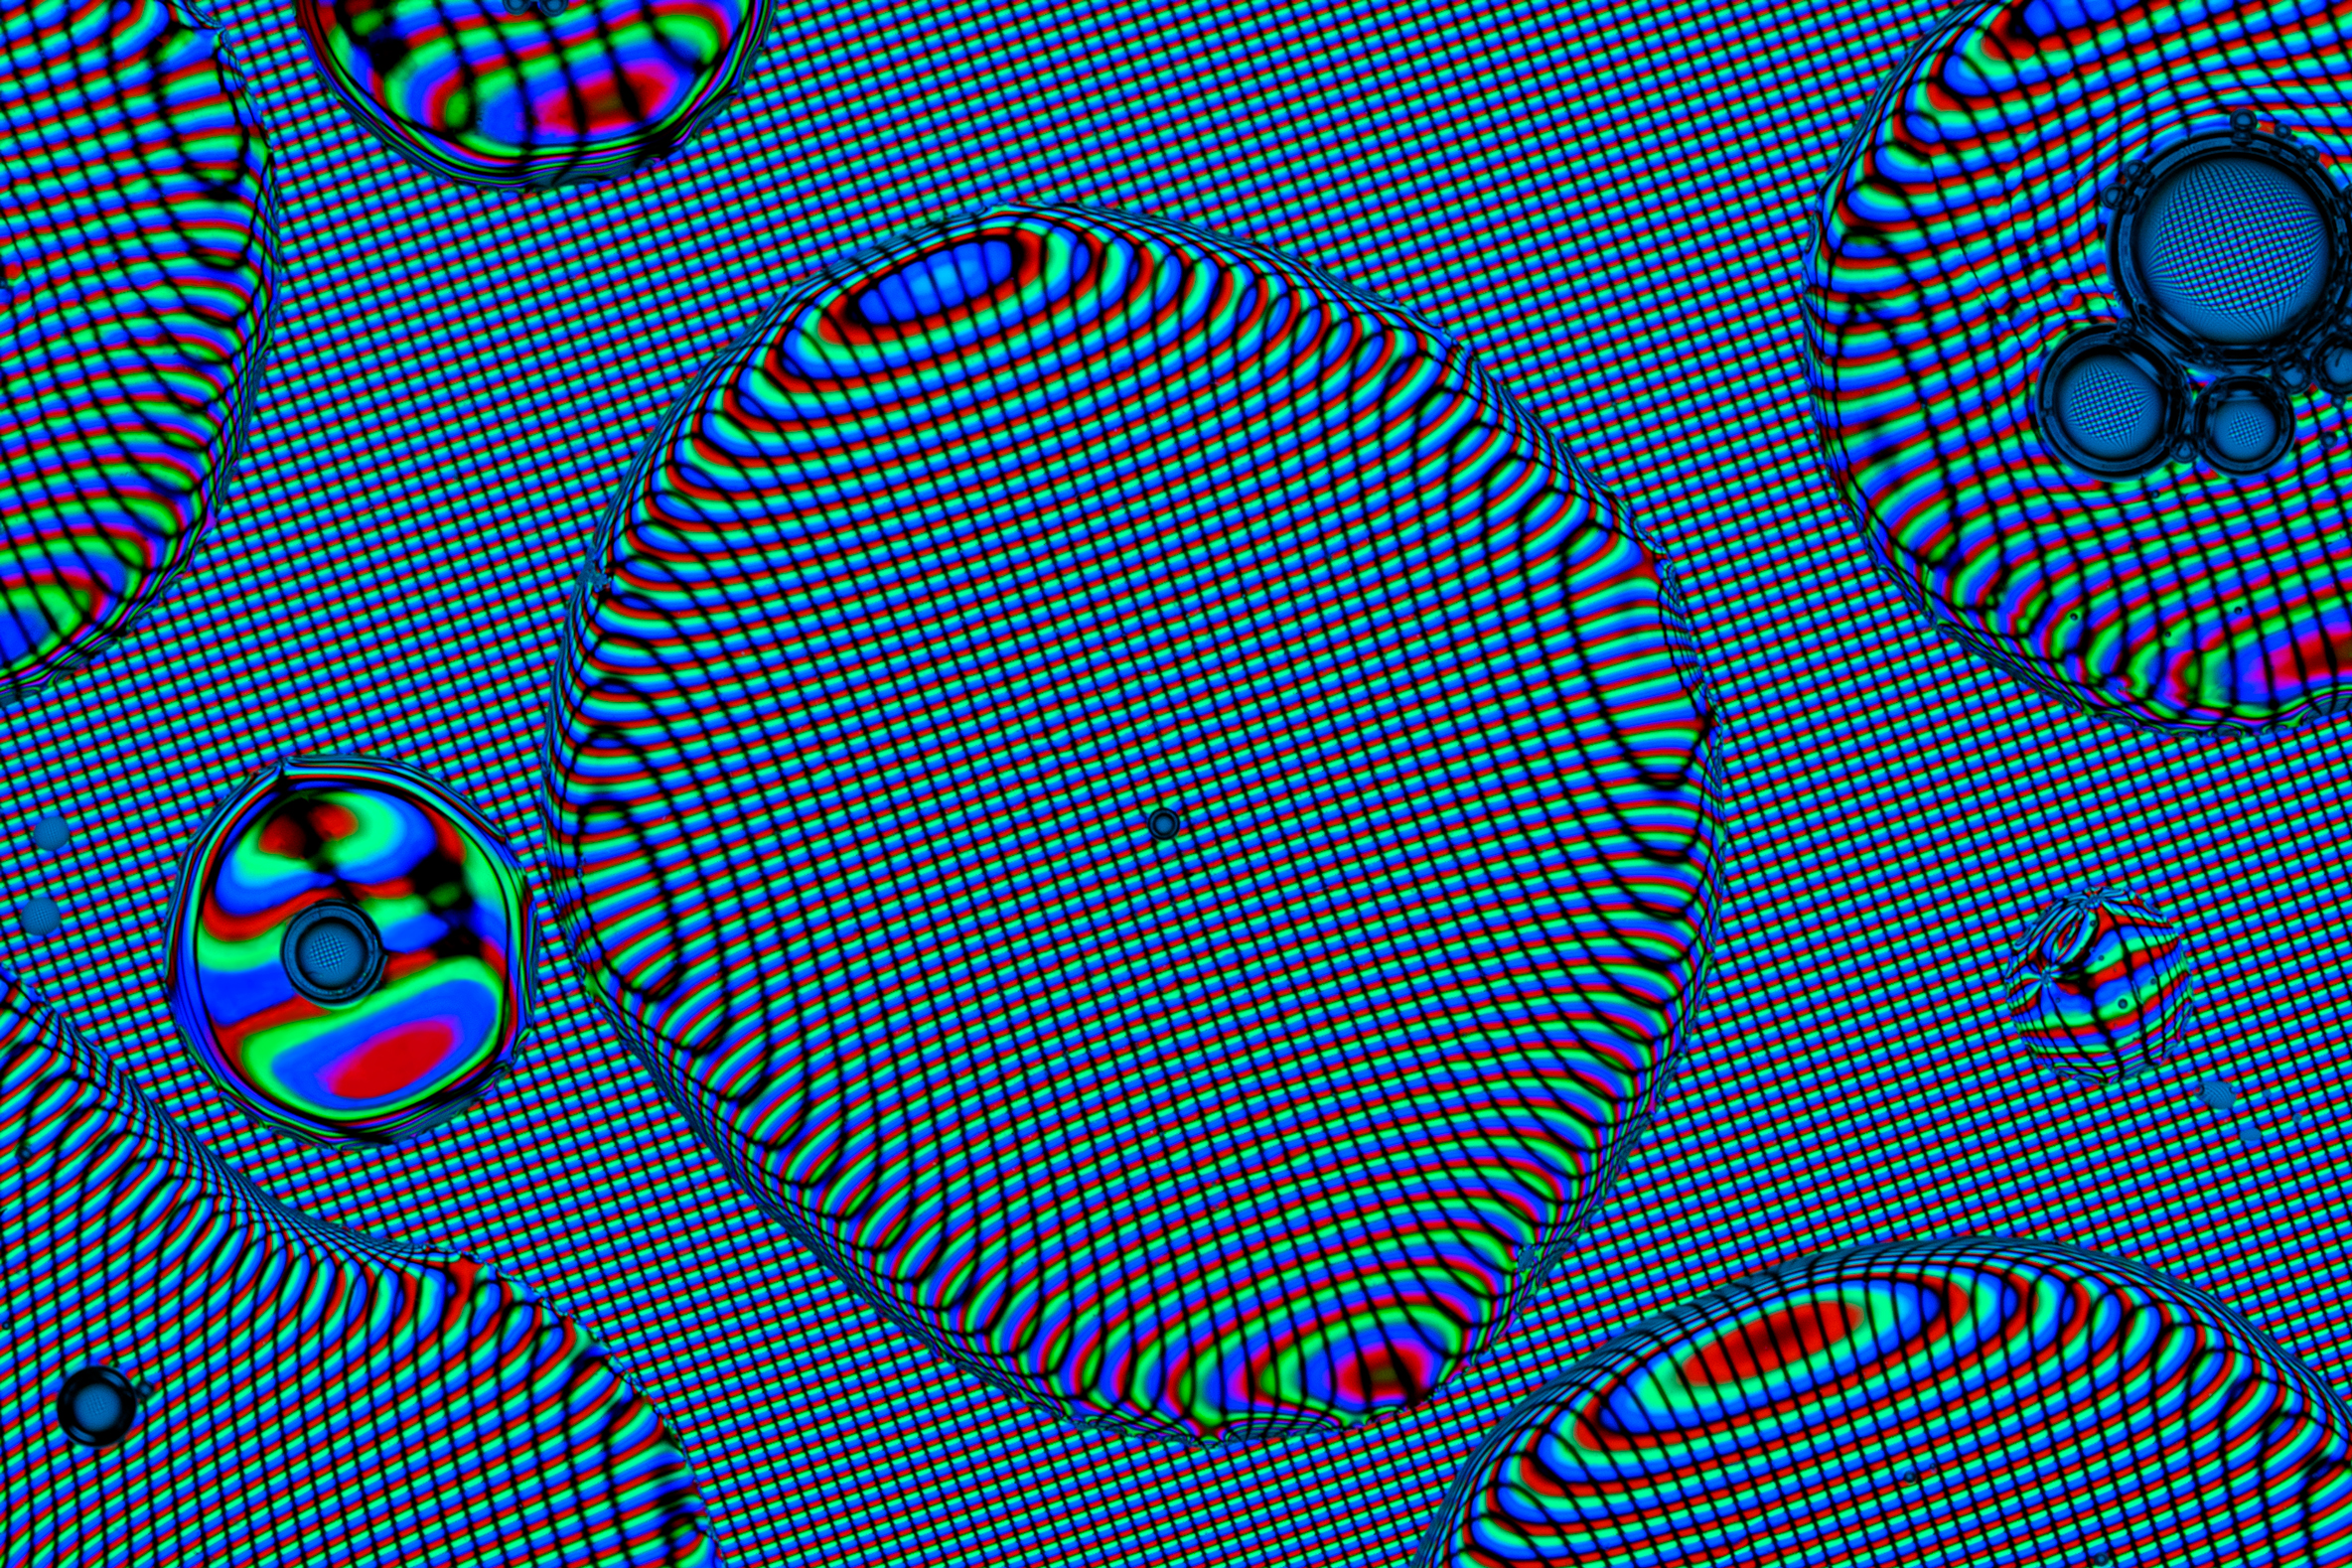
Coming out of Screen as itself, the diffraction layer continues to be one of the most amusing of the screen filter layers. To look through the plastic is to look through the screen onto a distorted world. In this experiment, I created a pair of glasses with this filter as the lens. Is this an alternative screen? Is this how the inside seems? What other wearable accessories emerge?
Components
Diffraction layer
The idea to design glasses emerged when I took a screen apart in class. Fellow students were fascinated with the plastic layers and naturally brought them up to their eyes like a lens. For the user, they see a warped world, while onlookers see an amusingly distorted face.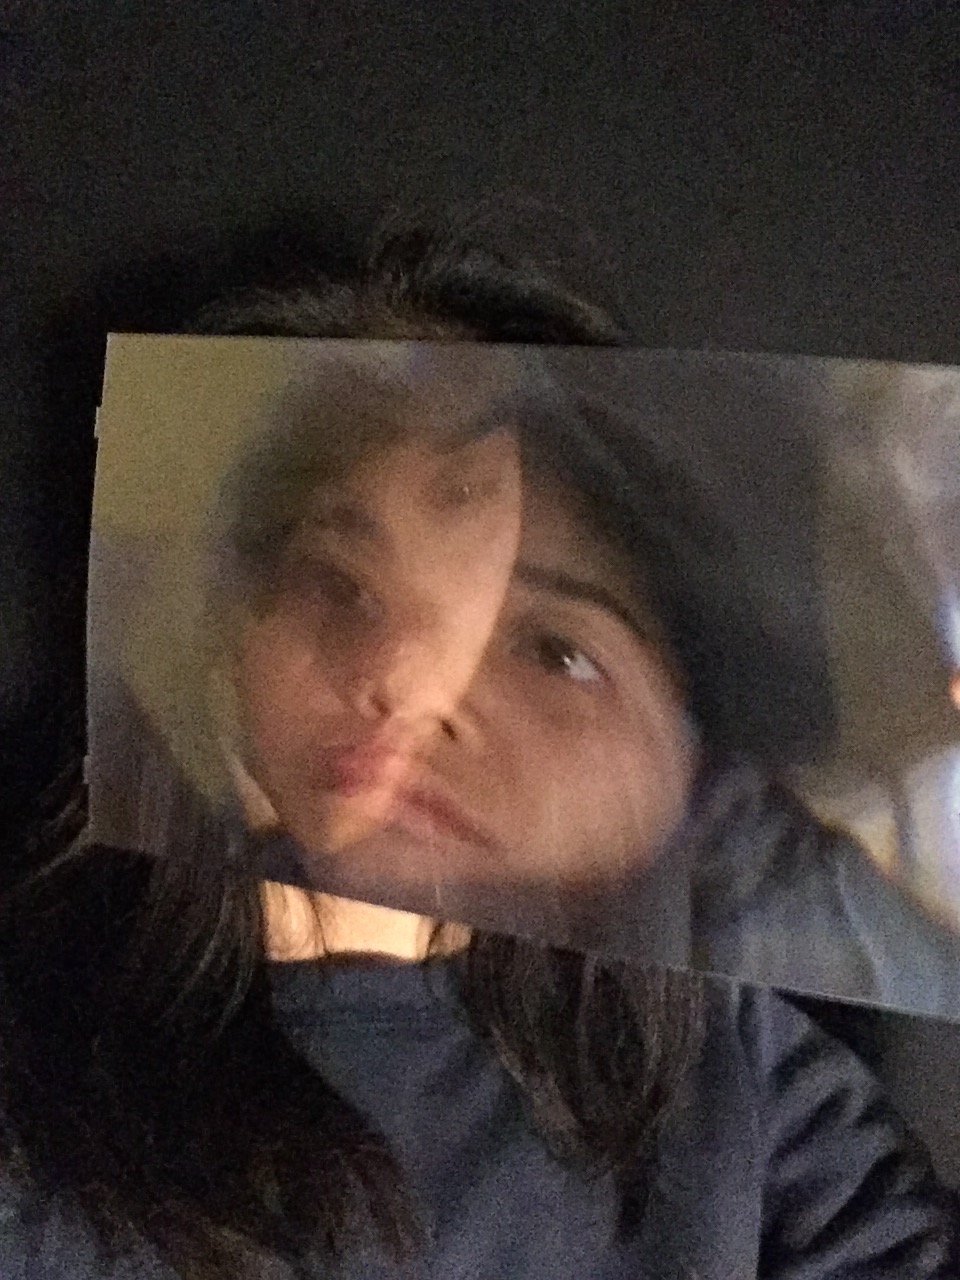
Living hinge
The glasses provided a conceptual framework in which to explore laser cutting. For a while, I have been interested in living hinges, which is a flexible joint cut out of the material itself that enables rigid plastic to bend without breaking. The hinge, being made from the same material in which it is connecting, mirrors the meta-study of the screen. I used a template for the design from Gunn.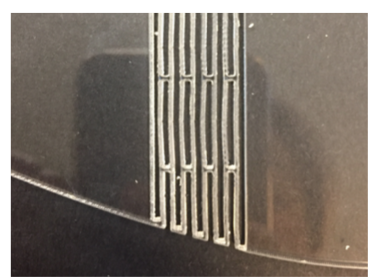
Living Hinge
Iterations
Ad hoc
A quick prototype of the glasses using plastic frames, a rough cutout of lenses and double-sided tape.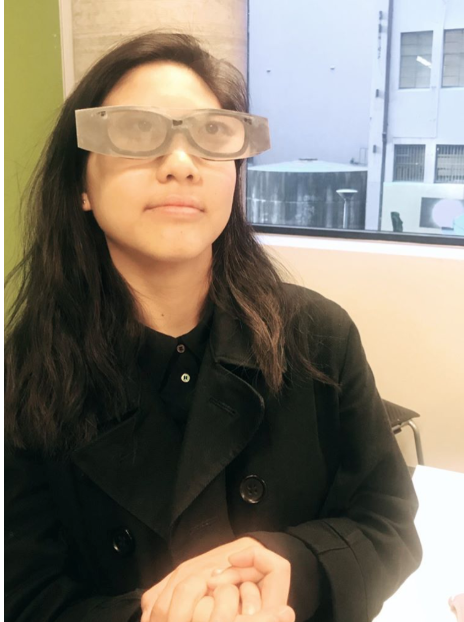
Tests
The glasses function and stay on my head! I also got the workshop hand to try on the prototype; his nose bridge is higher, so the glasses sat on his face better. For me, it required a little more fiddling. As such, the template needs a little tweaking so that it fits more comfortably on the head. I'm not a product designer so I can only go so far with the ergonomics of the design.
Final product
Laser cut glasses with diffractive lens. They are not for everyday wear but if you seek a different view of the world, these glasses are perfect.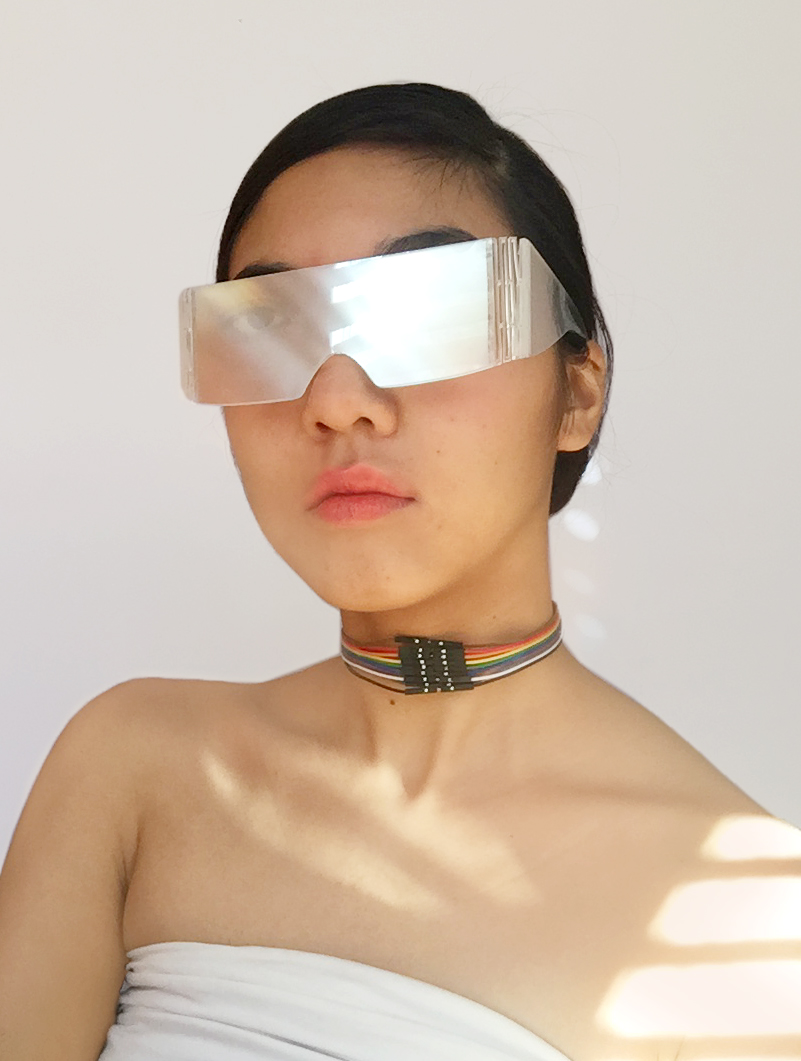
Screen as a backdrop
In the product shots, I used a screen as the background for the image. When tilting the iMac screen, I noticed that the colours changed quite drastically. By photographing at a side angle, I was able to achieve the unique colour and texture of the screen.Other accessories
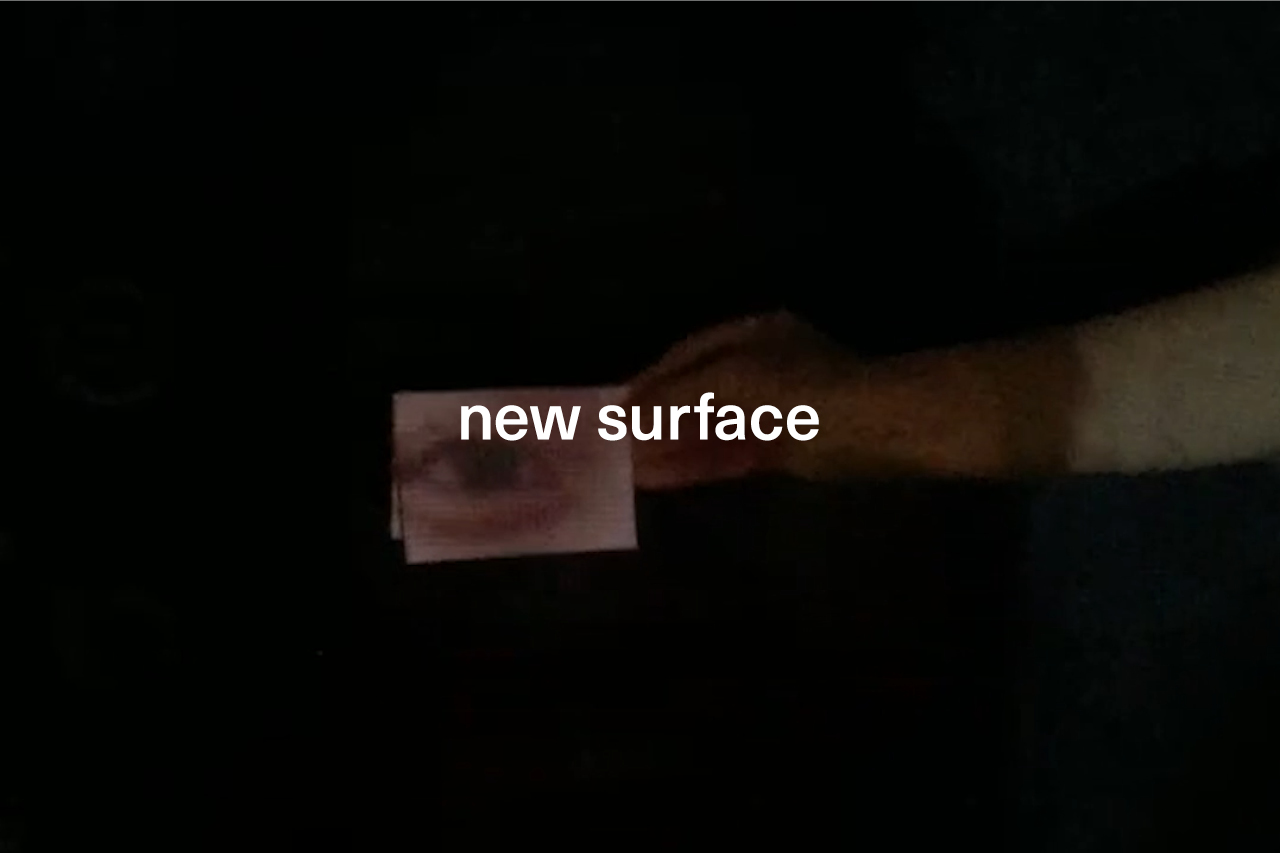
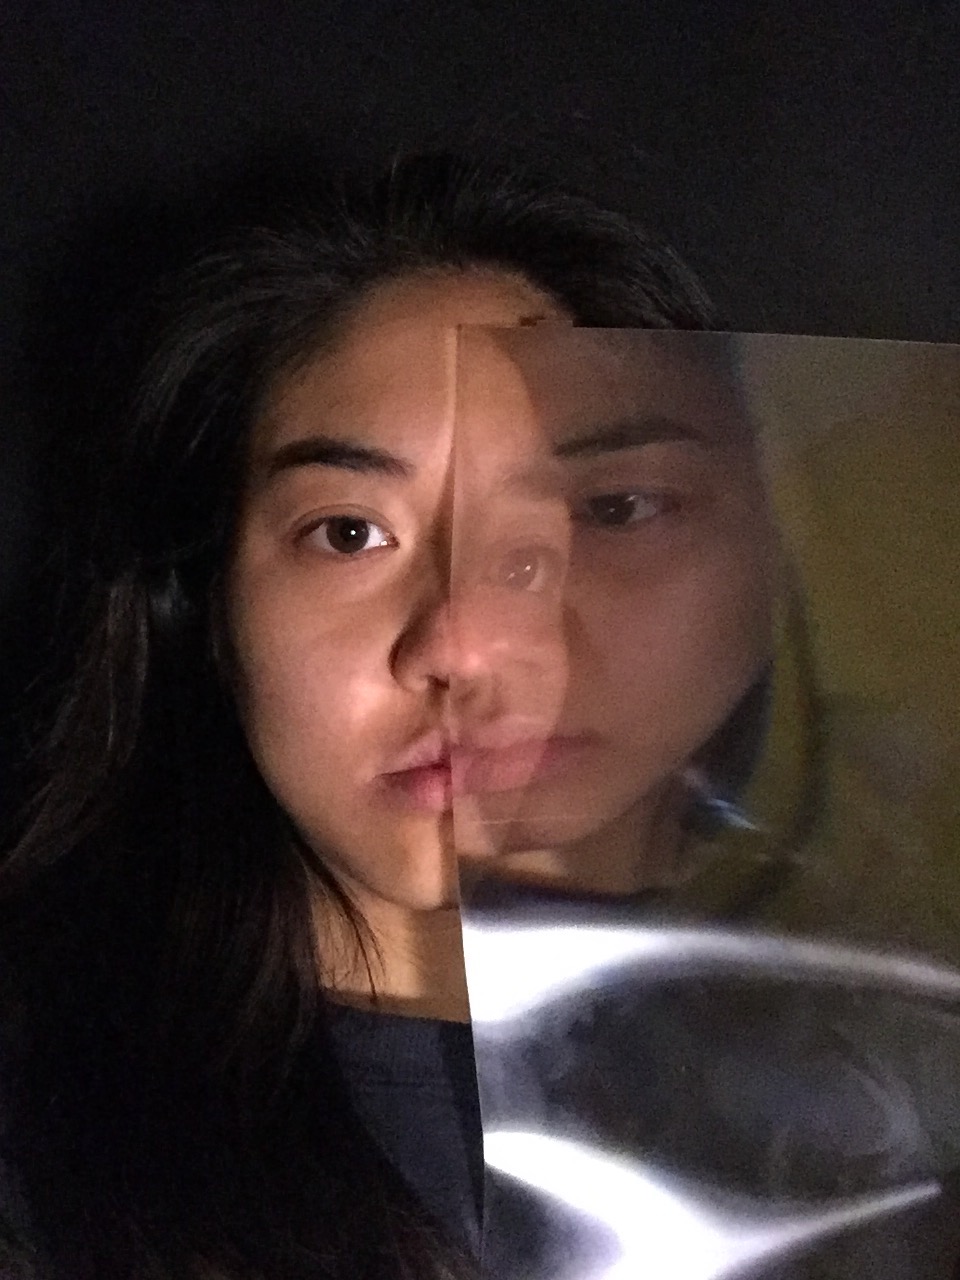
The new piece in the collection is a deconstructed iPhone screen. A chain can be thread through the hole cut out for the home button. The screen has mirrored sheets inside, so the necklace can double up as a portable mirror.
Try it yourself
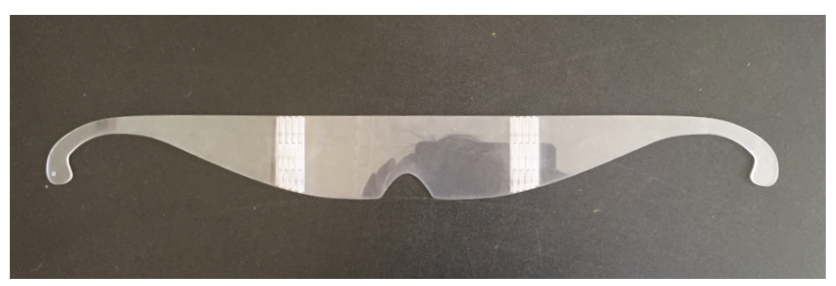
Download the Illustrator laser cutting template for the glasses here. I used 2mm clear acrylic and the coloured lines are specified for my laser cutting machines. Results may vary due to the material or laser cutter.
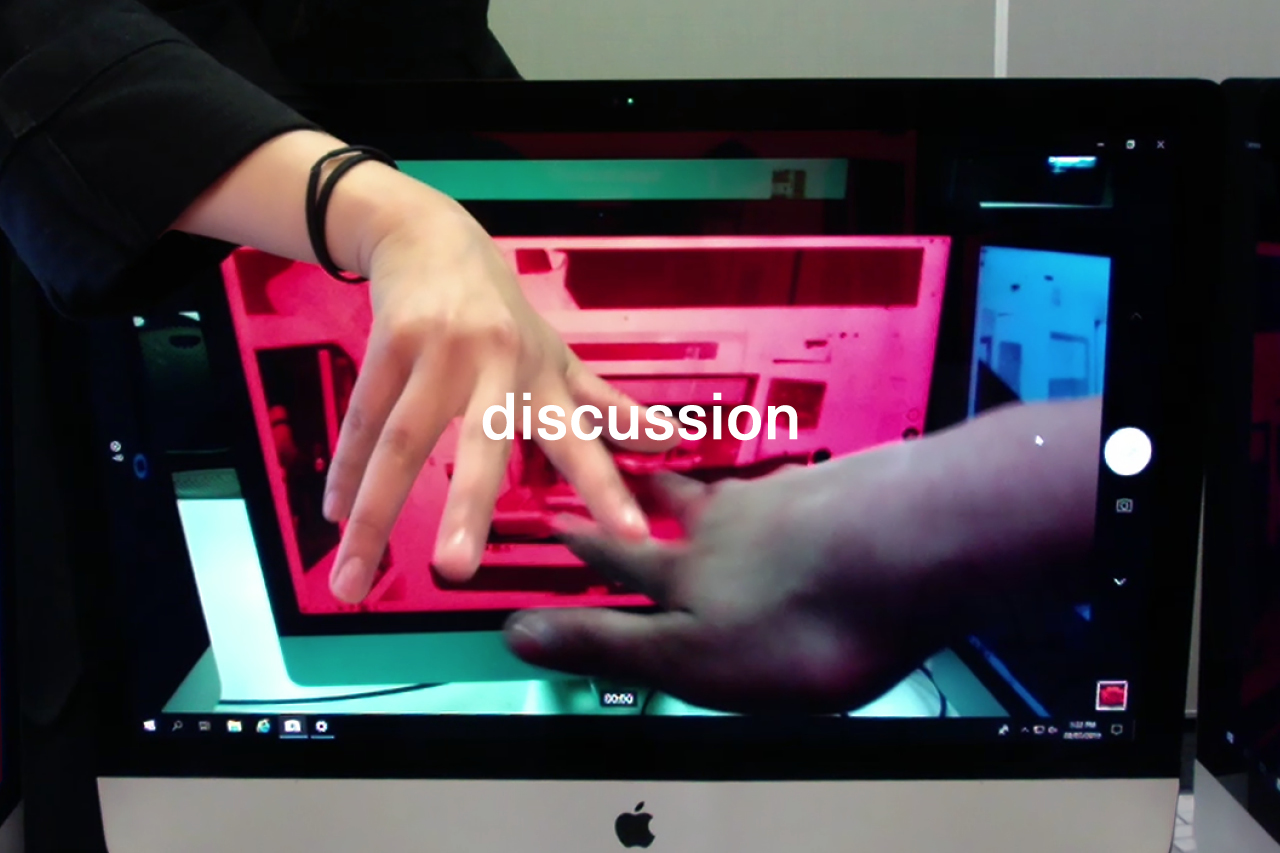
discussion
The conversation from Screen as conversation escalates into a discussion. By taking the basic principle of video feedback established before, this experiment uses bigger screens and different input sources. The most compelling aspect of these experiments is how the screen acts autonomously in creating the visuals.
Results
Chat 1 - Monitor to monitor
As one would on a Sunday afternoon, I spent it moving, rotating, angling and changing the colour temperature of the screens. The reflective surface of the glass material occasionally interfered or added something to the visuals.What happens when you face two monitors to each other?
At an angle?
This setup didn't create any interesting visual effects. It was useful for generating different (and at times confusing) angles of yourself.
It almost looks like a mirror image, but it's slightly skewed.
Three monitors?
![]()

The three-way system didn't produce the effects I wanted since the cameras were not directly facing a screen. It was interesting to see that each screen displayed half of the ones on either side.
How about four monitors?
Chat 2 - DSLR Camera to projection, camera to TV
This experiment removes the human element and uses a camera and a surface that displays the camera’s live view .Chat 3 - Laptop webcam to projection
Adding music added a whole new level to how the participants interacted and moved. Some participants sought out movements that would create striking flow-on effects. This iteration demonstrates how audiovisual accompaniments can enhance the experience for the musician and the audiences. Participants enjoyed watching their duplicates. Try at home
Use the online webcam here.
Some prompts:
- Flashing the screen (so the screen momentarily goes all white) creates interesting visual ripple effects.
-
Larger screen surfaces offer more space for visual effects.
-
Change the colours of the screen. Windows offers colour filters (grayscale, different colour output). If not you can adjust night-time colour temperatures.
- Scale of things become distorted in the feedback loops. In clips with my hand, you can see it appears larger on some screens because it is close to the webcam.
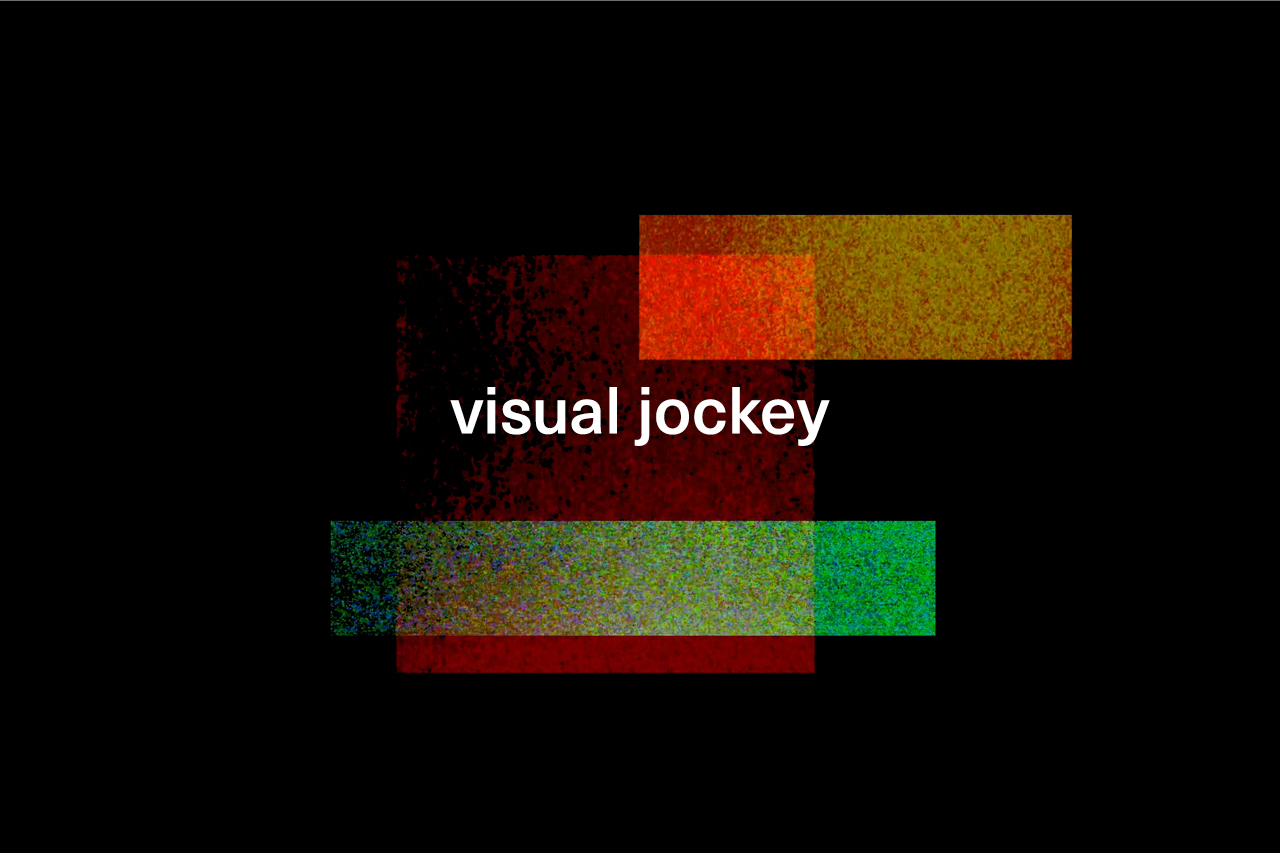
video jockey
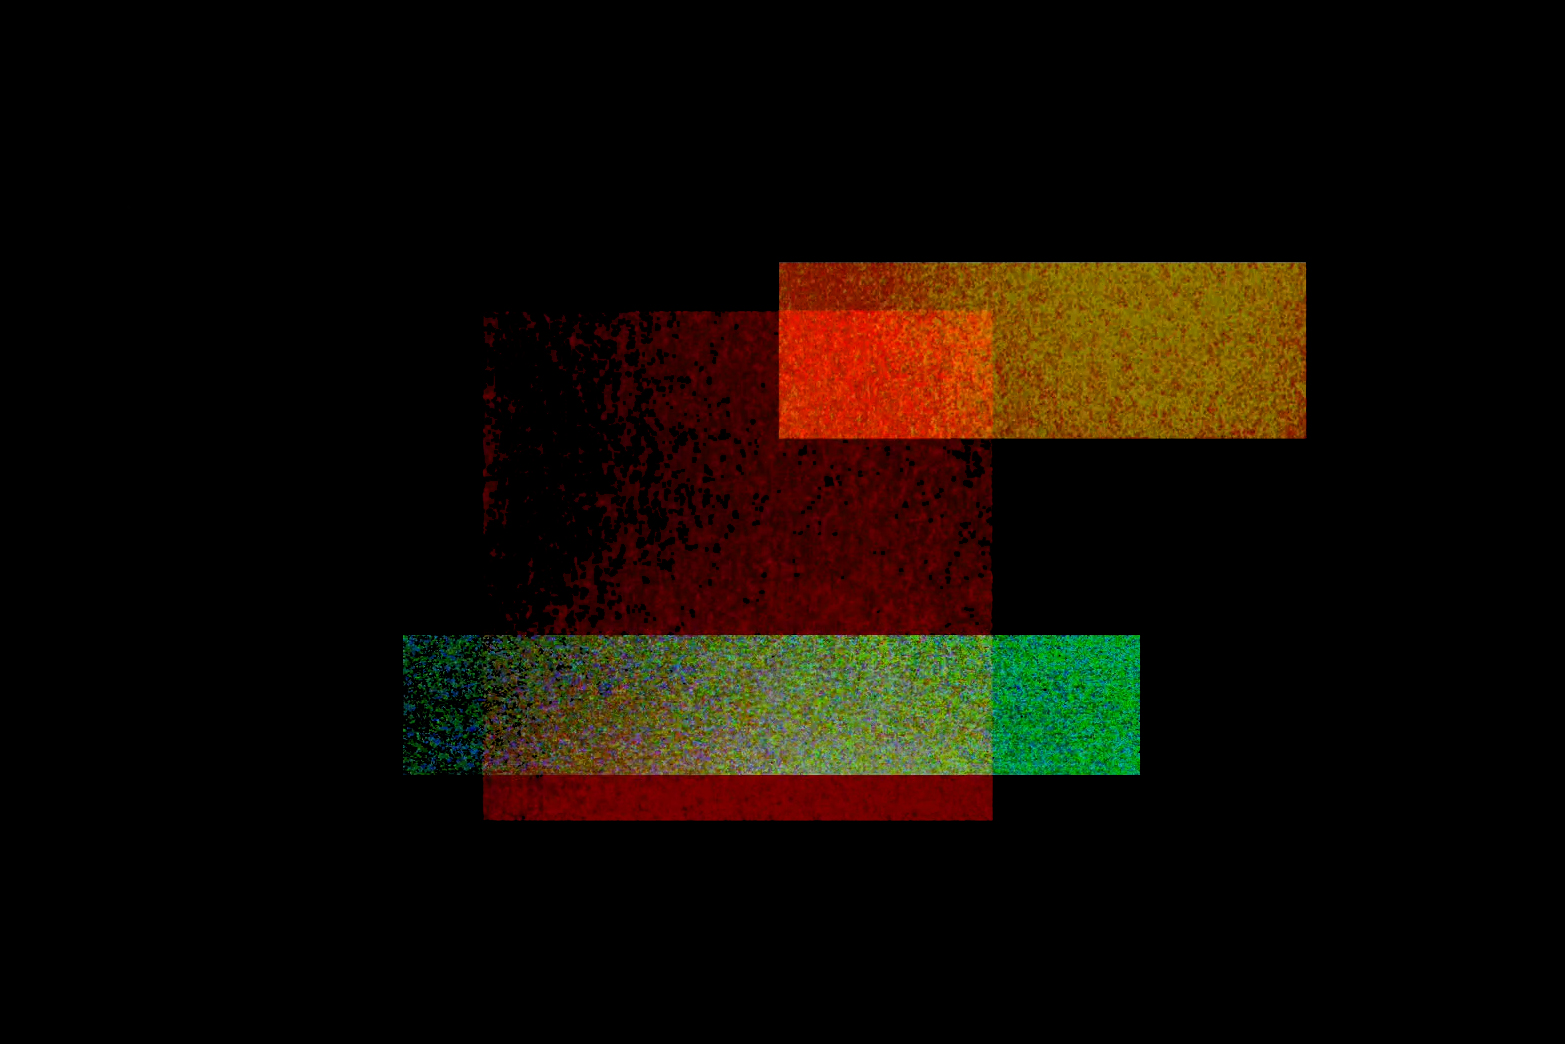
Following Screen as colour and other dialogue, I wanted to split a video input into three separate colour outputs. MAX was a way to do this. The software has internal video feedback effects along with easy controls for manipulating scale and form.
Iterations
Phase 1
First test using two projectors and rotating one. It becomes a screen that ignores the traditional rectangle format. The overlapping area in the centre demonstrates additive space. 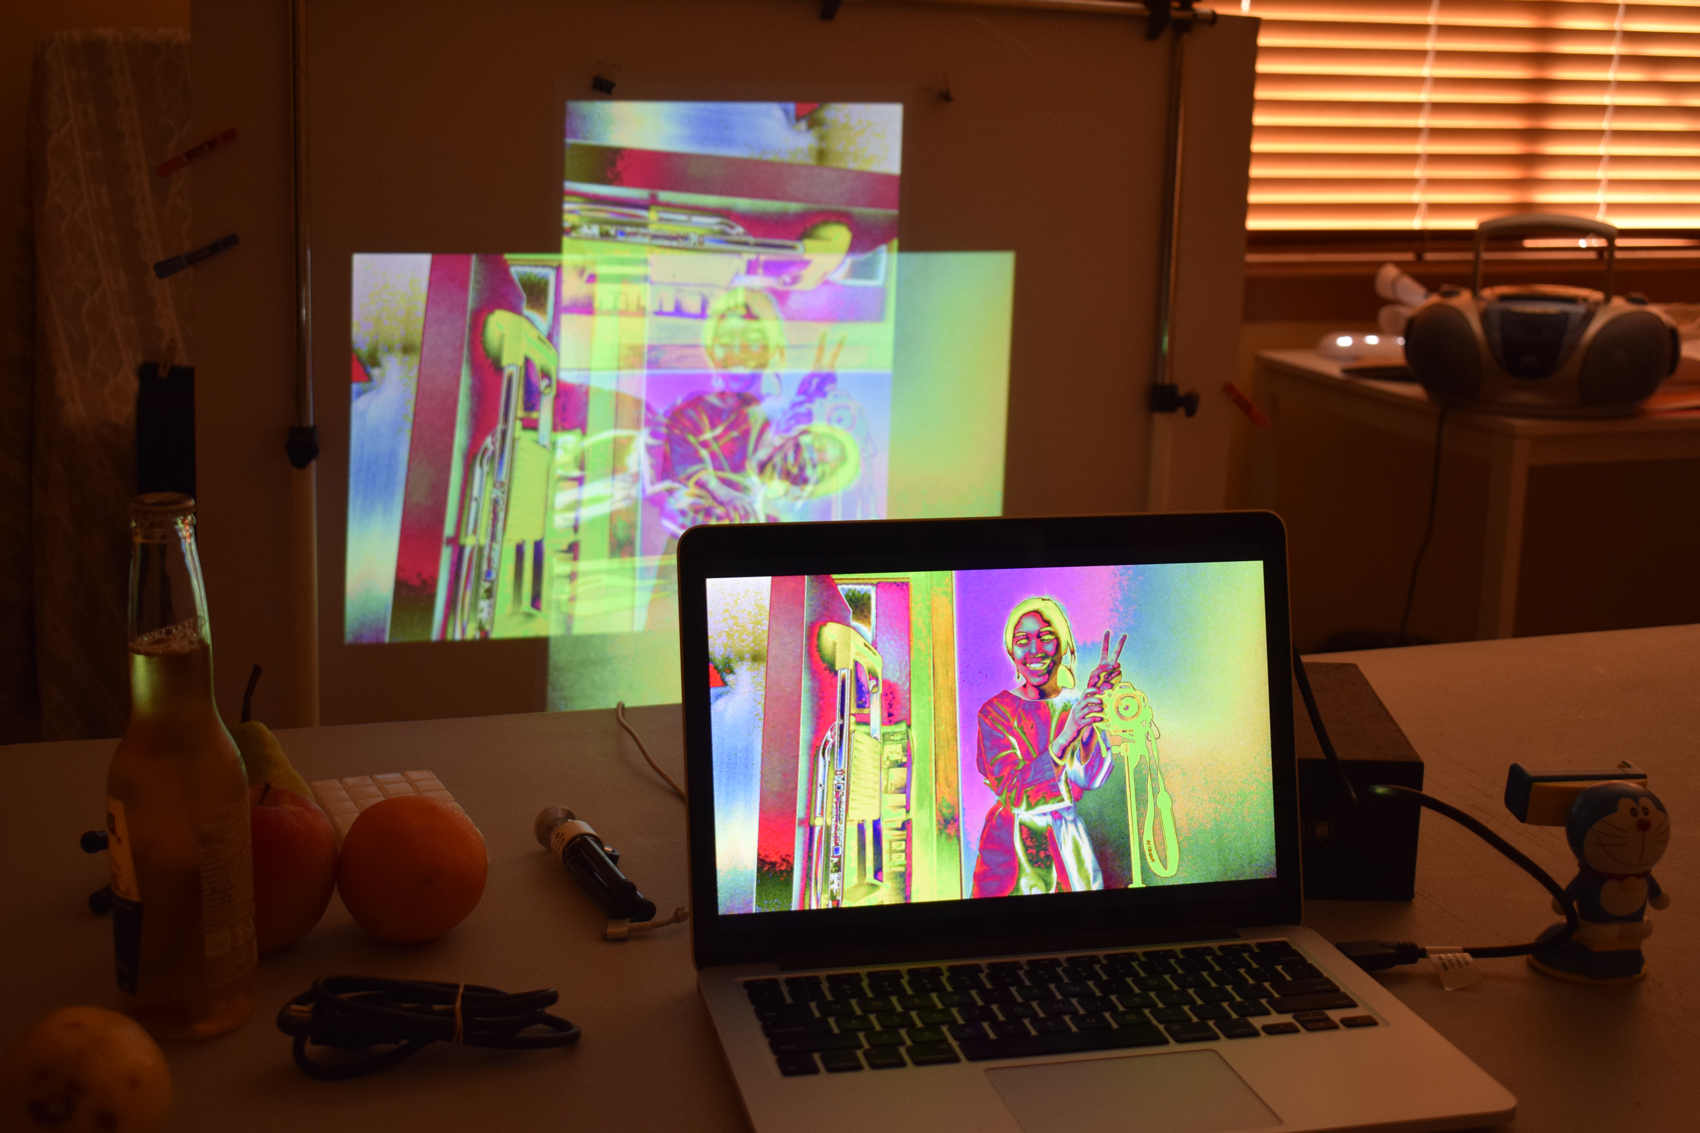
Testing out different colour effects
Phase 2
Tests using webcam video input. The intentions behind these tests were to split the video into three separate colour channels and project each through individual projectors. But I had technical difficulties with connecting three displays to my laptop. Later realising I could only display on two projectors at a time. As a workaround, I used my phone to project the third screen via airplay. Another workaround was to place two or three channels on to the same projection.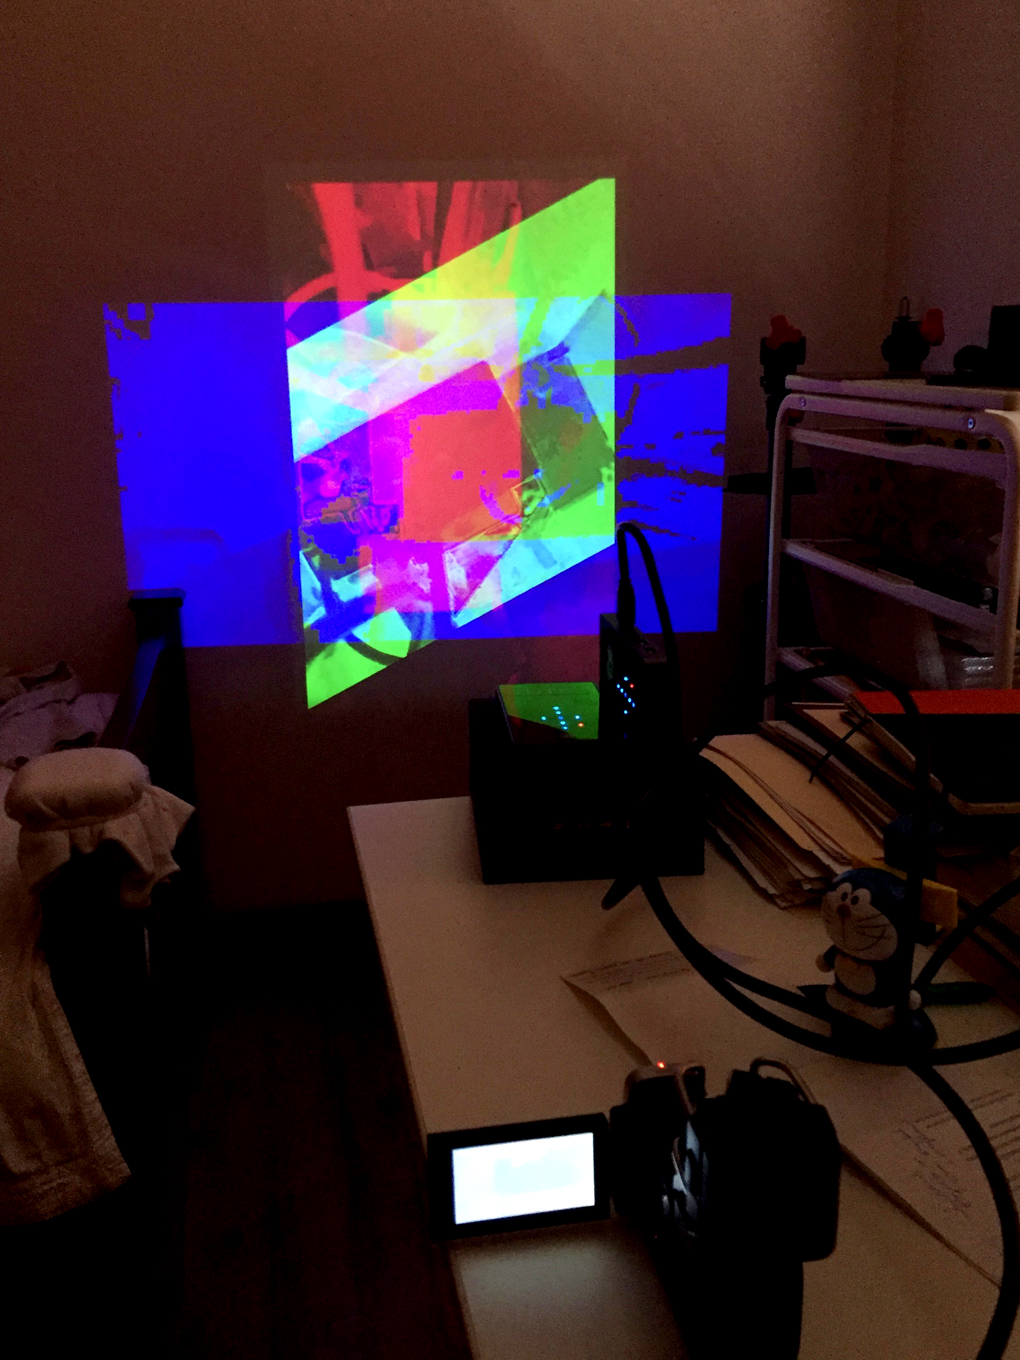
I also explored different camera angles and positions and found that placing a webcam on the ground looking upwards created an unusual and invasive perspective.
Phase 3
Knowing the effect that holding a phone to the webcam would create a rainbow halo ripple effect from screen as: conversation, it did that to generate colour compositions. I like how the colours overlap to create new colours. I title this ‘Nebula Rectangles’.Phase 4 - Interactivity
As with Screen as discussion, I opened up the video feedback to my peers. Similar to the results in the previous experiment, they had a lot of fun watching themselves in a psychedelic world. It consolidated that people like to see themselves reflected literally in the artwork they are viewing-it elevates their experience and makes the artwork seem more personal.On the otherside of the camera
Phase 5
After having a lot of technical difficulty with projecting to three separate units, Andrew helped with providing the necessary equipment. As such, I was able to project through three projectors. This video shows the final phase that splits and pixelates video input, overlapping the projections to create a moving colour chart.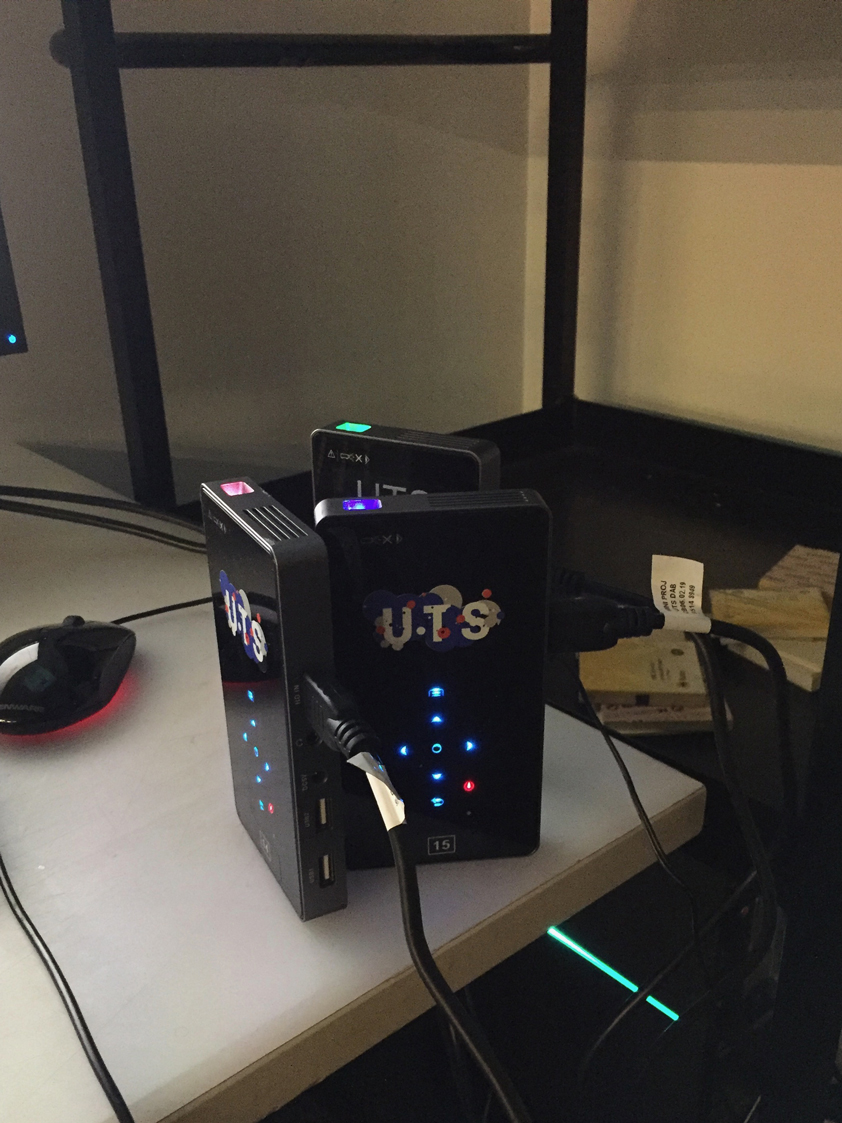
Reflection
I had trouble with MAX because I wasn’t able to create anything that used the screen innovatively. This software has good application in the music industries. I had limited technical knowledge, or the desire to learn, the ins and outs of the deeper-level programming. As a result, a lot of the visuals looked like ‘everything else’ because I was doing the accessible, straightforward, top-level programming. I'm going to leave the experimentation with MAX here. It is a good indicator of how visual programming, code and projection can result in unique screen-practice experiences.
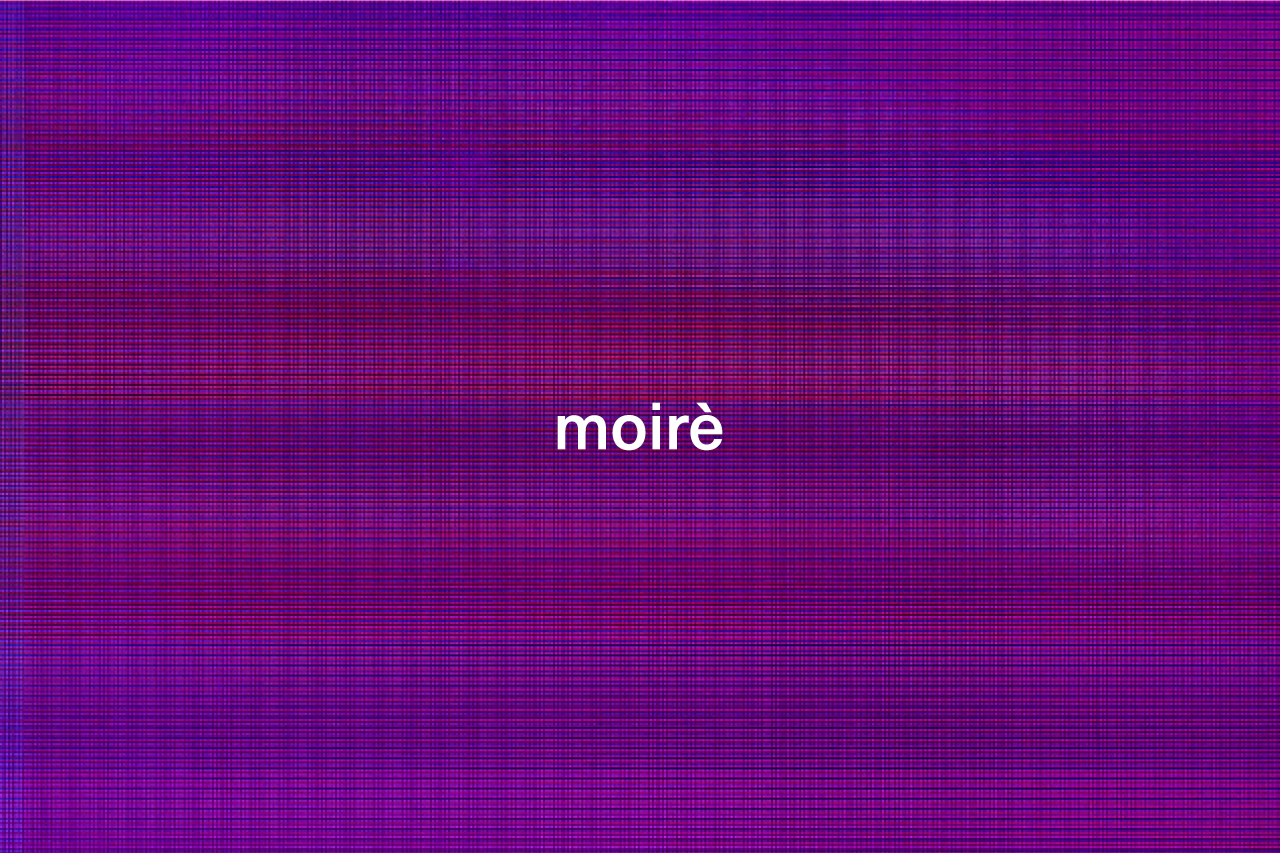
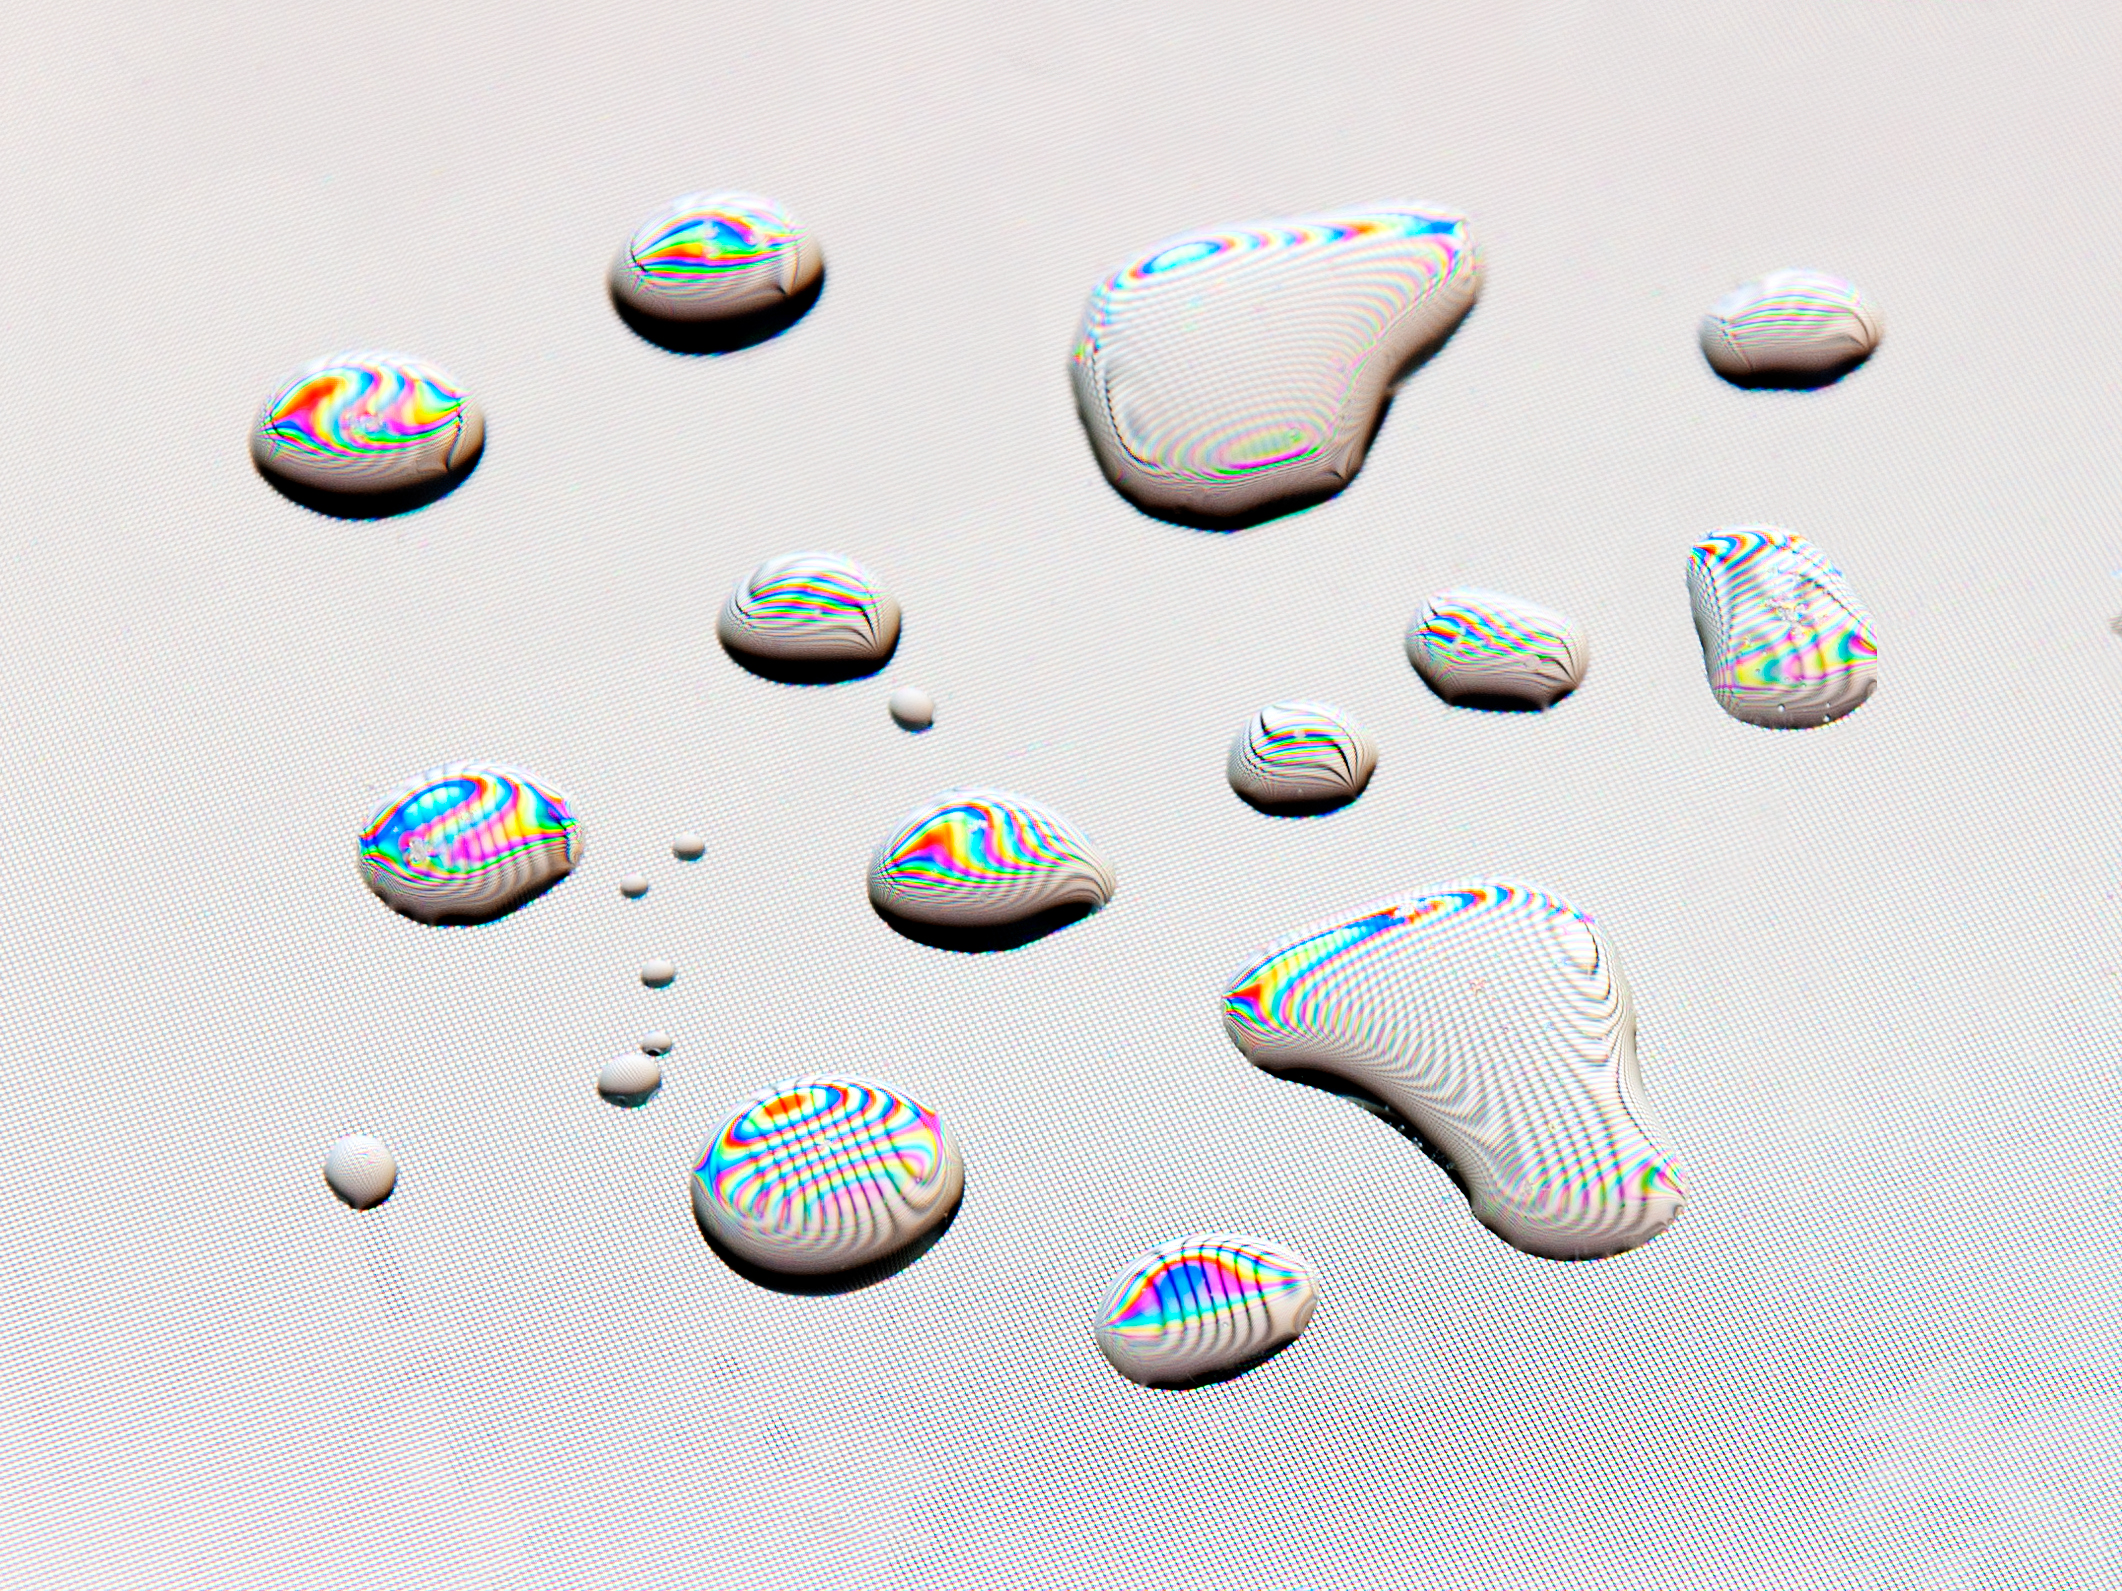
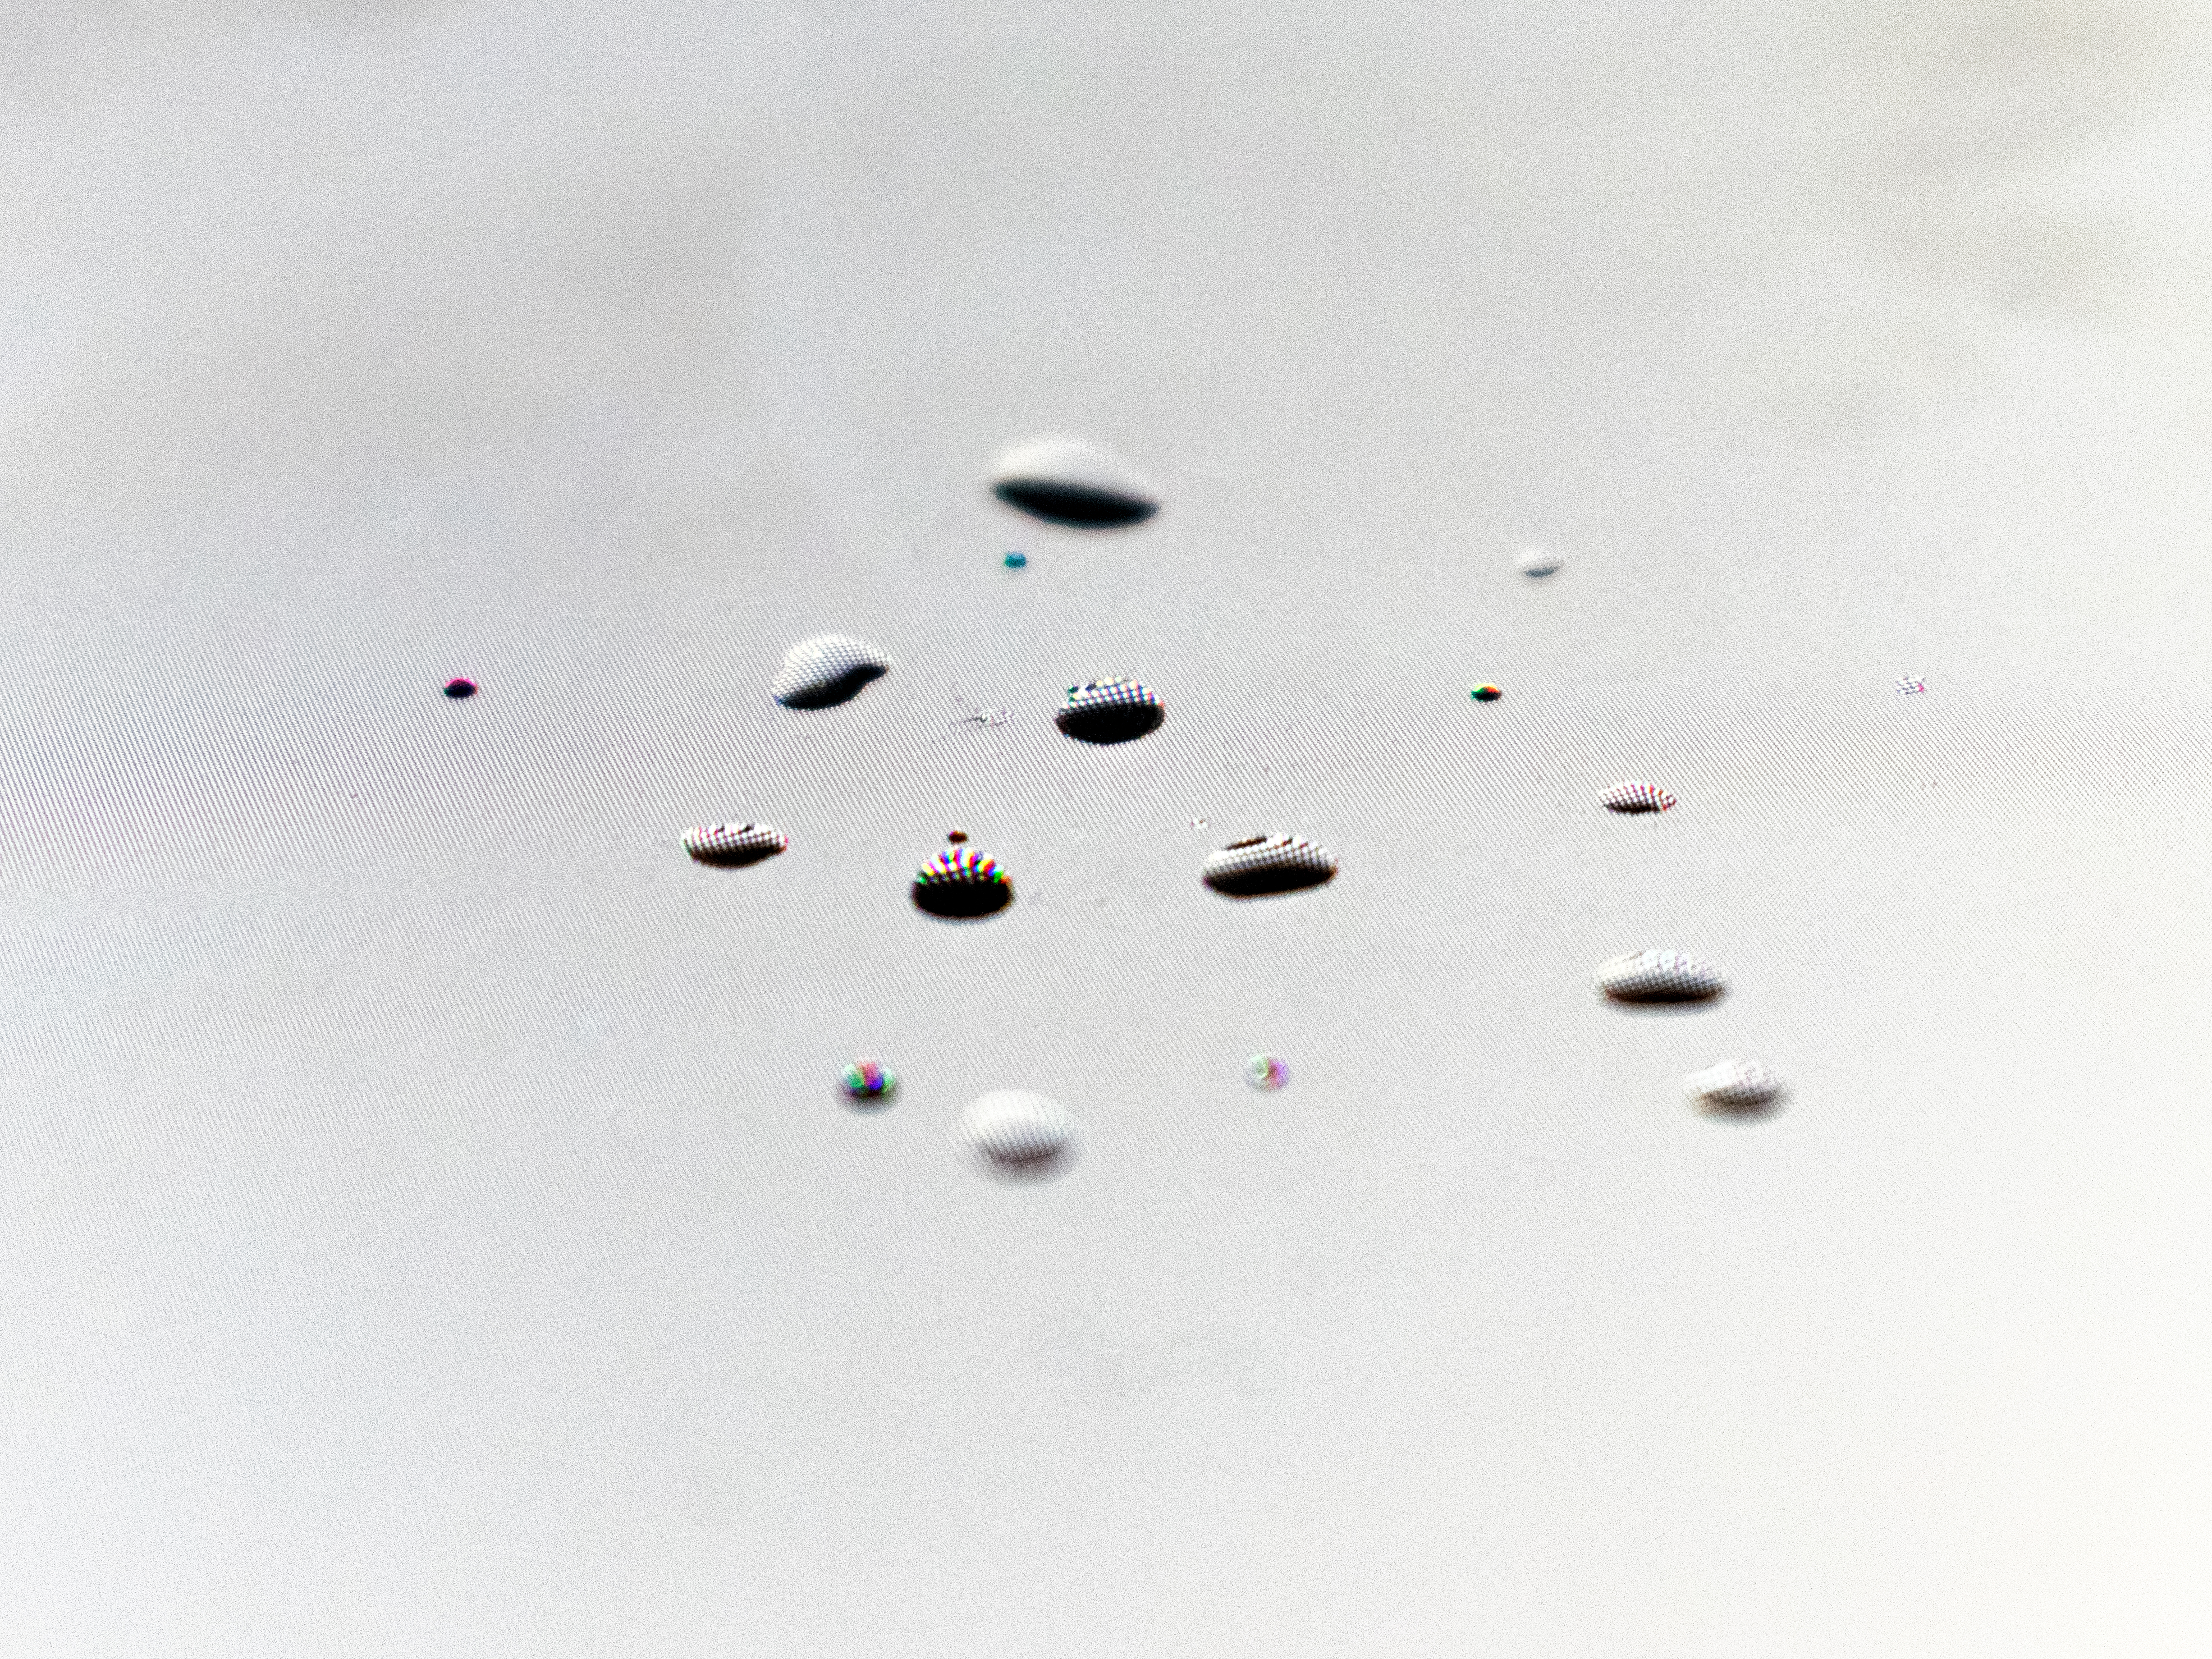
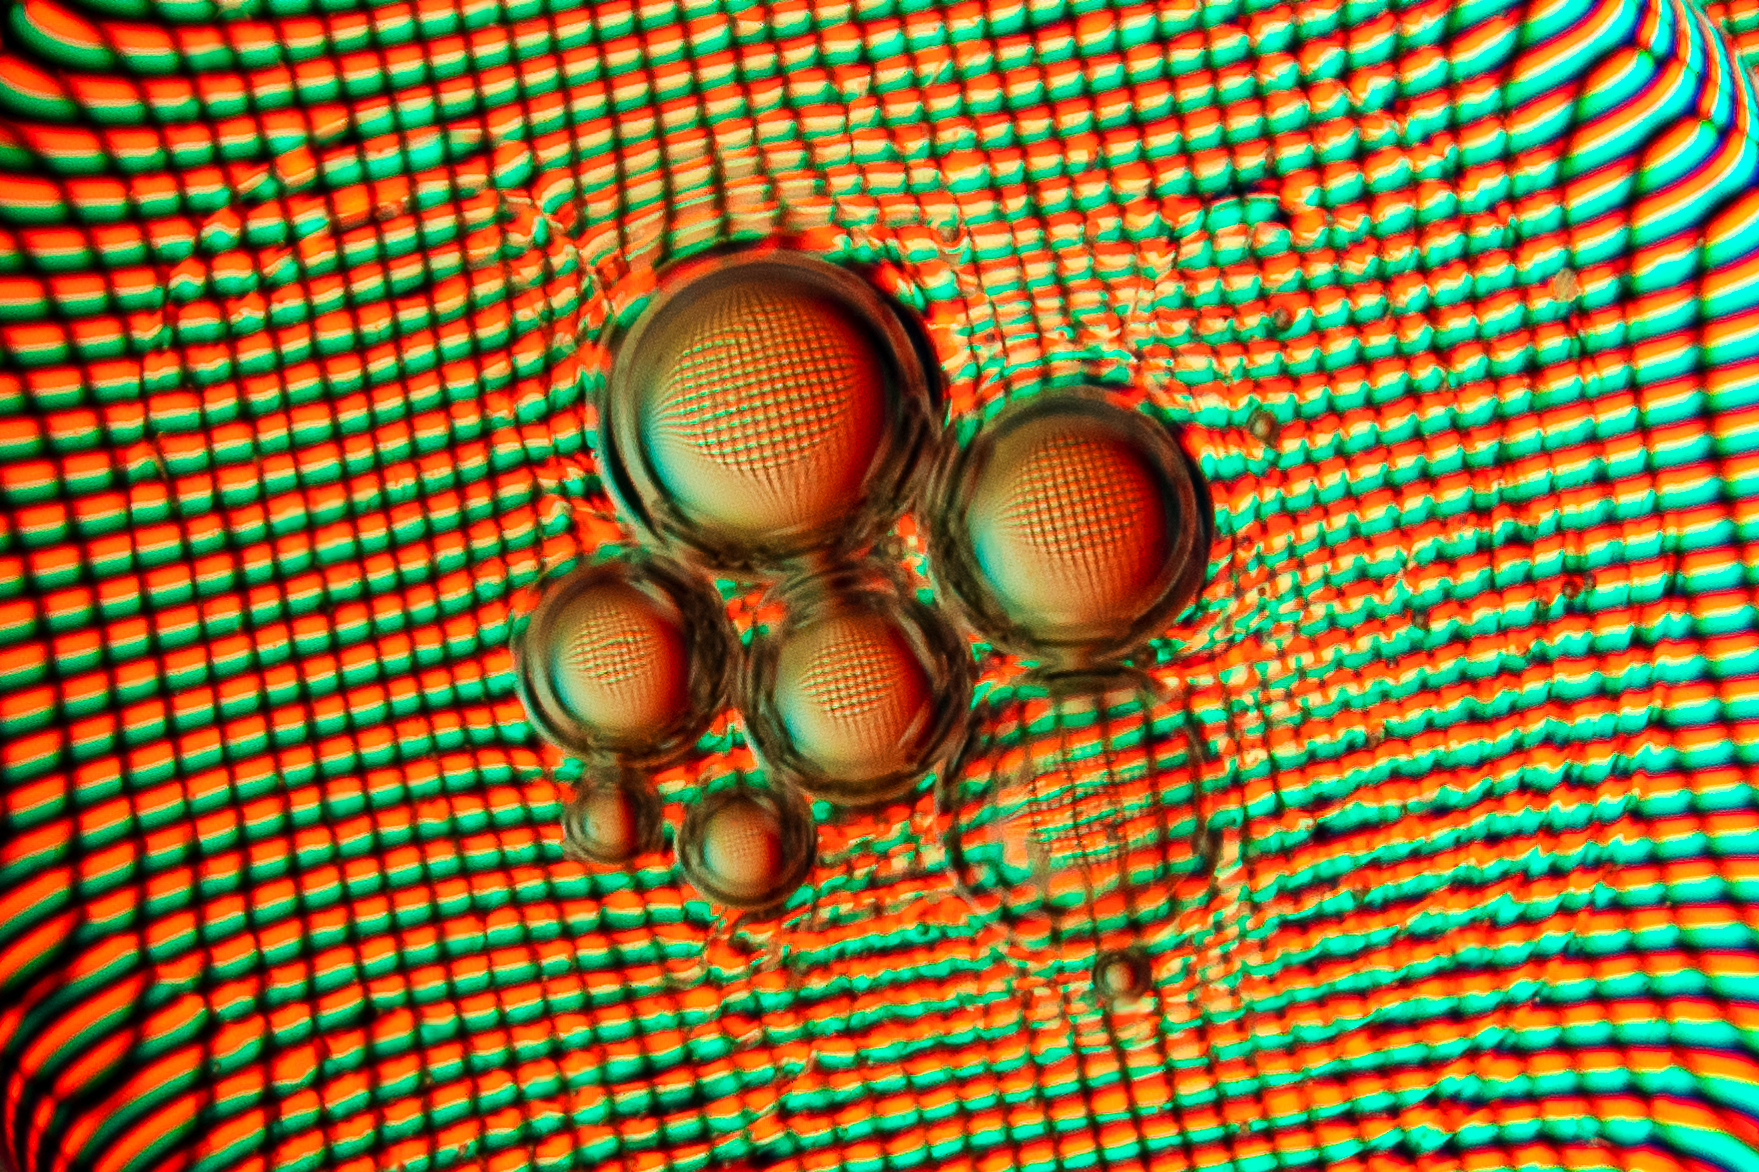
liquid
Water and technology are materials that should not mix and should be kept separated from each other. However, this dichotomy can be used to highlight the materiality of both elements. Placing drops of liquid on a monitor creates a lens to view the pixels and emphasises the screen's presence and reveals the magnifying effects of water.
Precedent
Craig Sillitoe took some photos of liquids on his TV screen. His striking images compelled me to explore this technique.
Mitchell Whitelaw describes the screens to operate "as a mediating substrate for its content". He observes a trend towards self-effacing design to the point where pixels are no longer distinguishable. This experiment presents with small bits of the screen as a way to appreciate the technology.
Mitchell Whitelaw describes the screens to operate "as a mediating substrate for its content". He observes a trend towards self-effacing design to the point where pixels are no longer distinguishable. This experiment presents with small bits of the screen as a way to appreciate the technology.
Components
Monitor
I used an Apple iMac c. 2008 discarded at my workplace. The iMac has a lower pixel density than modern Apple retina displays where the pixels cannot be seen with the naked eye. As such, the droplets need to be smaller on a new laptop to magnify the pixels.The iMac was locked with a password but after some hacking, I was able to access the computer. This process of getting into the system exposed the fragility of digital artefacts and information. They are great, but they can be incredibly harmful. It highlighted the need to be careful about what you put online, or any digital technology for that matter.
Liquid
Instead of water, I used glycerin to make droplets on the screen. Photographers often use glycerin for food photography because it has a higher viscosity than water and retains a shiny appearance for a long time. It appears that it doesn't damage the screen or leave a residue behind. Using a spray bottle dispersed the liquid too thinly and sparsely across the surface.Results
Video
Peeking through the droplet of water was a fun experience - imagine if this was immersive. It helps with understanding how the pixels show different colours.
Image


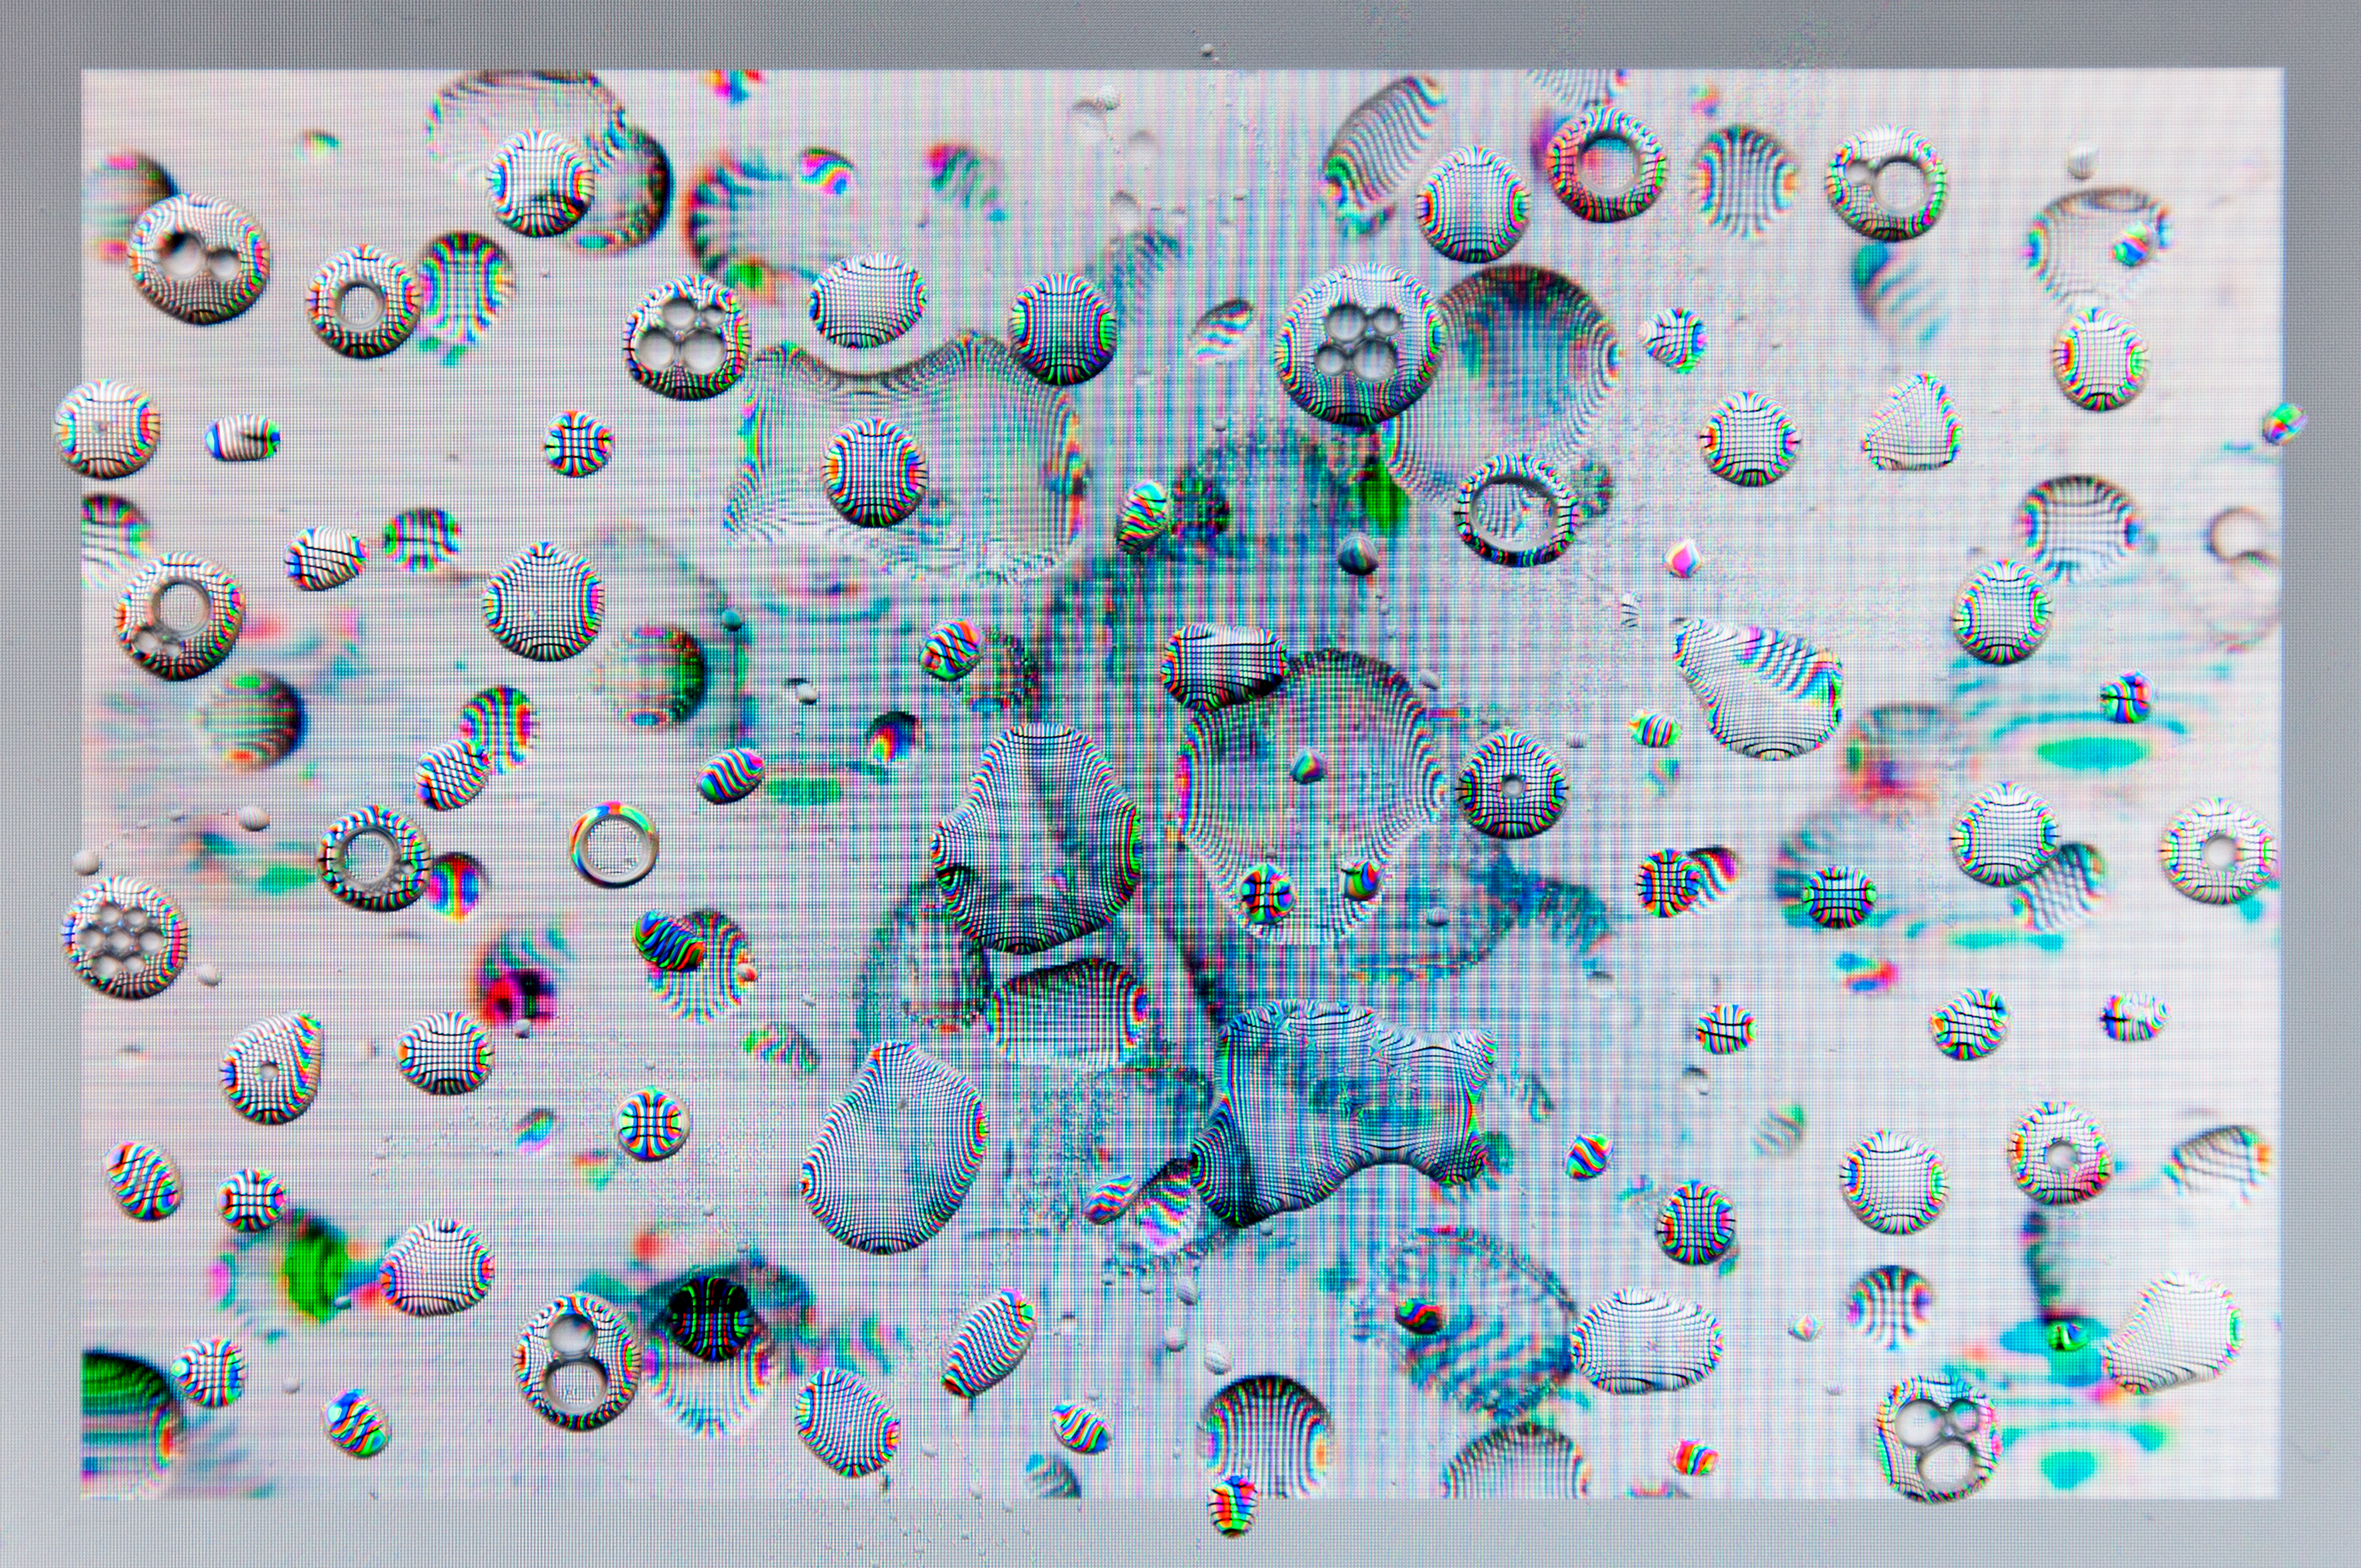
Further iteration
Inspired by Screen as analogue feedback, I continually photographed the same image. I shot a photo of the water droplets and repeated the process of reshooting and uploading. As the glass of the screen is thick, the space between the surface with the droplets and the actual pixels creates an illusion of depth.
Try at home
You will need a screen/monitor and a liquid substance. Use a screen that is not precious as the substance may damage it. Older versions will provide better results as the pixels will be larger and more visible. You can try placing the bubbles strategically over photographs such as people’s faces.