deconstructing
Deconstructing is a process of analysing the physical parts of a screen through reverse engineering methods. These experiments investigate the screen’s fundamental components and tangible properties.
What it is:


How it works:
itself
Most laptops use an LCD LED screen. Liquid crystal displays (LCD) use an array of liquid crystals that respond to electrical currents to turn pixels off and on. Together, thousands of pixels turn off and on to produce an image. Light emitting diodes (LED) provide the light source. As a hand-on designer, I found it necessary to reverse-engineer the screen to understand its material properties and how the technology works.
What is inside a screen?
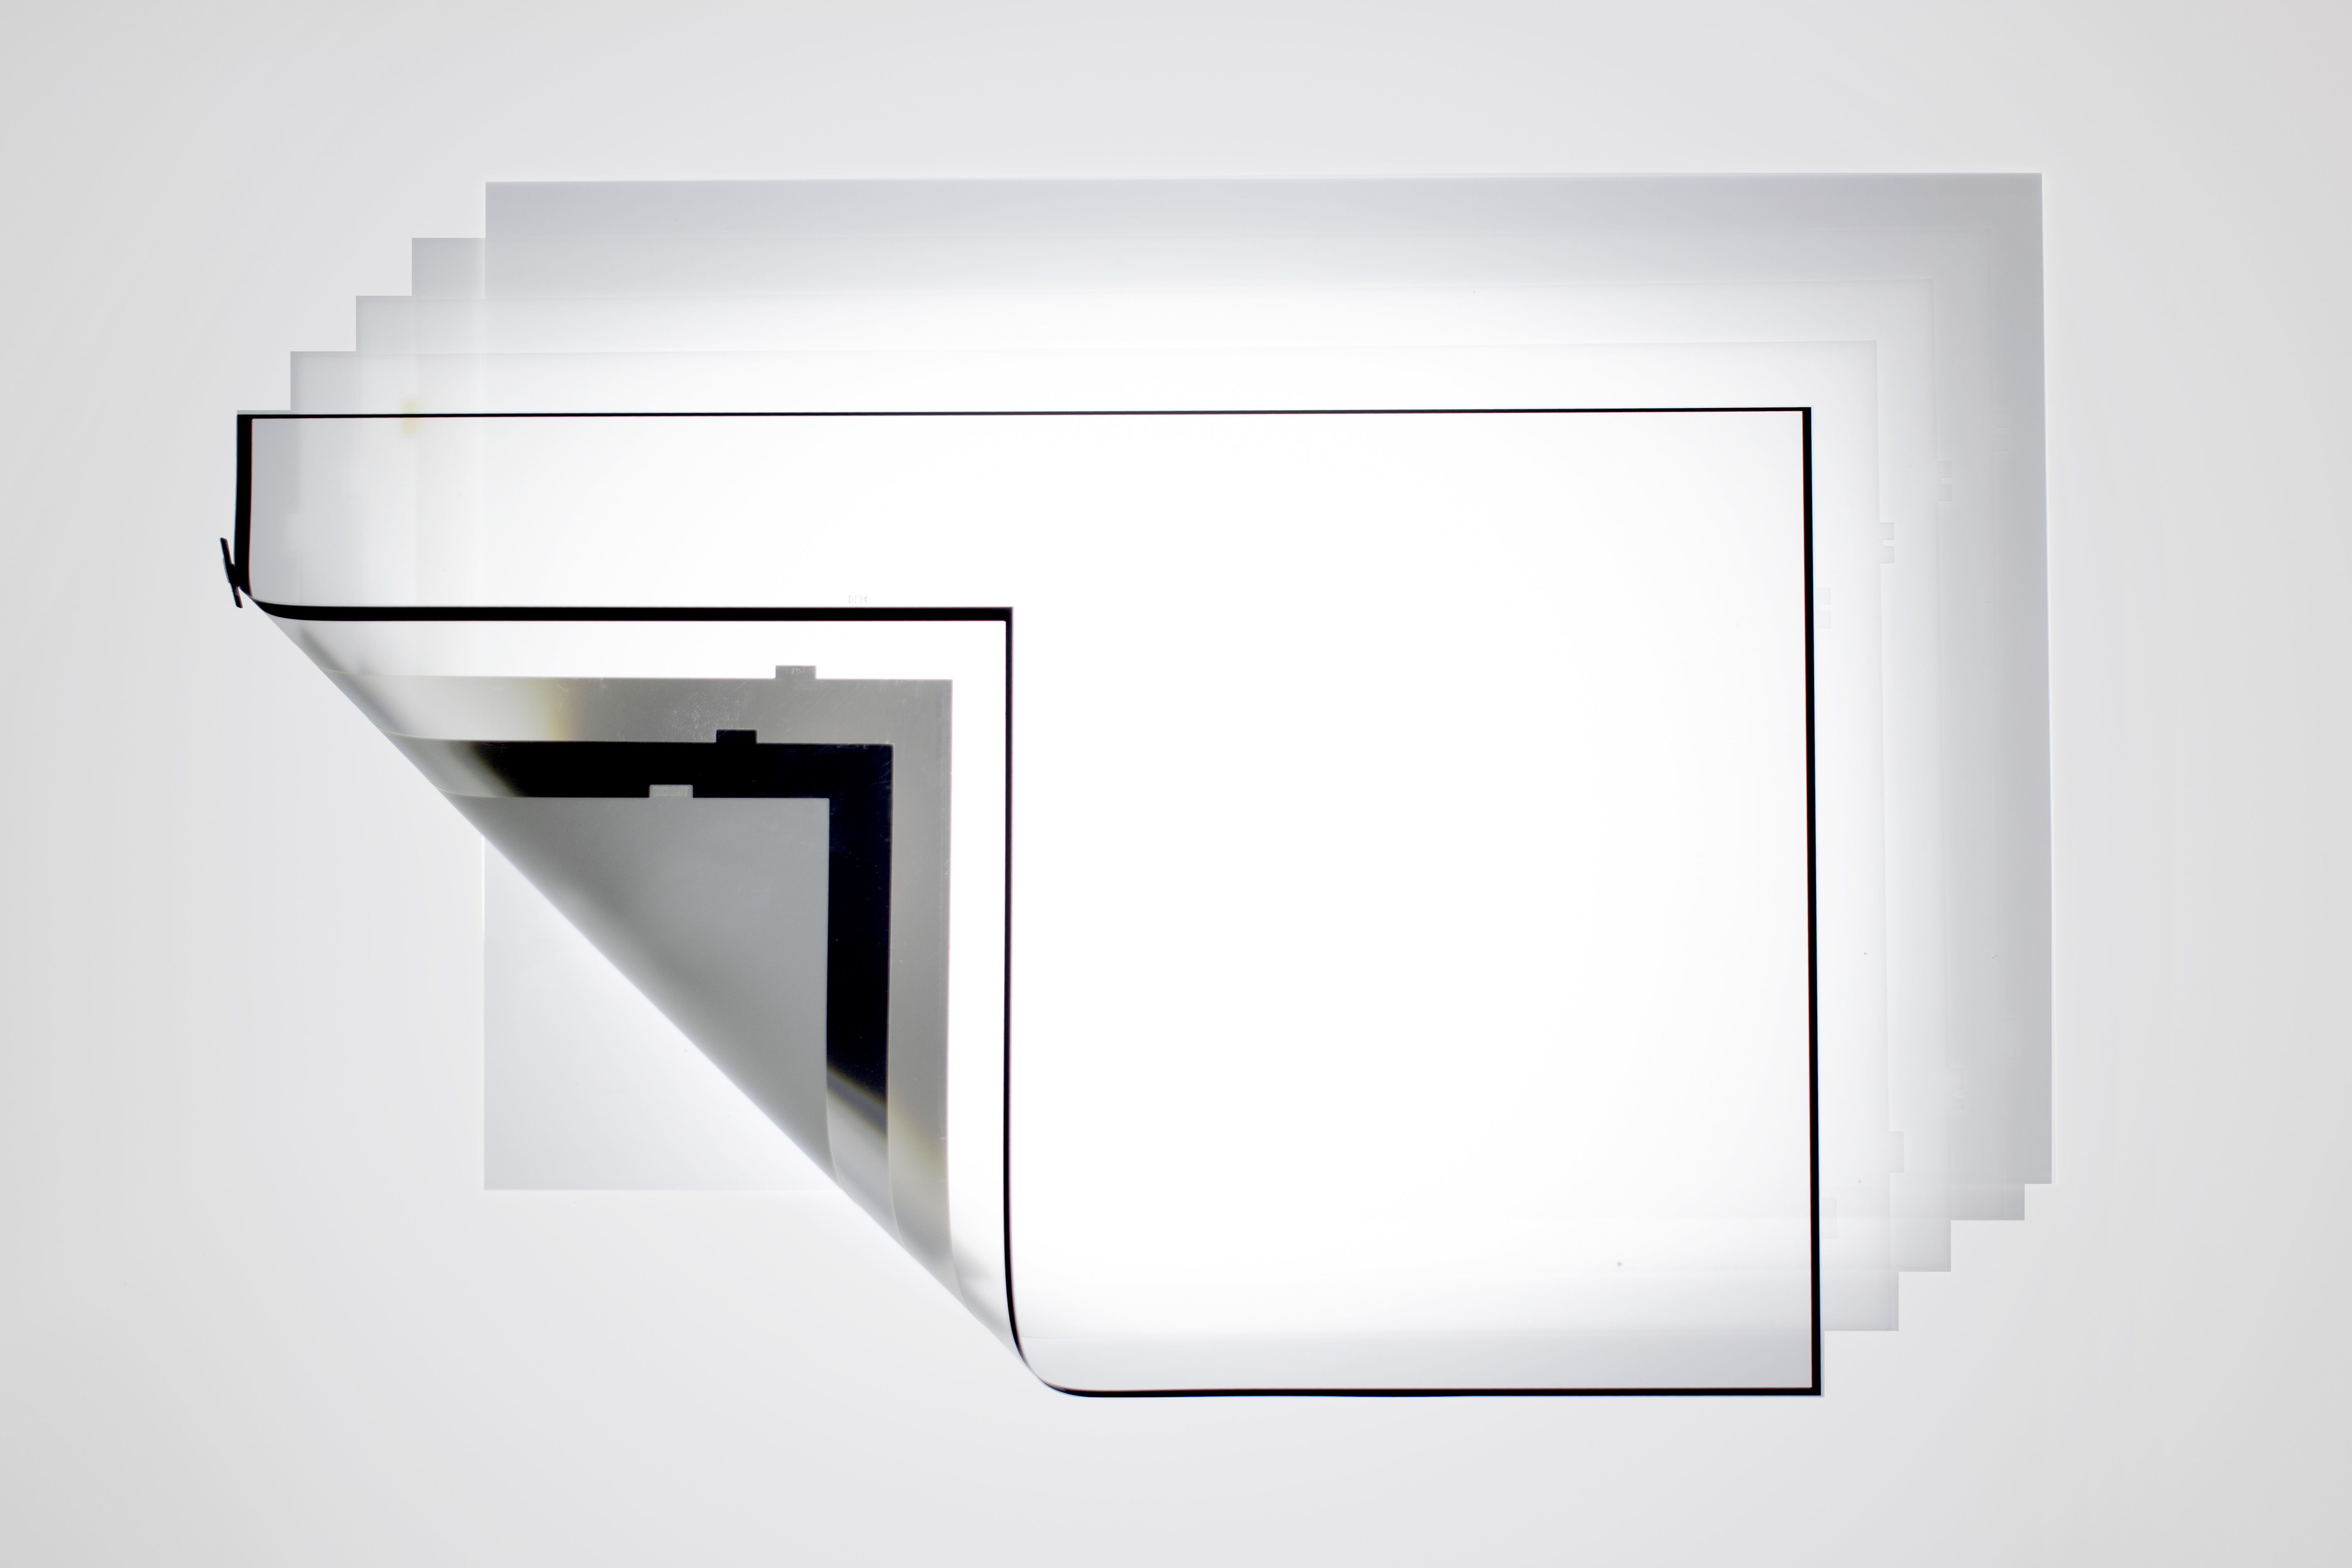
LCD Matrix


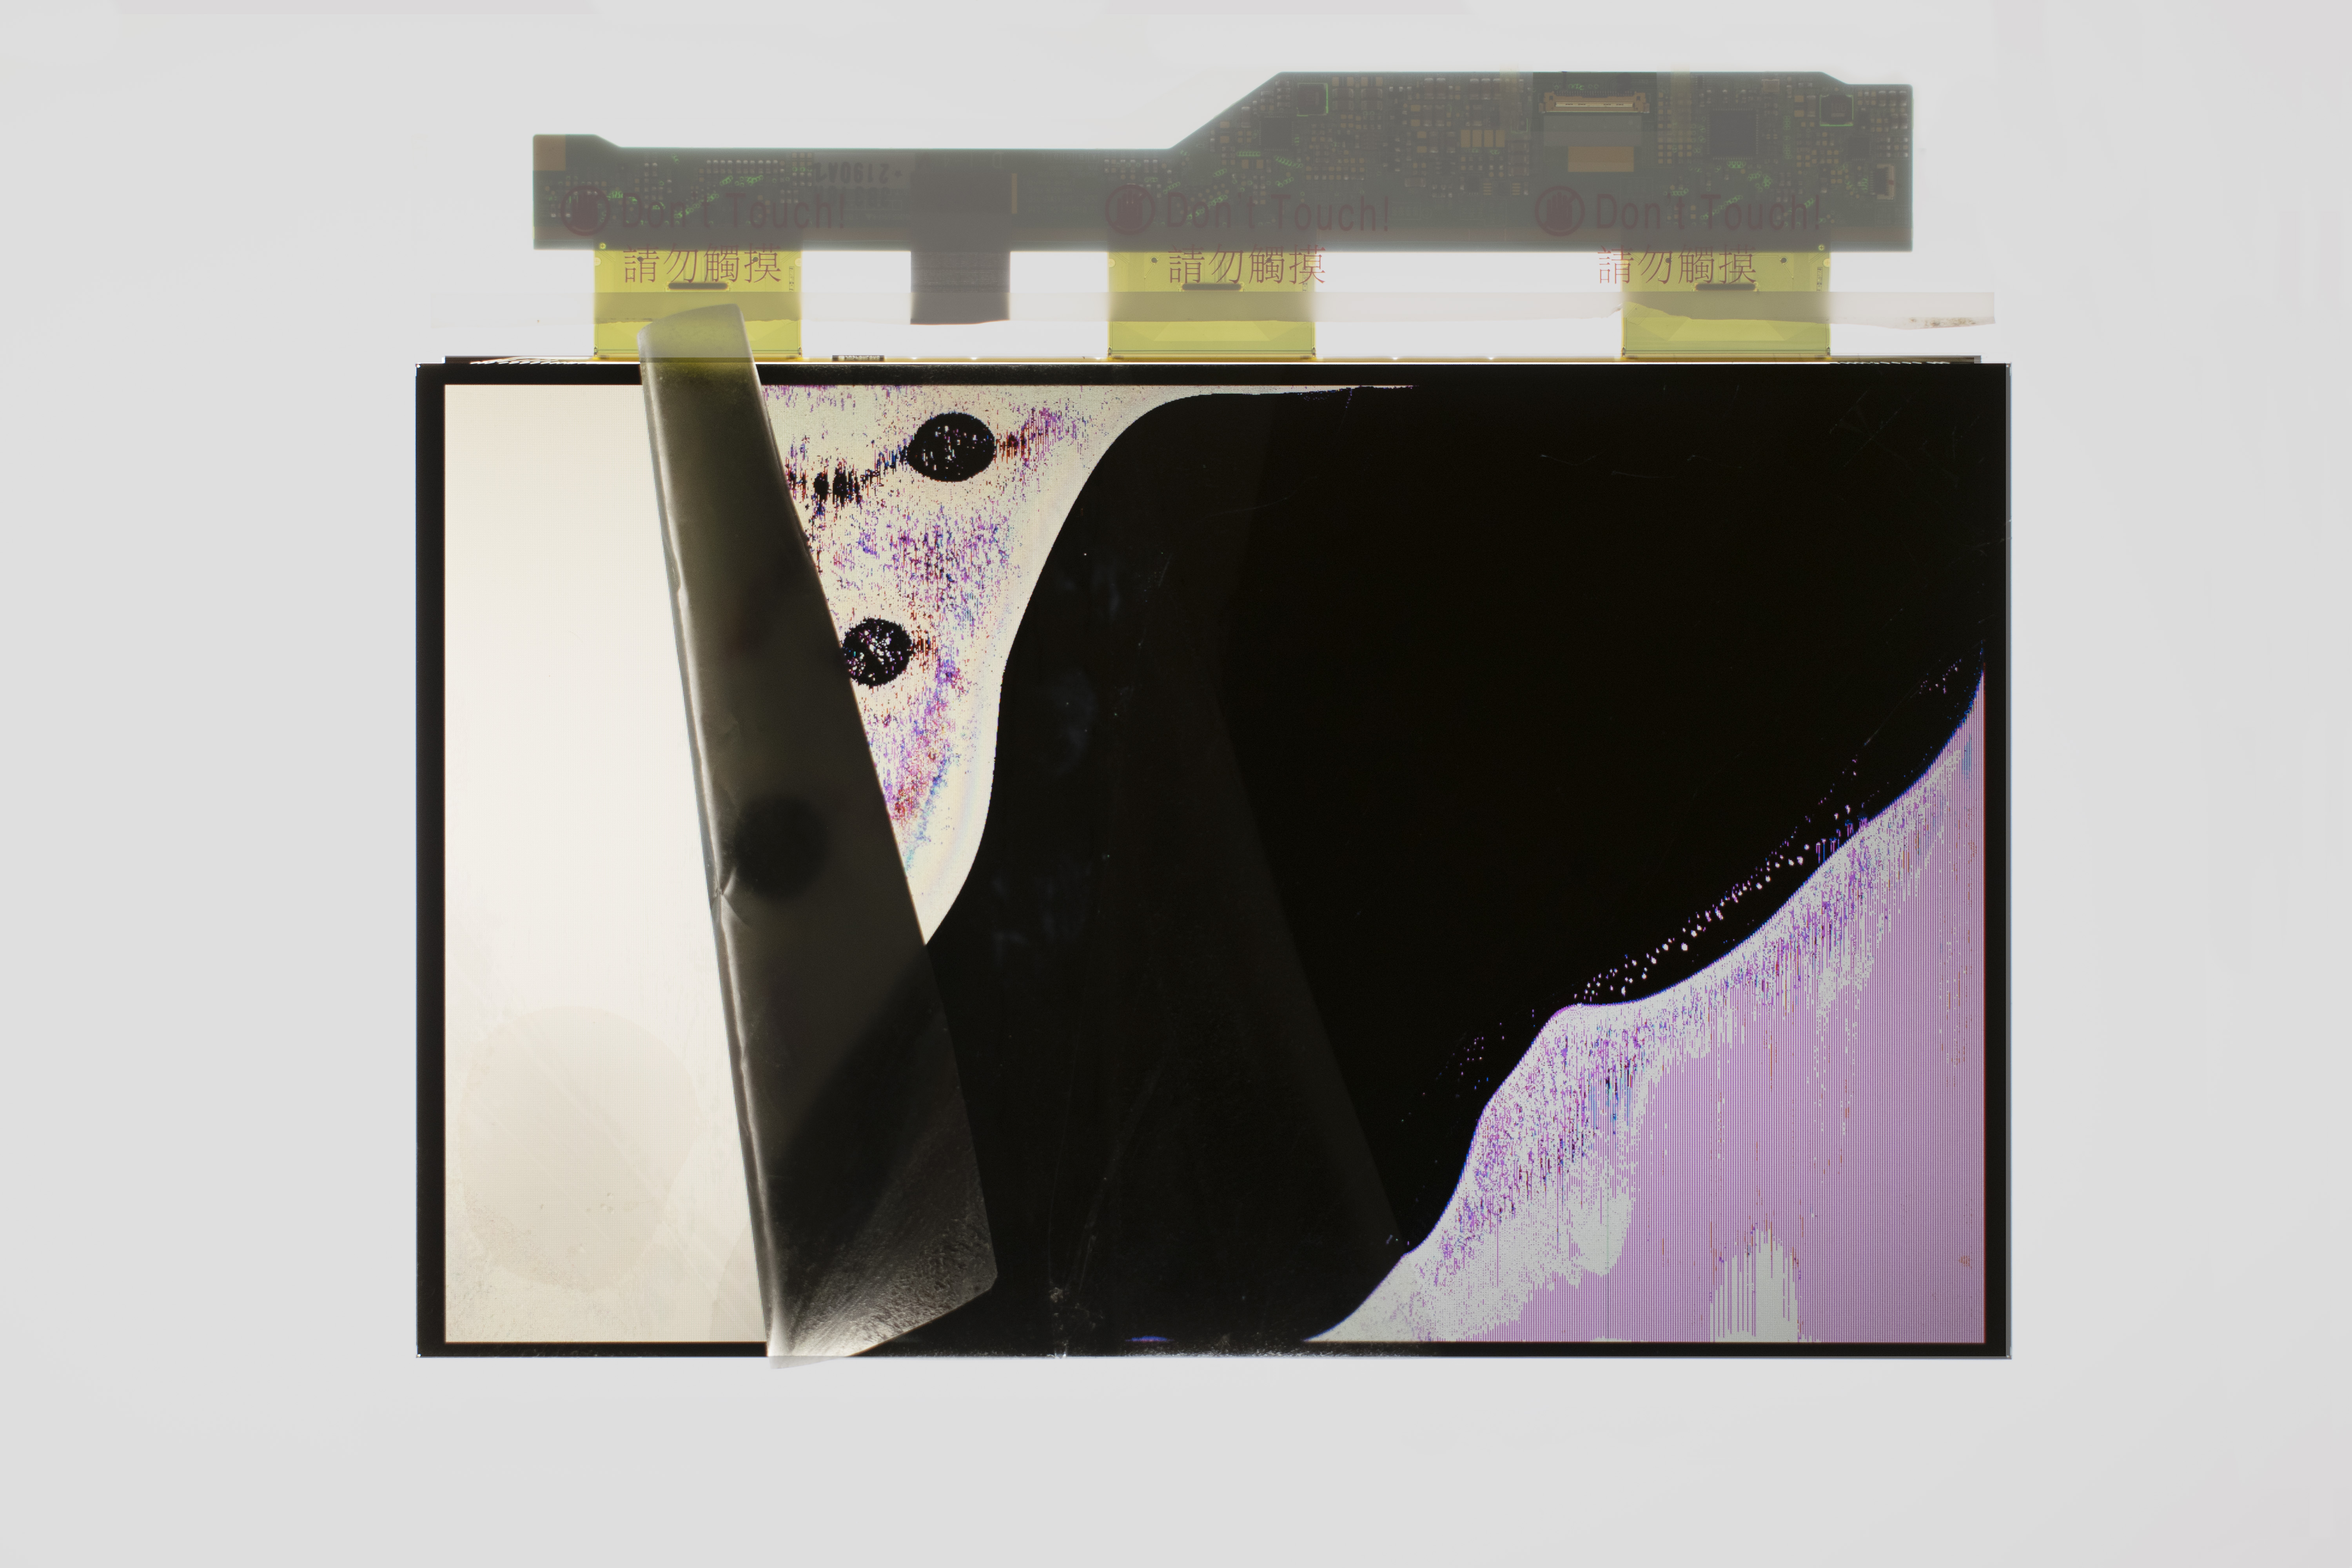
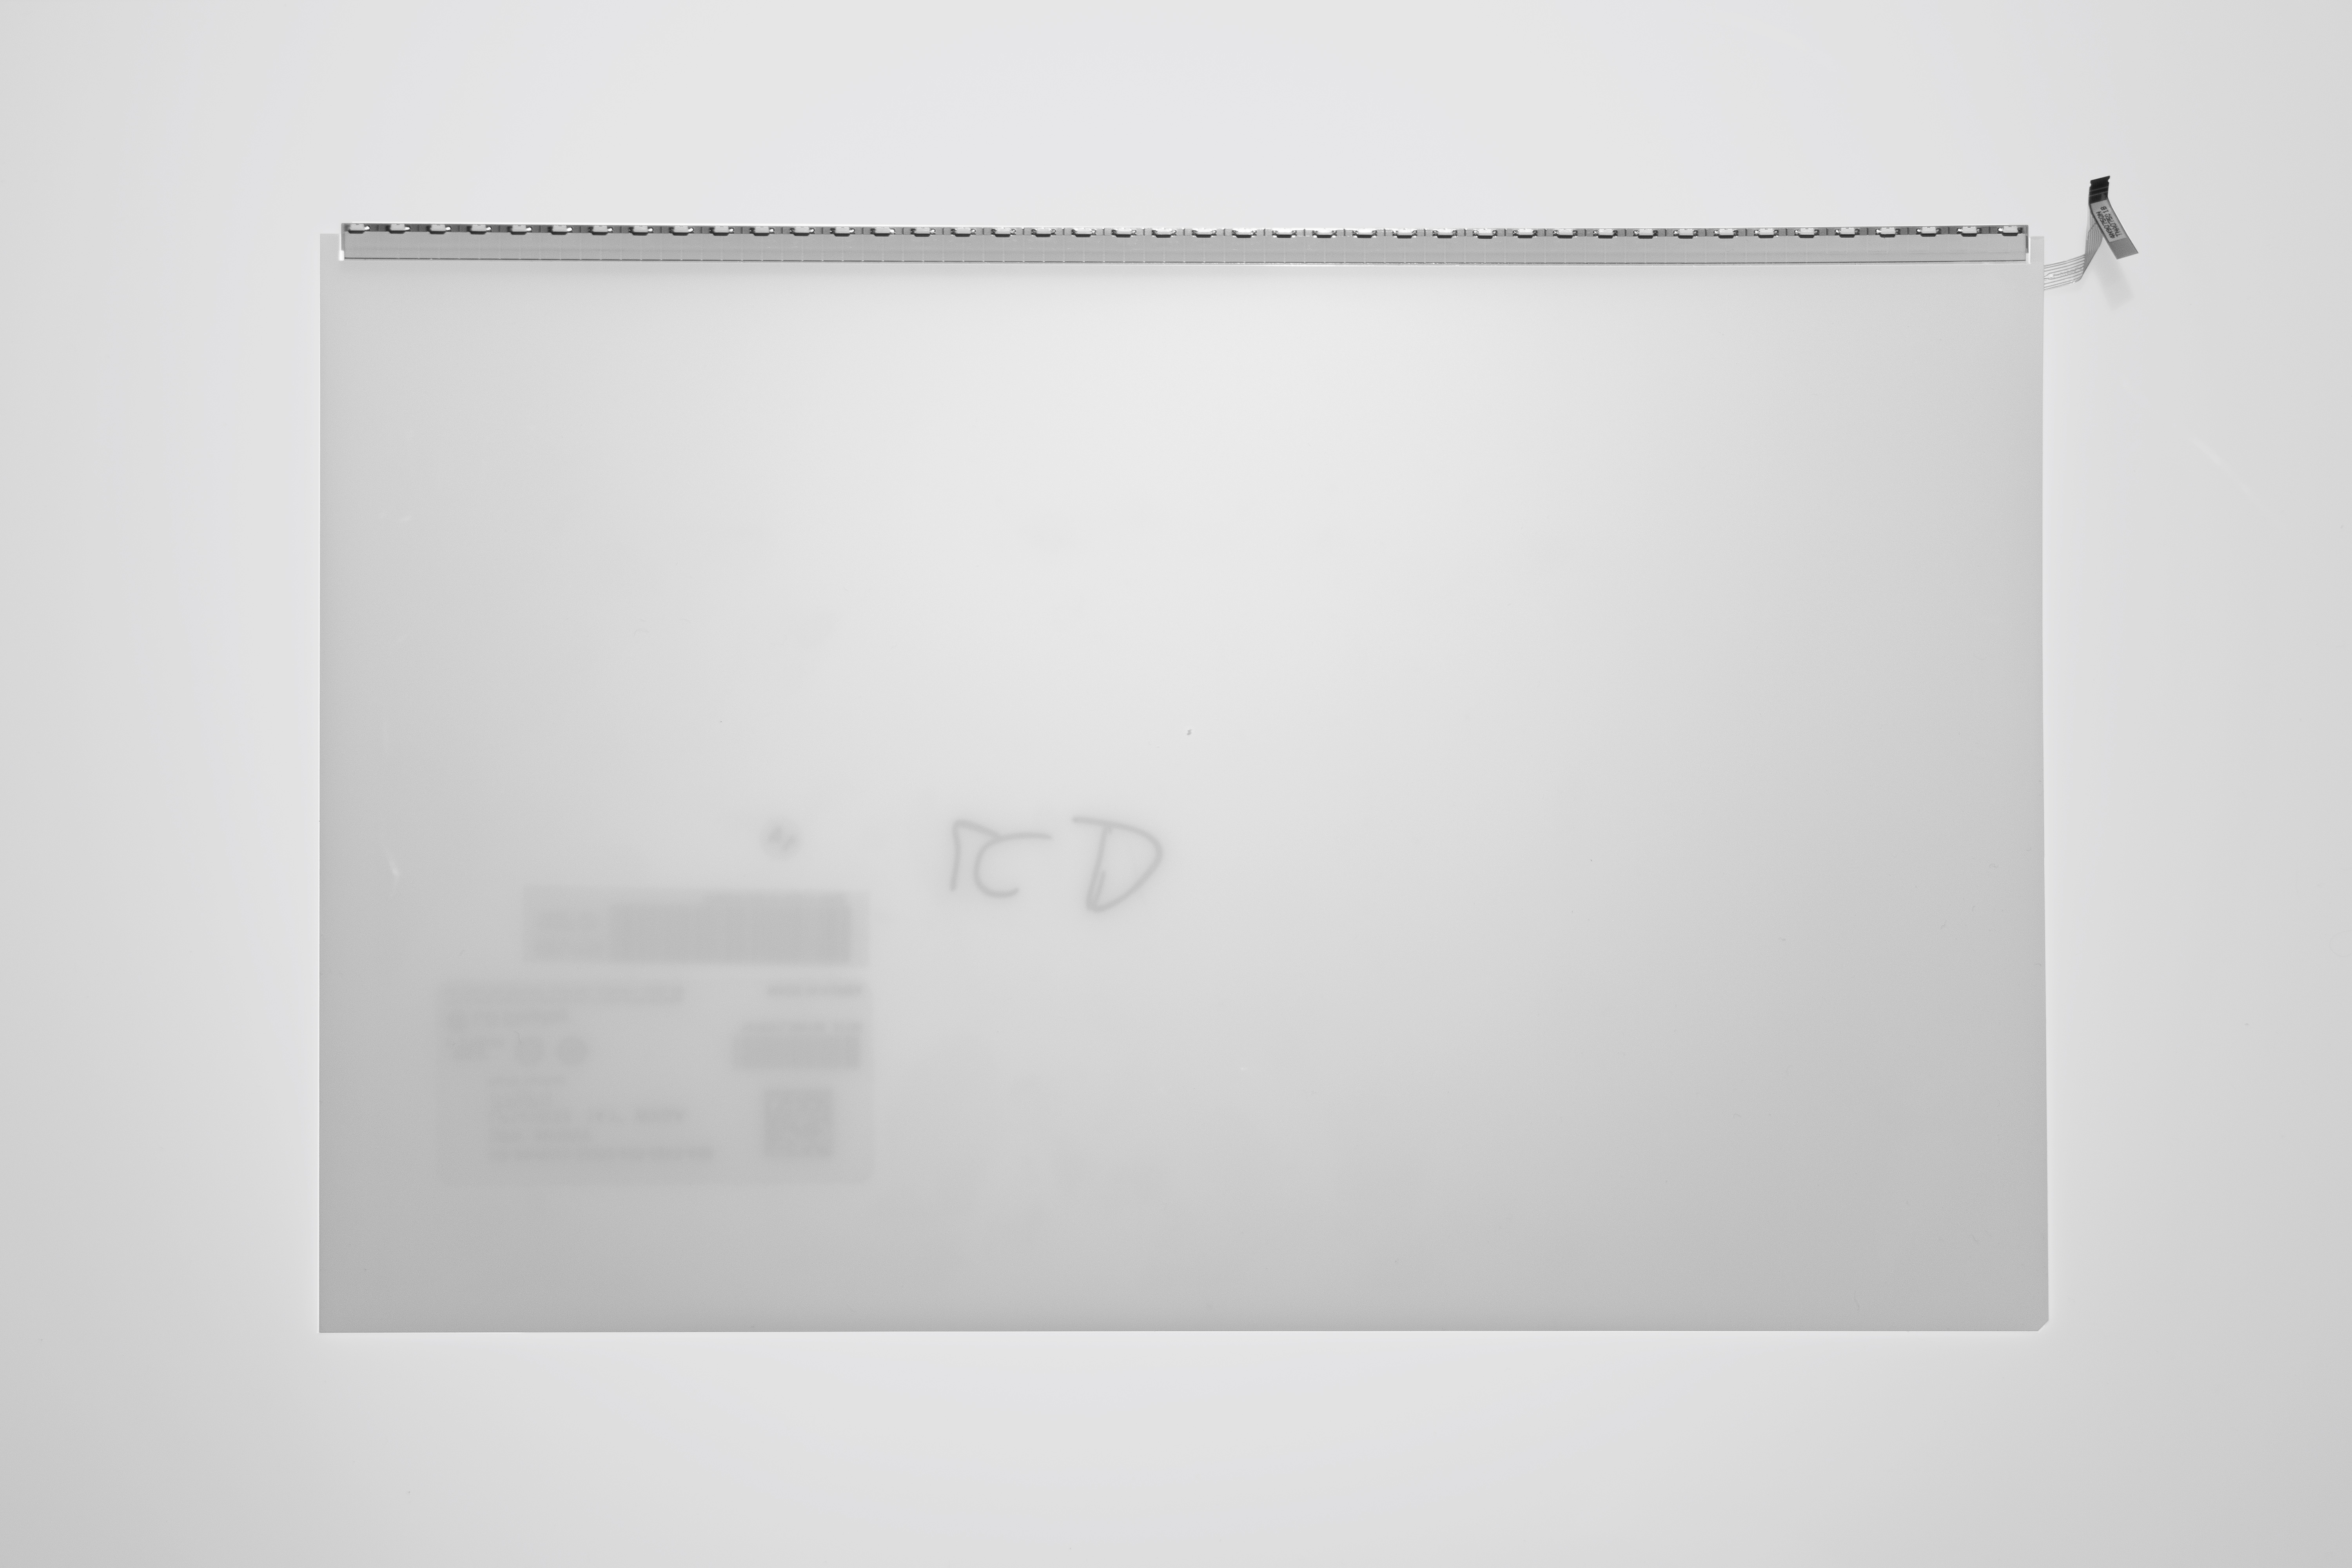
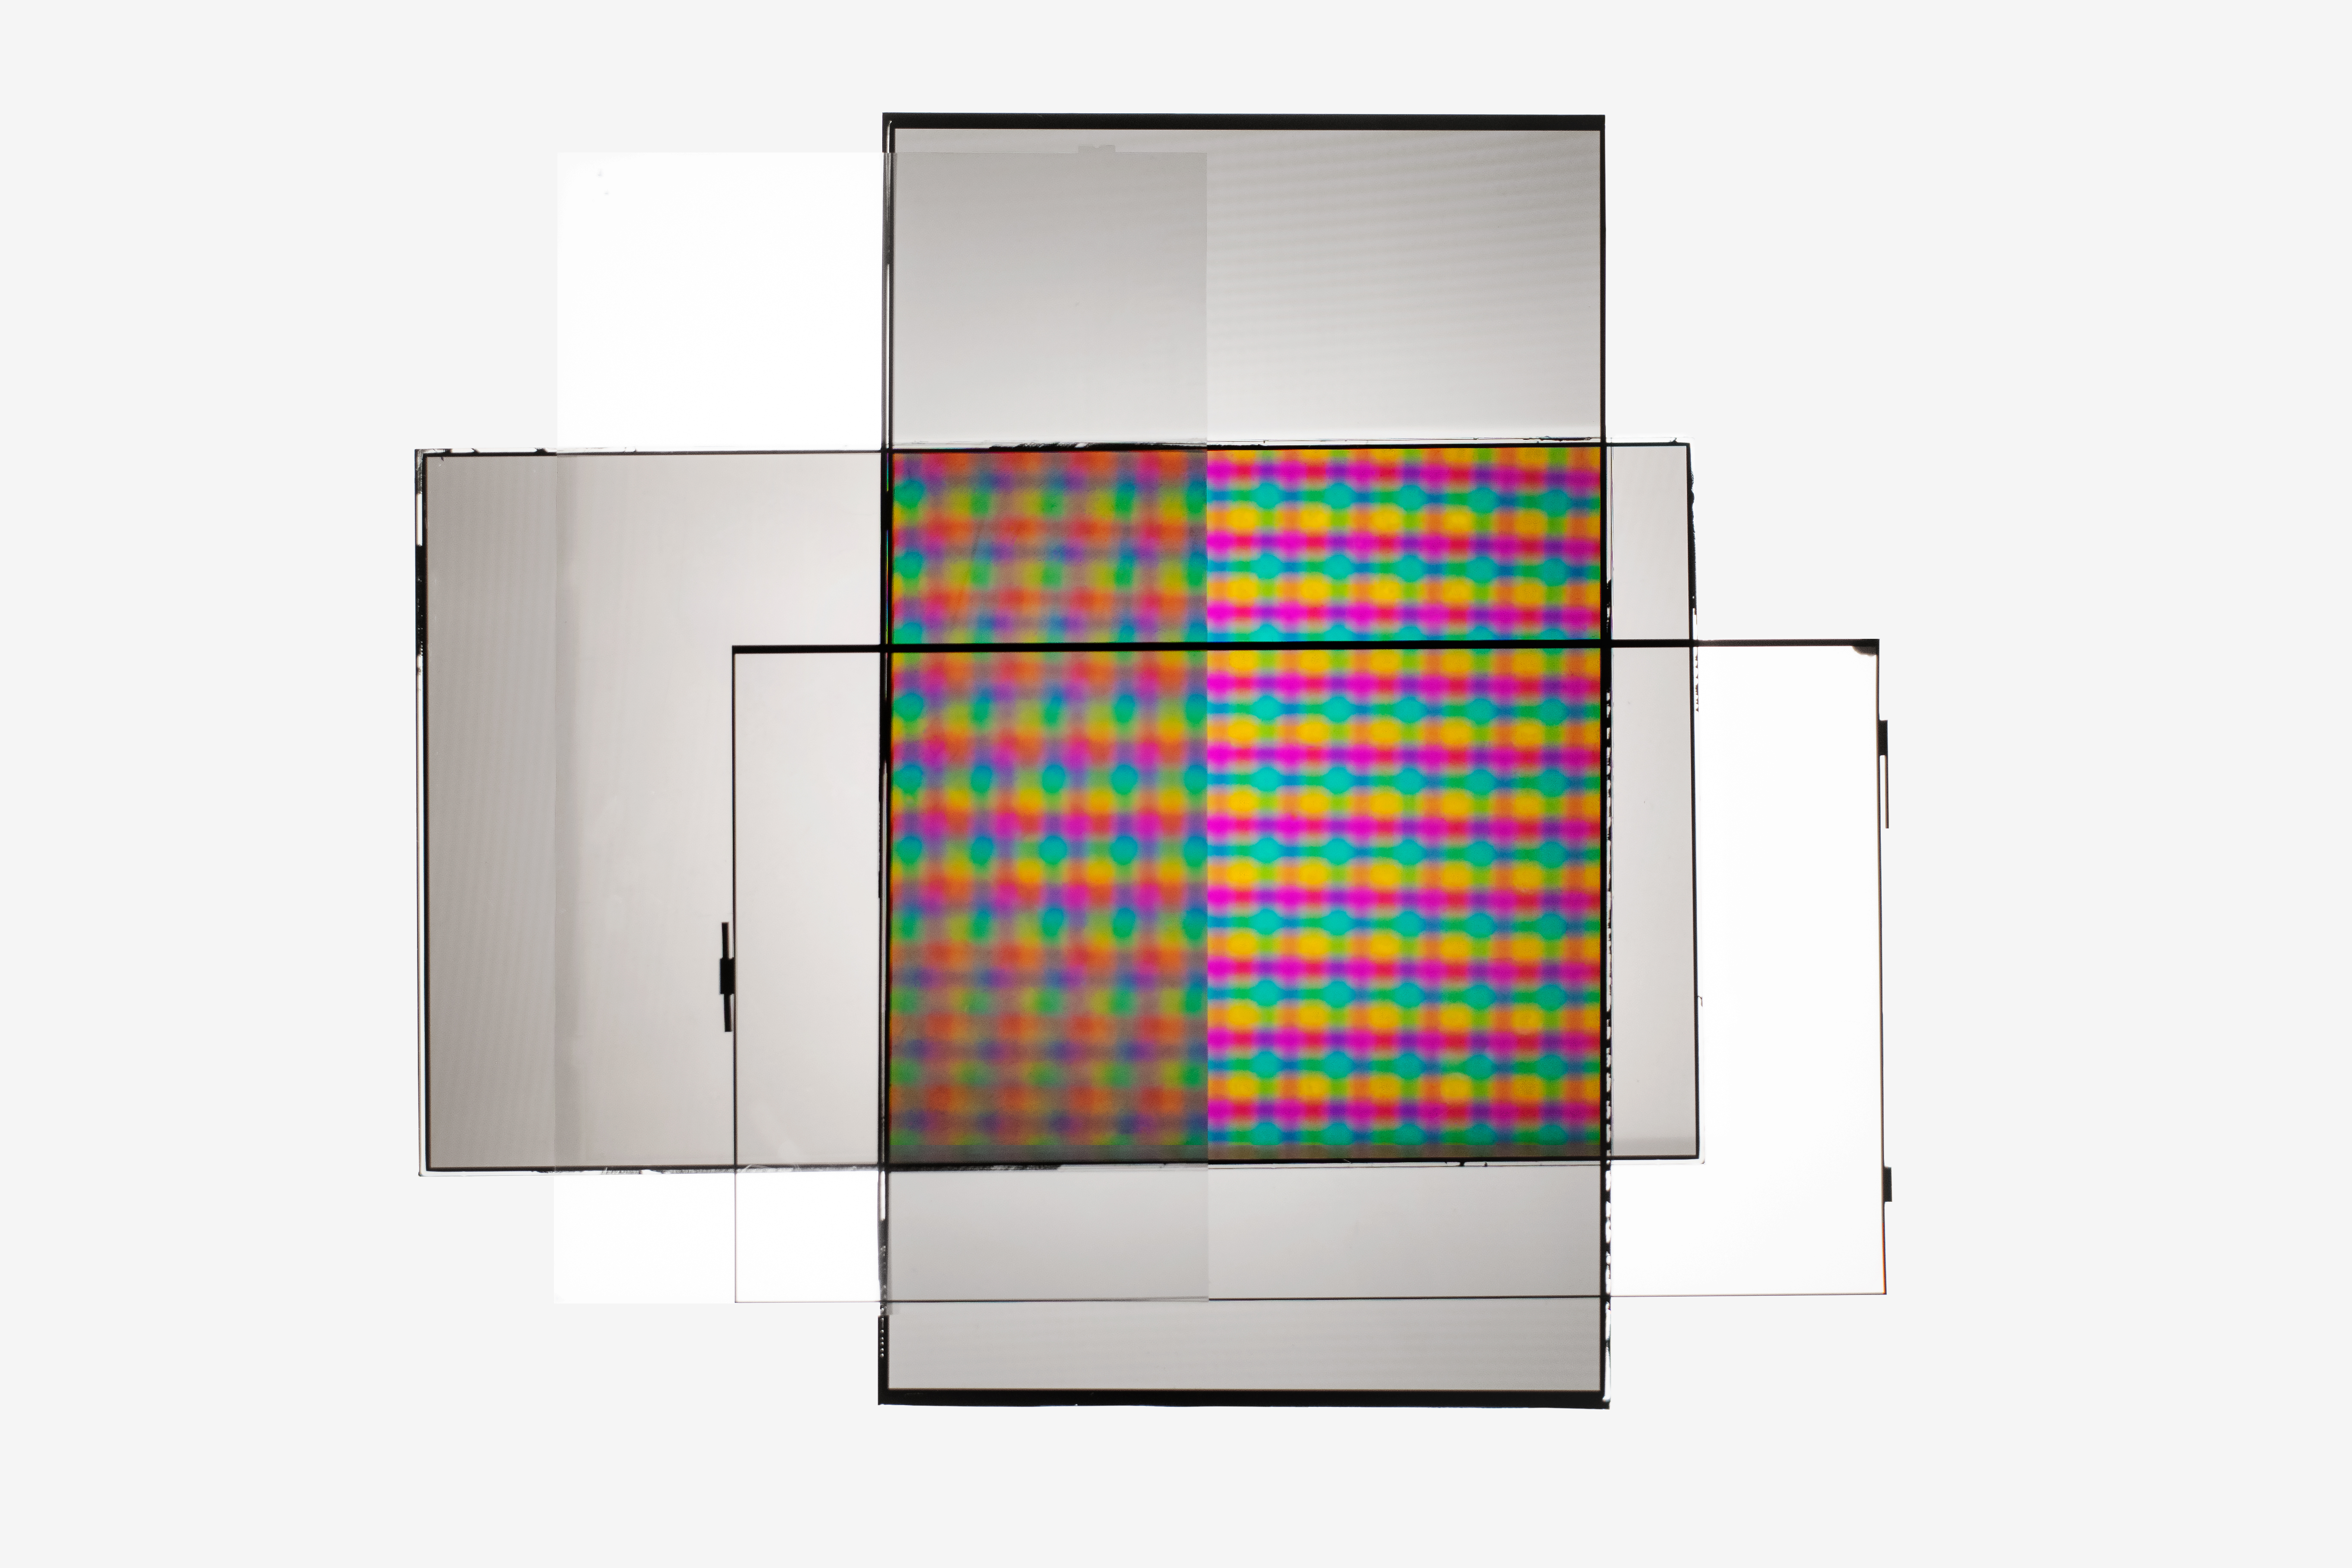
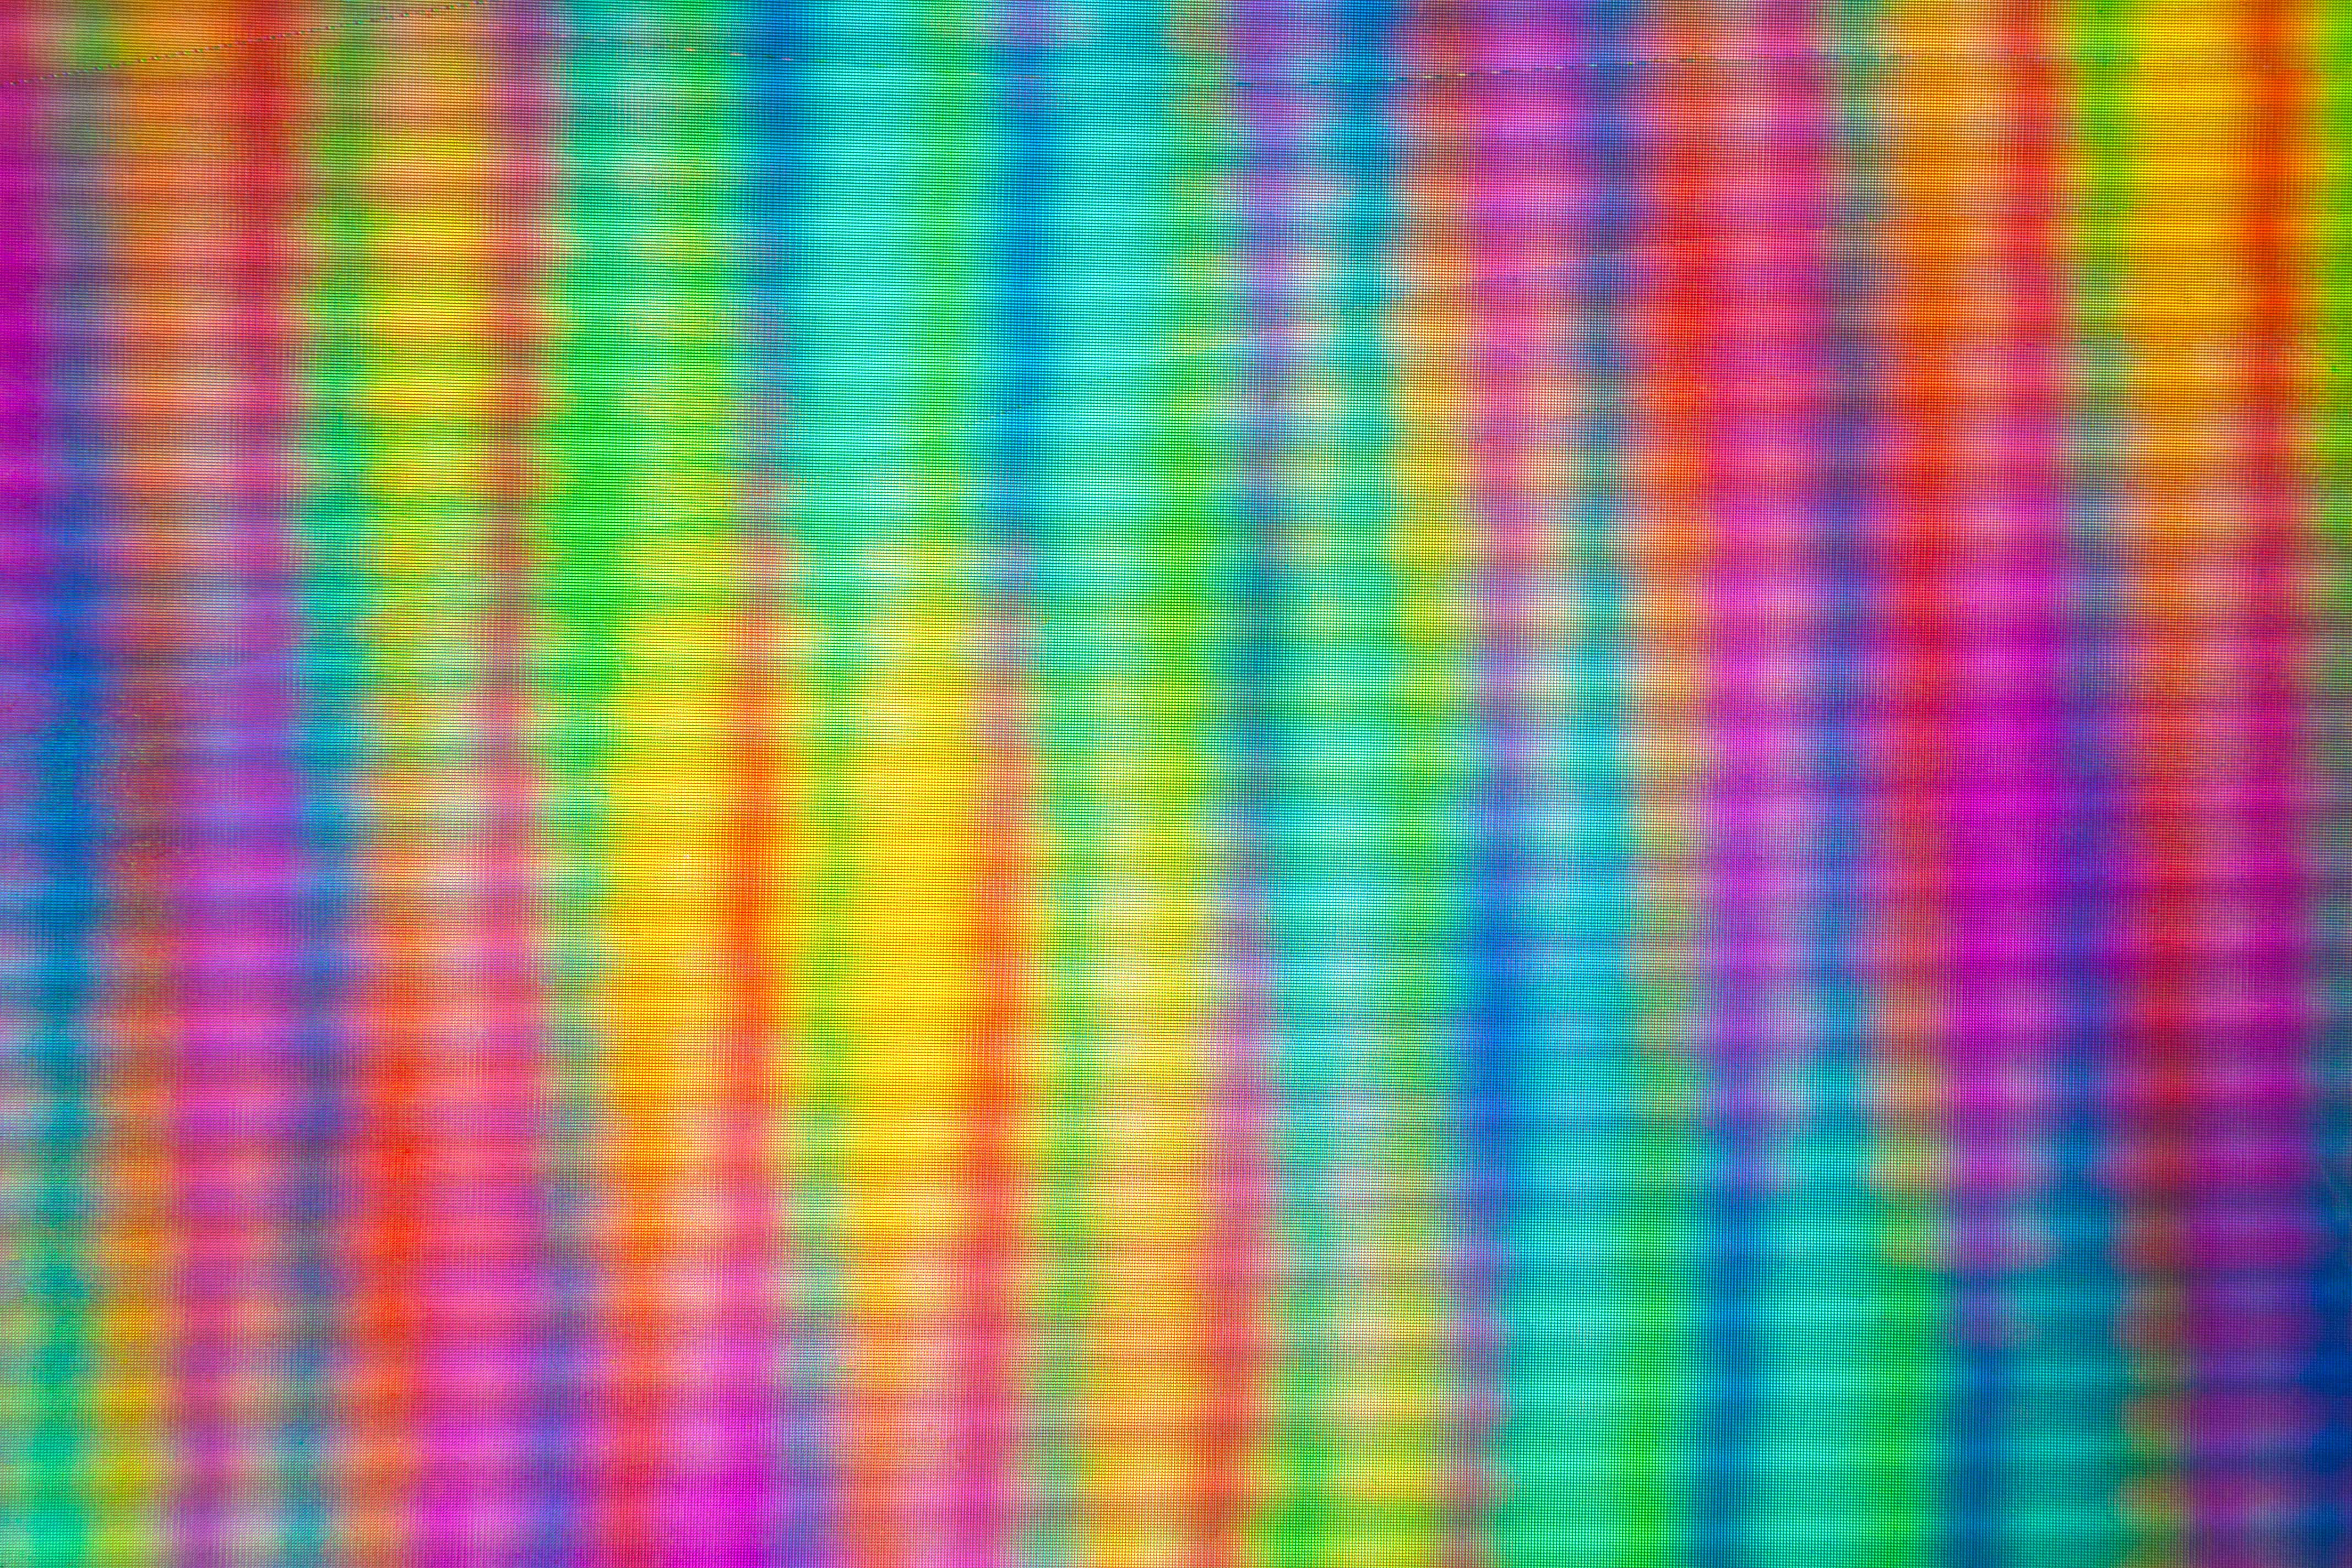
The outward-most facing component of the screen is the LCD matrix and it plays an essential role in filtering light waves to display images. This part comprises of two glass panes encasing the liquid crystal. The exterior of the glass panes is covered in a plastic polarising film while the inner sides are printed with either a matrix or an RGB colour filter.
The polarisers on the panes are positioned 90 degrees apart, which means no light can pass through when the screen is off. In the picture, you can see the area where the two glass panes overlap appears black. When an electrical current is applied, the liquid crystal diodes twist to let in varying levels of light. The polarisers so are integral to the technology that without either film, no image can be displayed whatsoever.
The polarisers on the panes are positioned 90 degrees apart, which means no light can pass through when the screen is off. In the picture, you can see the area where the two glass panes overlap appears black. When an electrical current is applied, the liquid crystal diodes twist to let in varying levels of light. The polarisers so are integral to the technology that without either film, no image can be displayed whatsoever.
Backlight Assembly
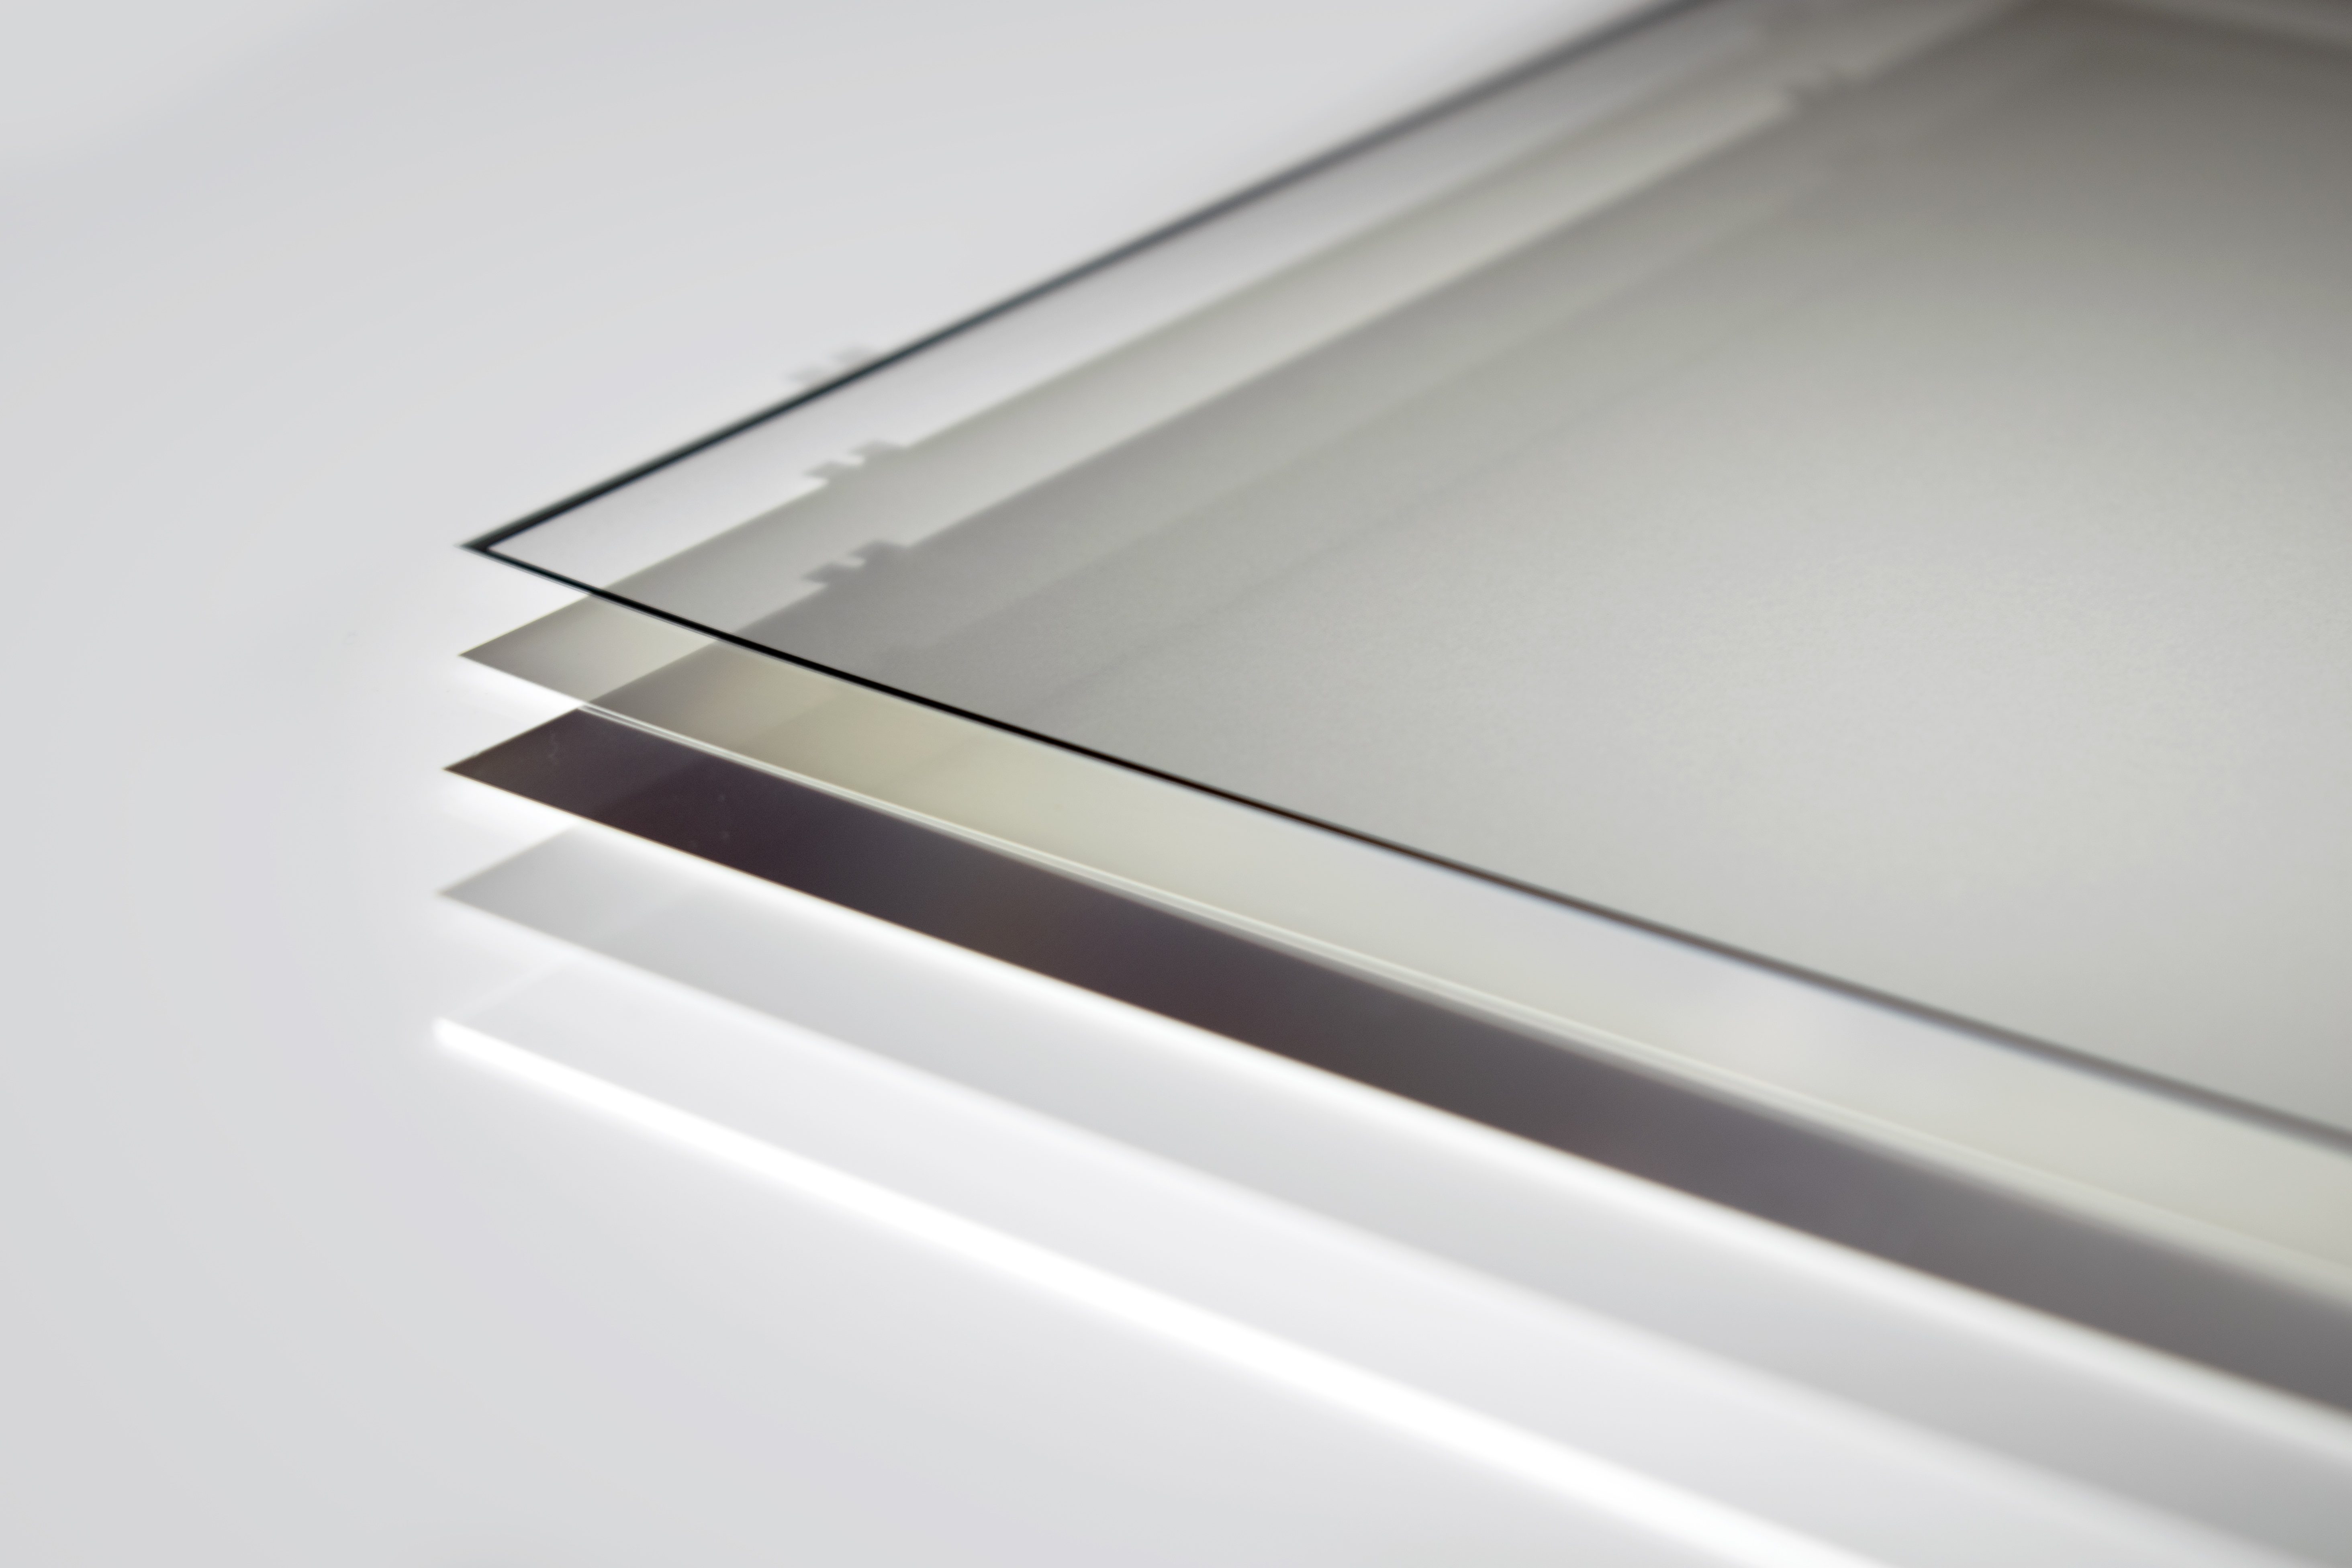
Underneath the LCD matrix are several plastic layers: diffuse layers, diffraction gratings, a thicker plastic light guide, and a white plastic sheet with a row of LEDs. LCDs do not emit light on their own and require illumination to reveal an image and the layers diffuse and spread the backlight evenly across the display.
Image Making
Filters used: LCD matrix
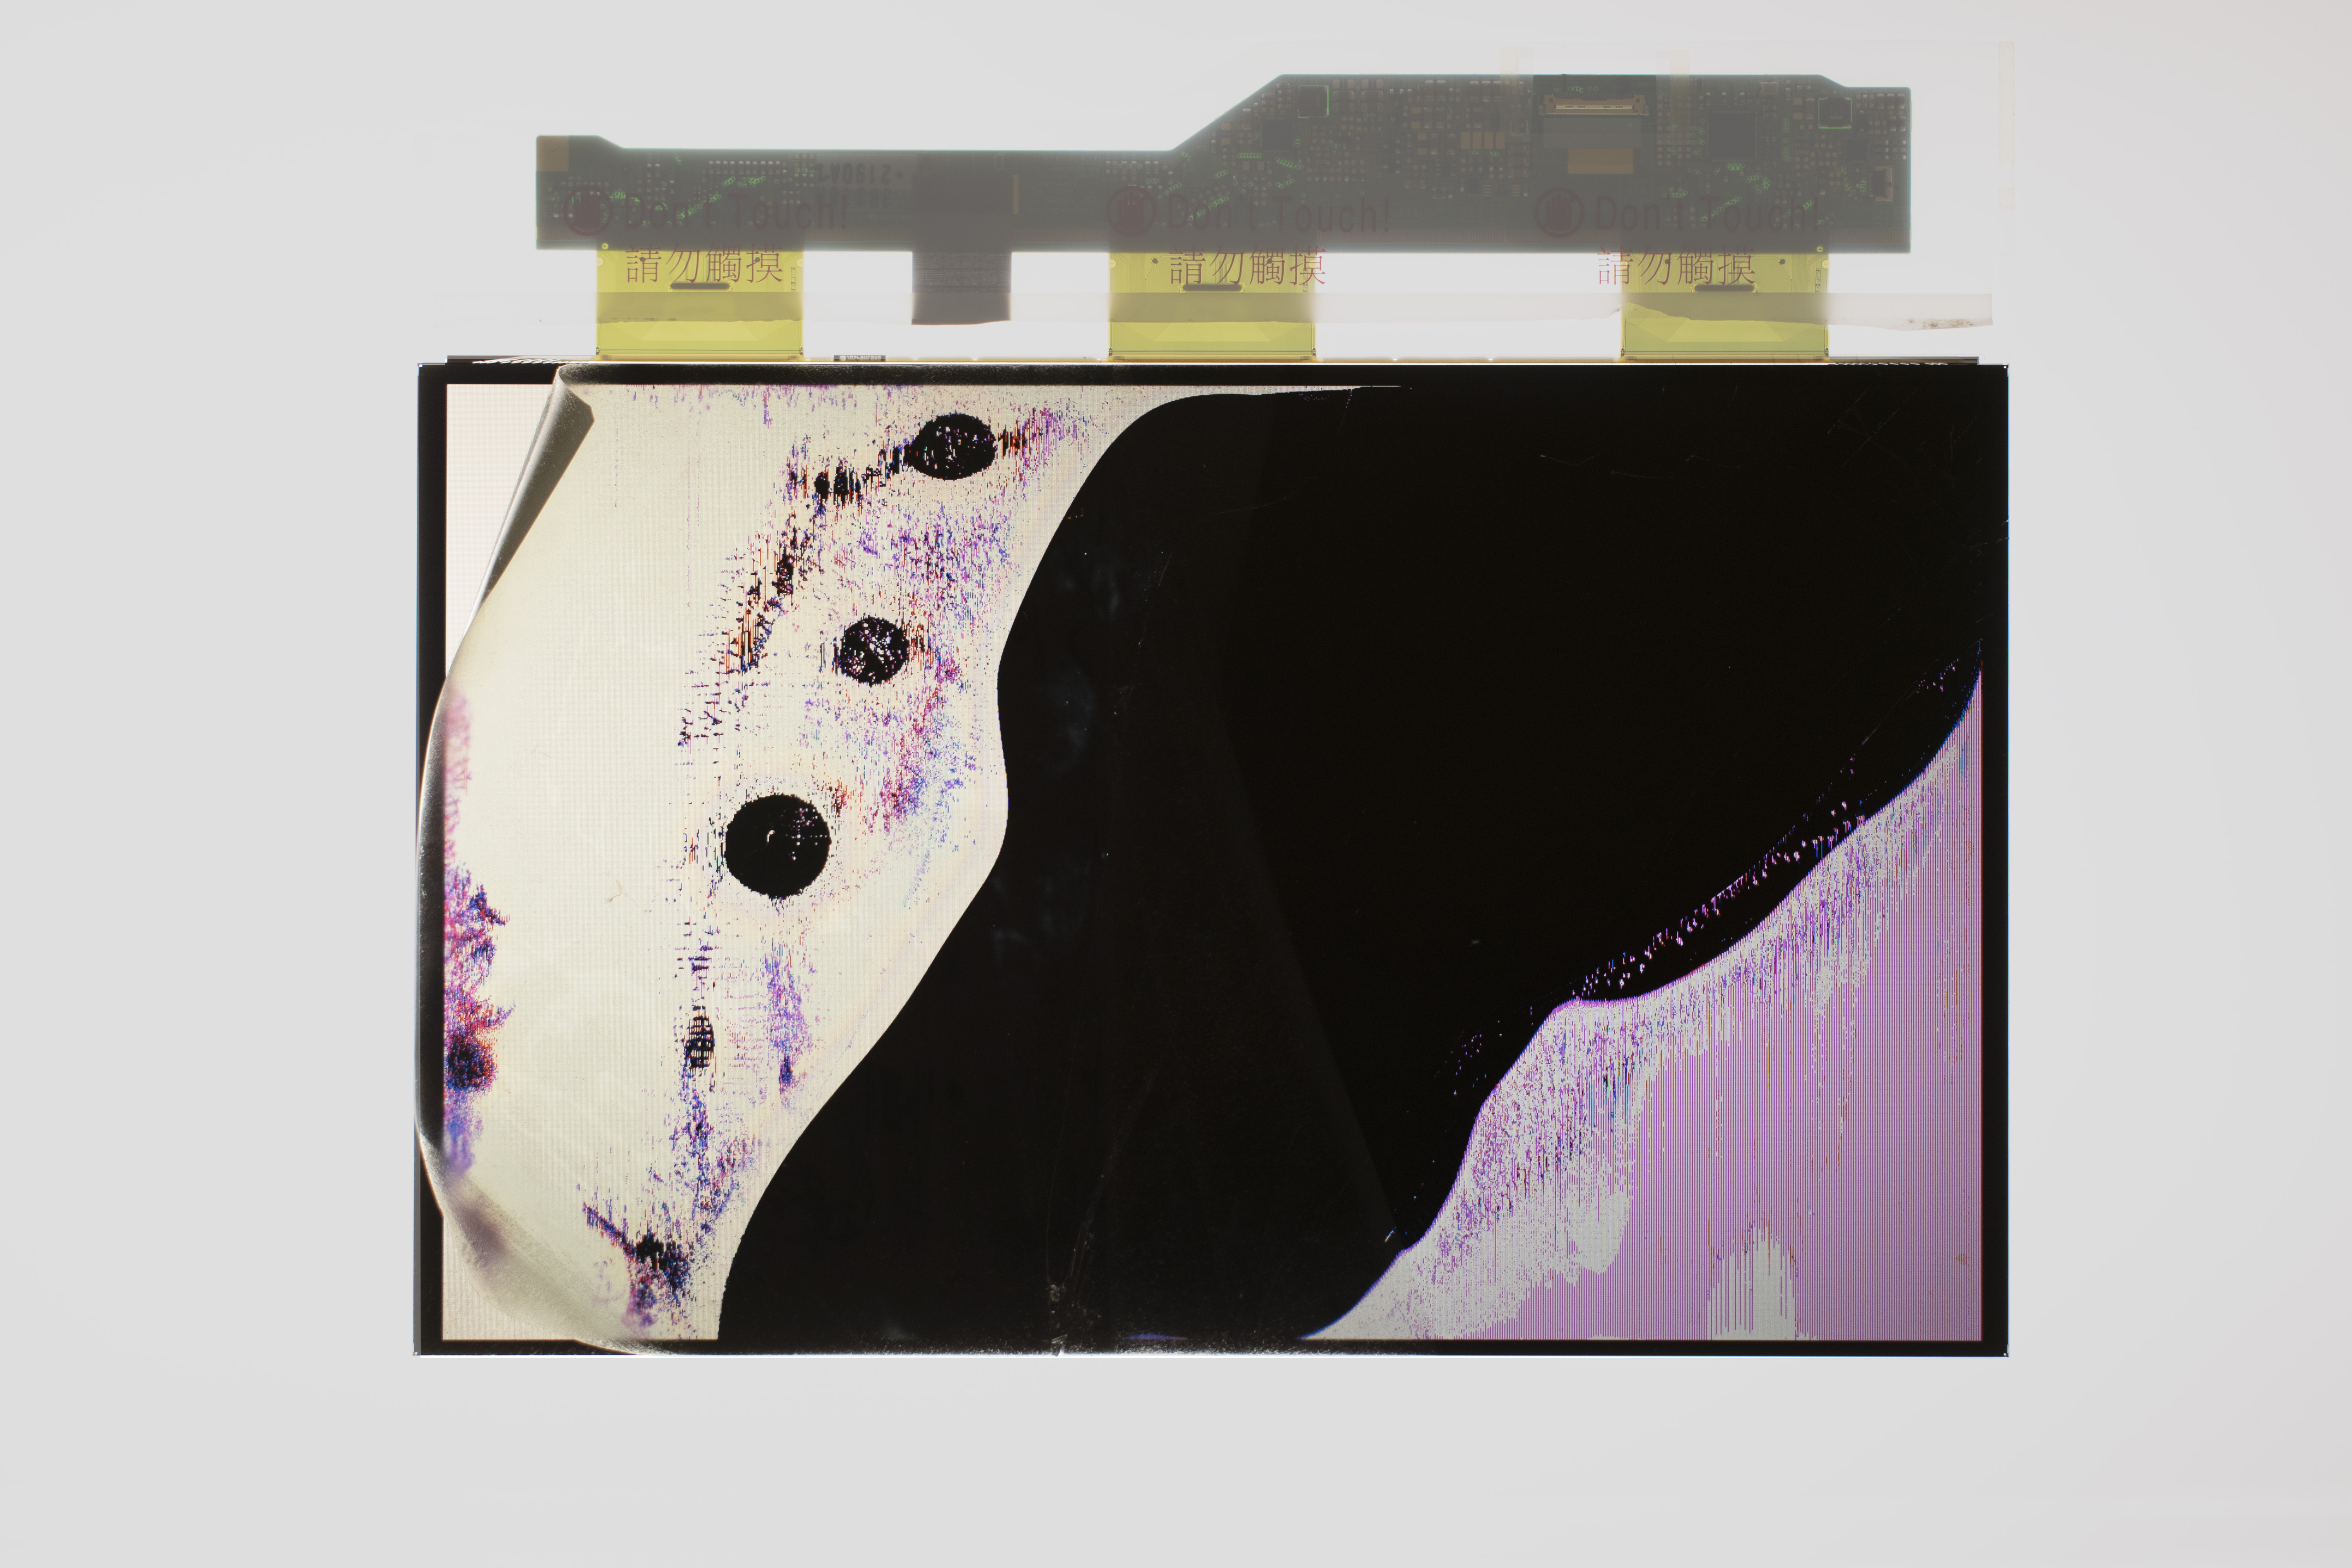
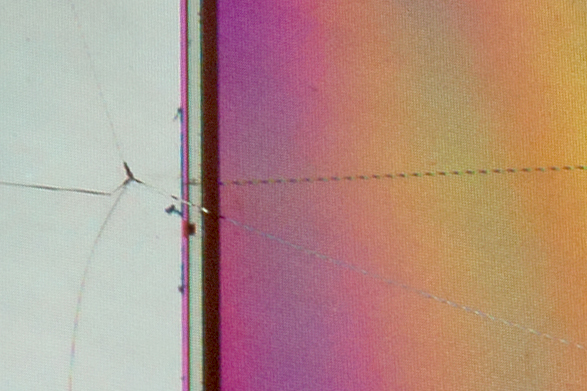
Analysis: As the screens I used were all damaged: cracked glass, distorted pixel calibration. As a result, the liquid crystal split and pooled in areas and I became more apparent of its fluidity. It created unexpected patterns and textures which resemble icicles, enhanced by the materiality of the glass. The matrix would be a great interactive piece of users to understand the components of the screen. However, there is a safety hazard posed by the broken glass.
Filters used: 2 x diffraction gratings, light guide
Analysis: The amoeba-like forms on the surface contrast the screen's usual plastic and unnatural appearance. When filming, the light source or the angle of the camera must be a specific angle for the patterns to show.
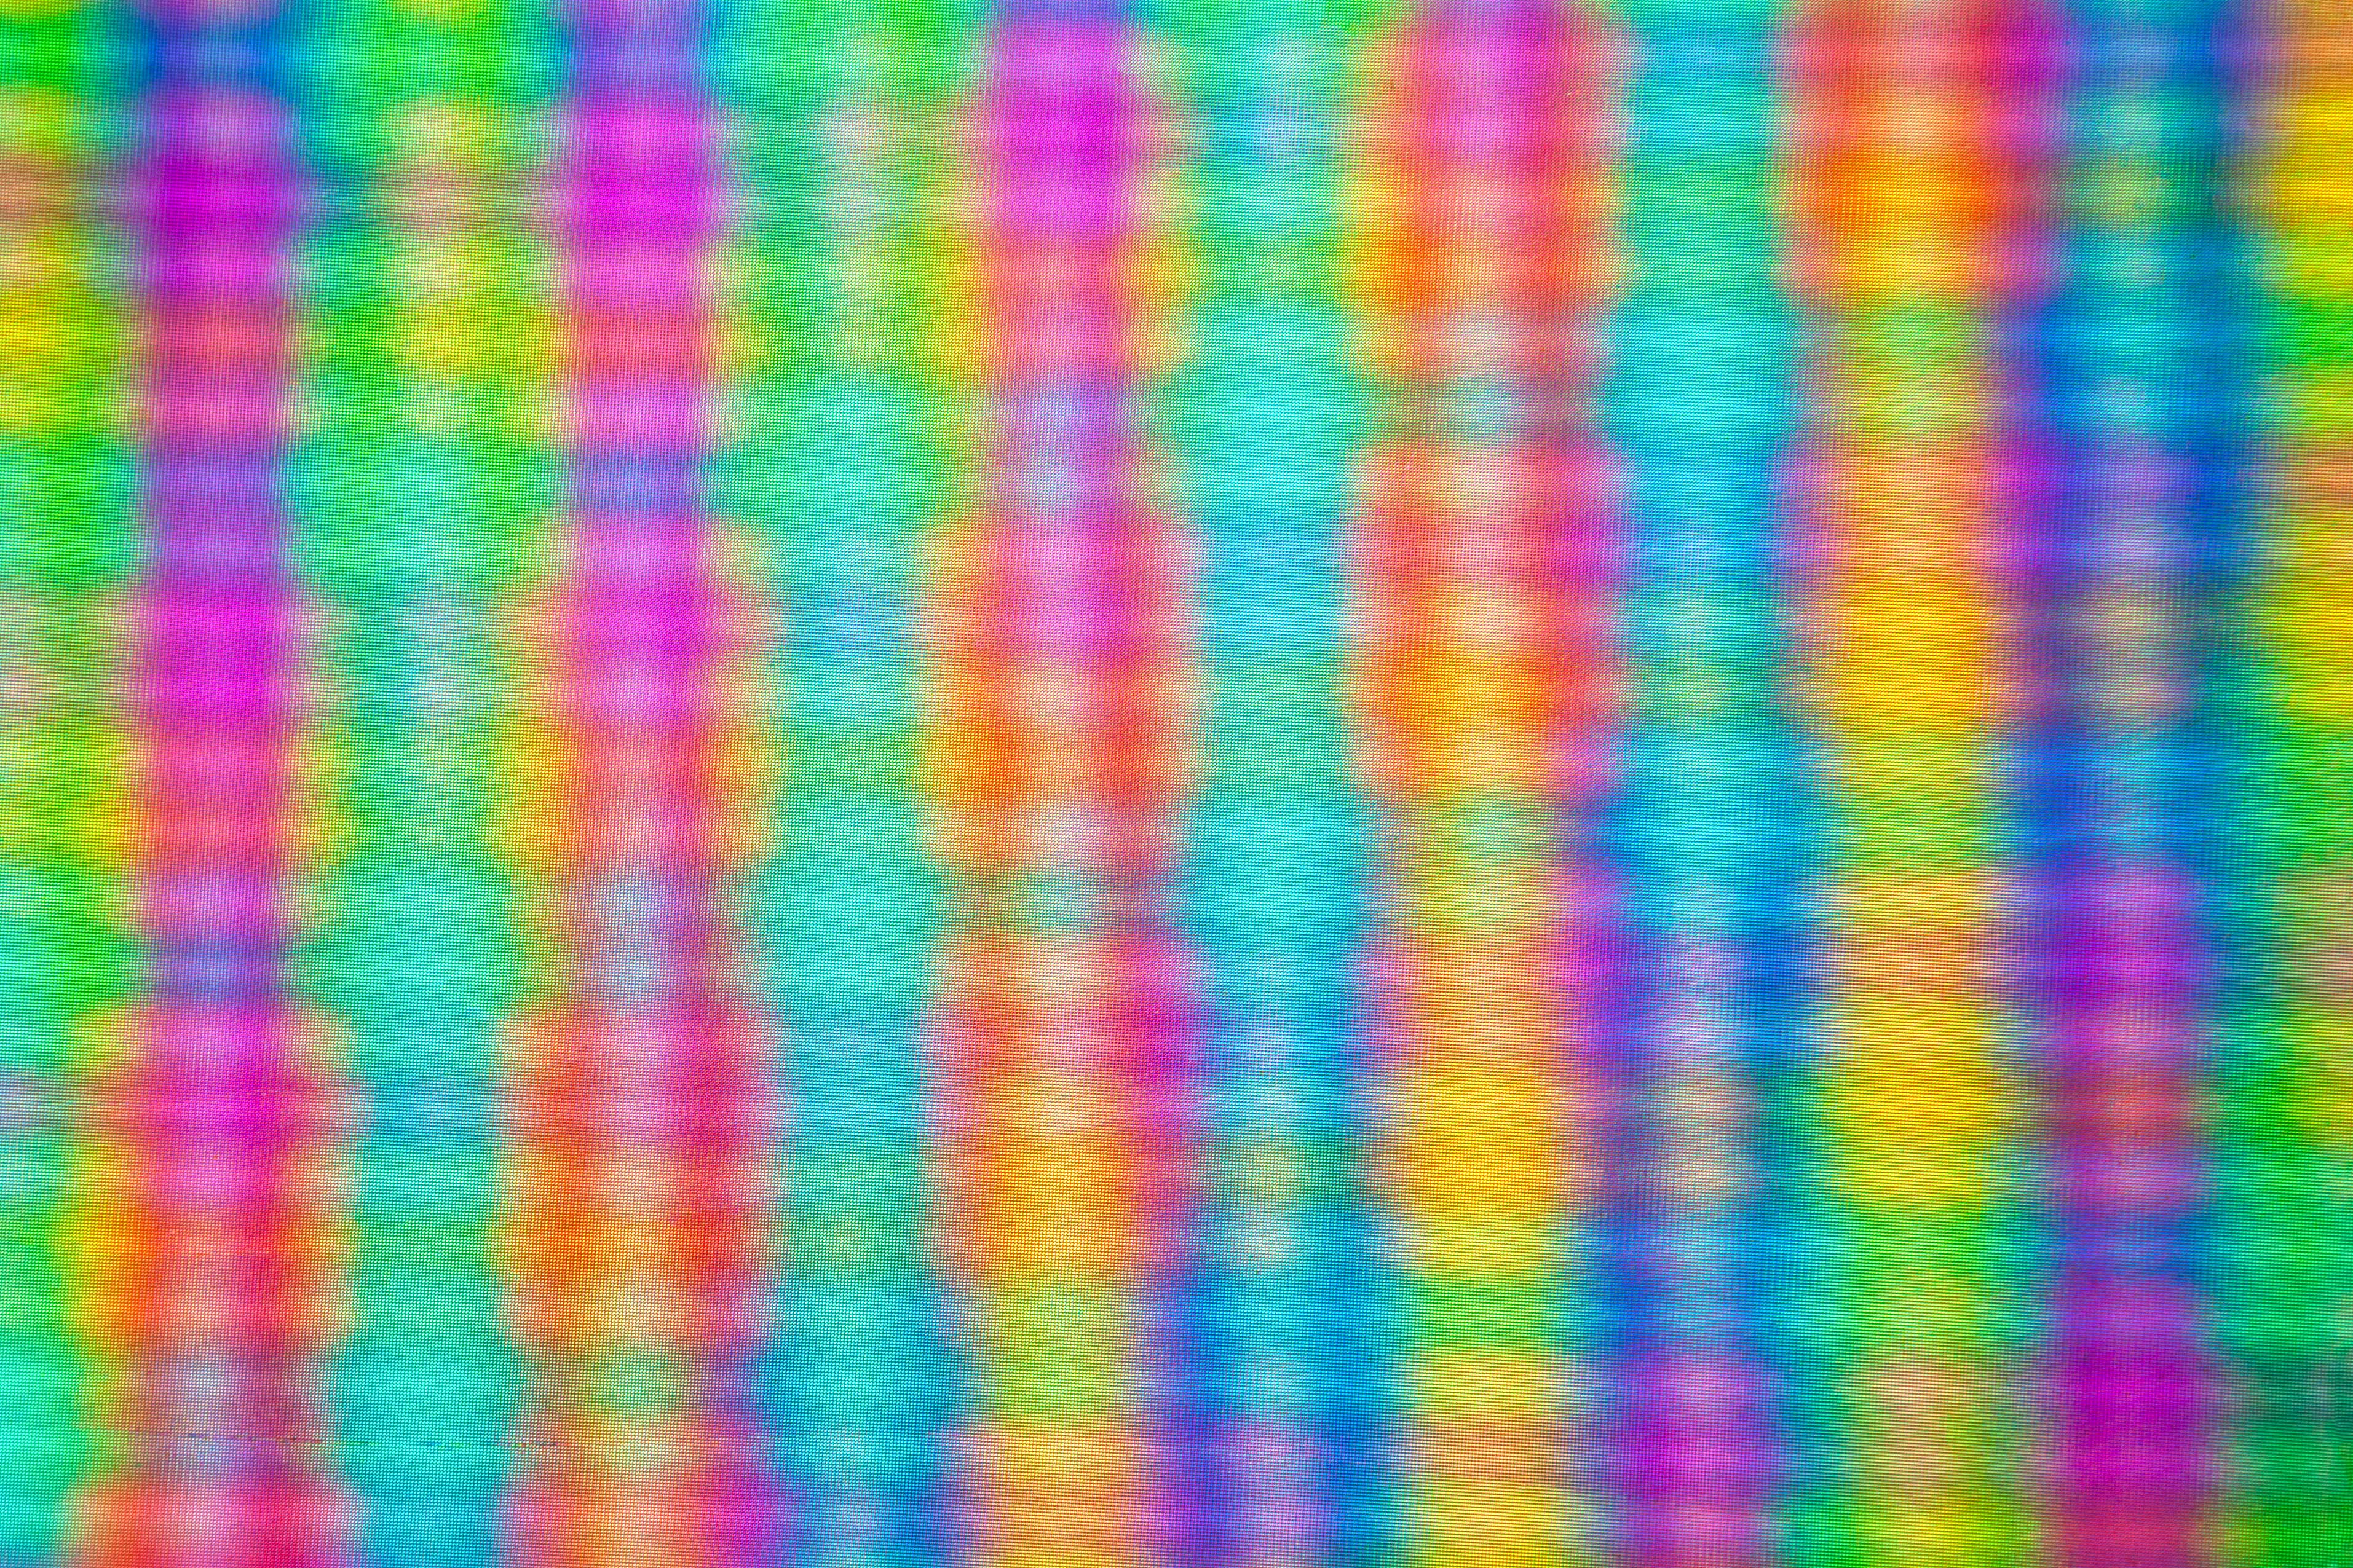
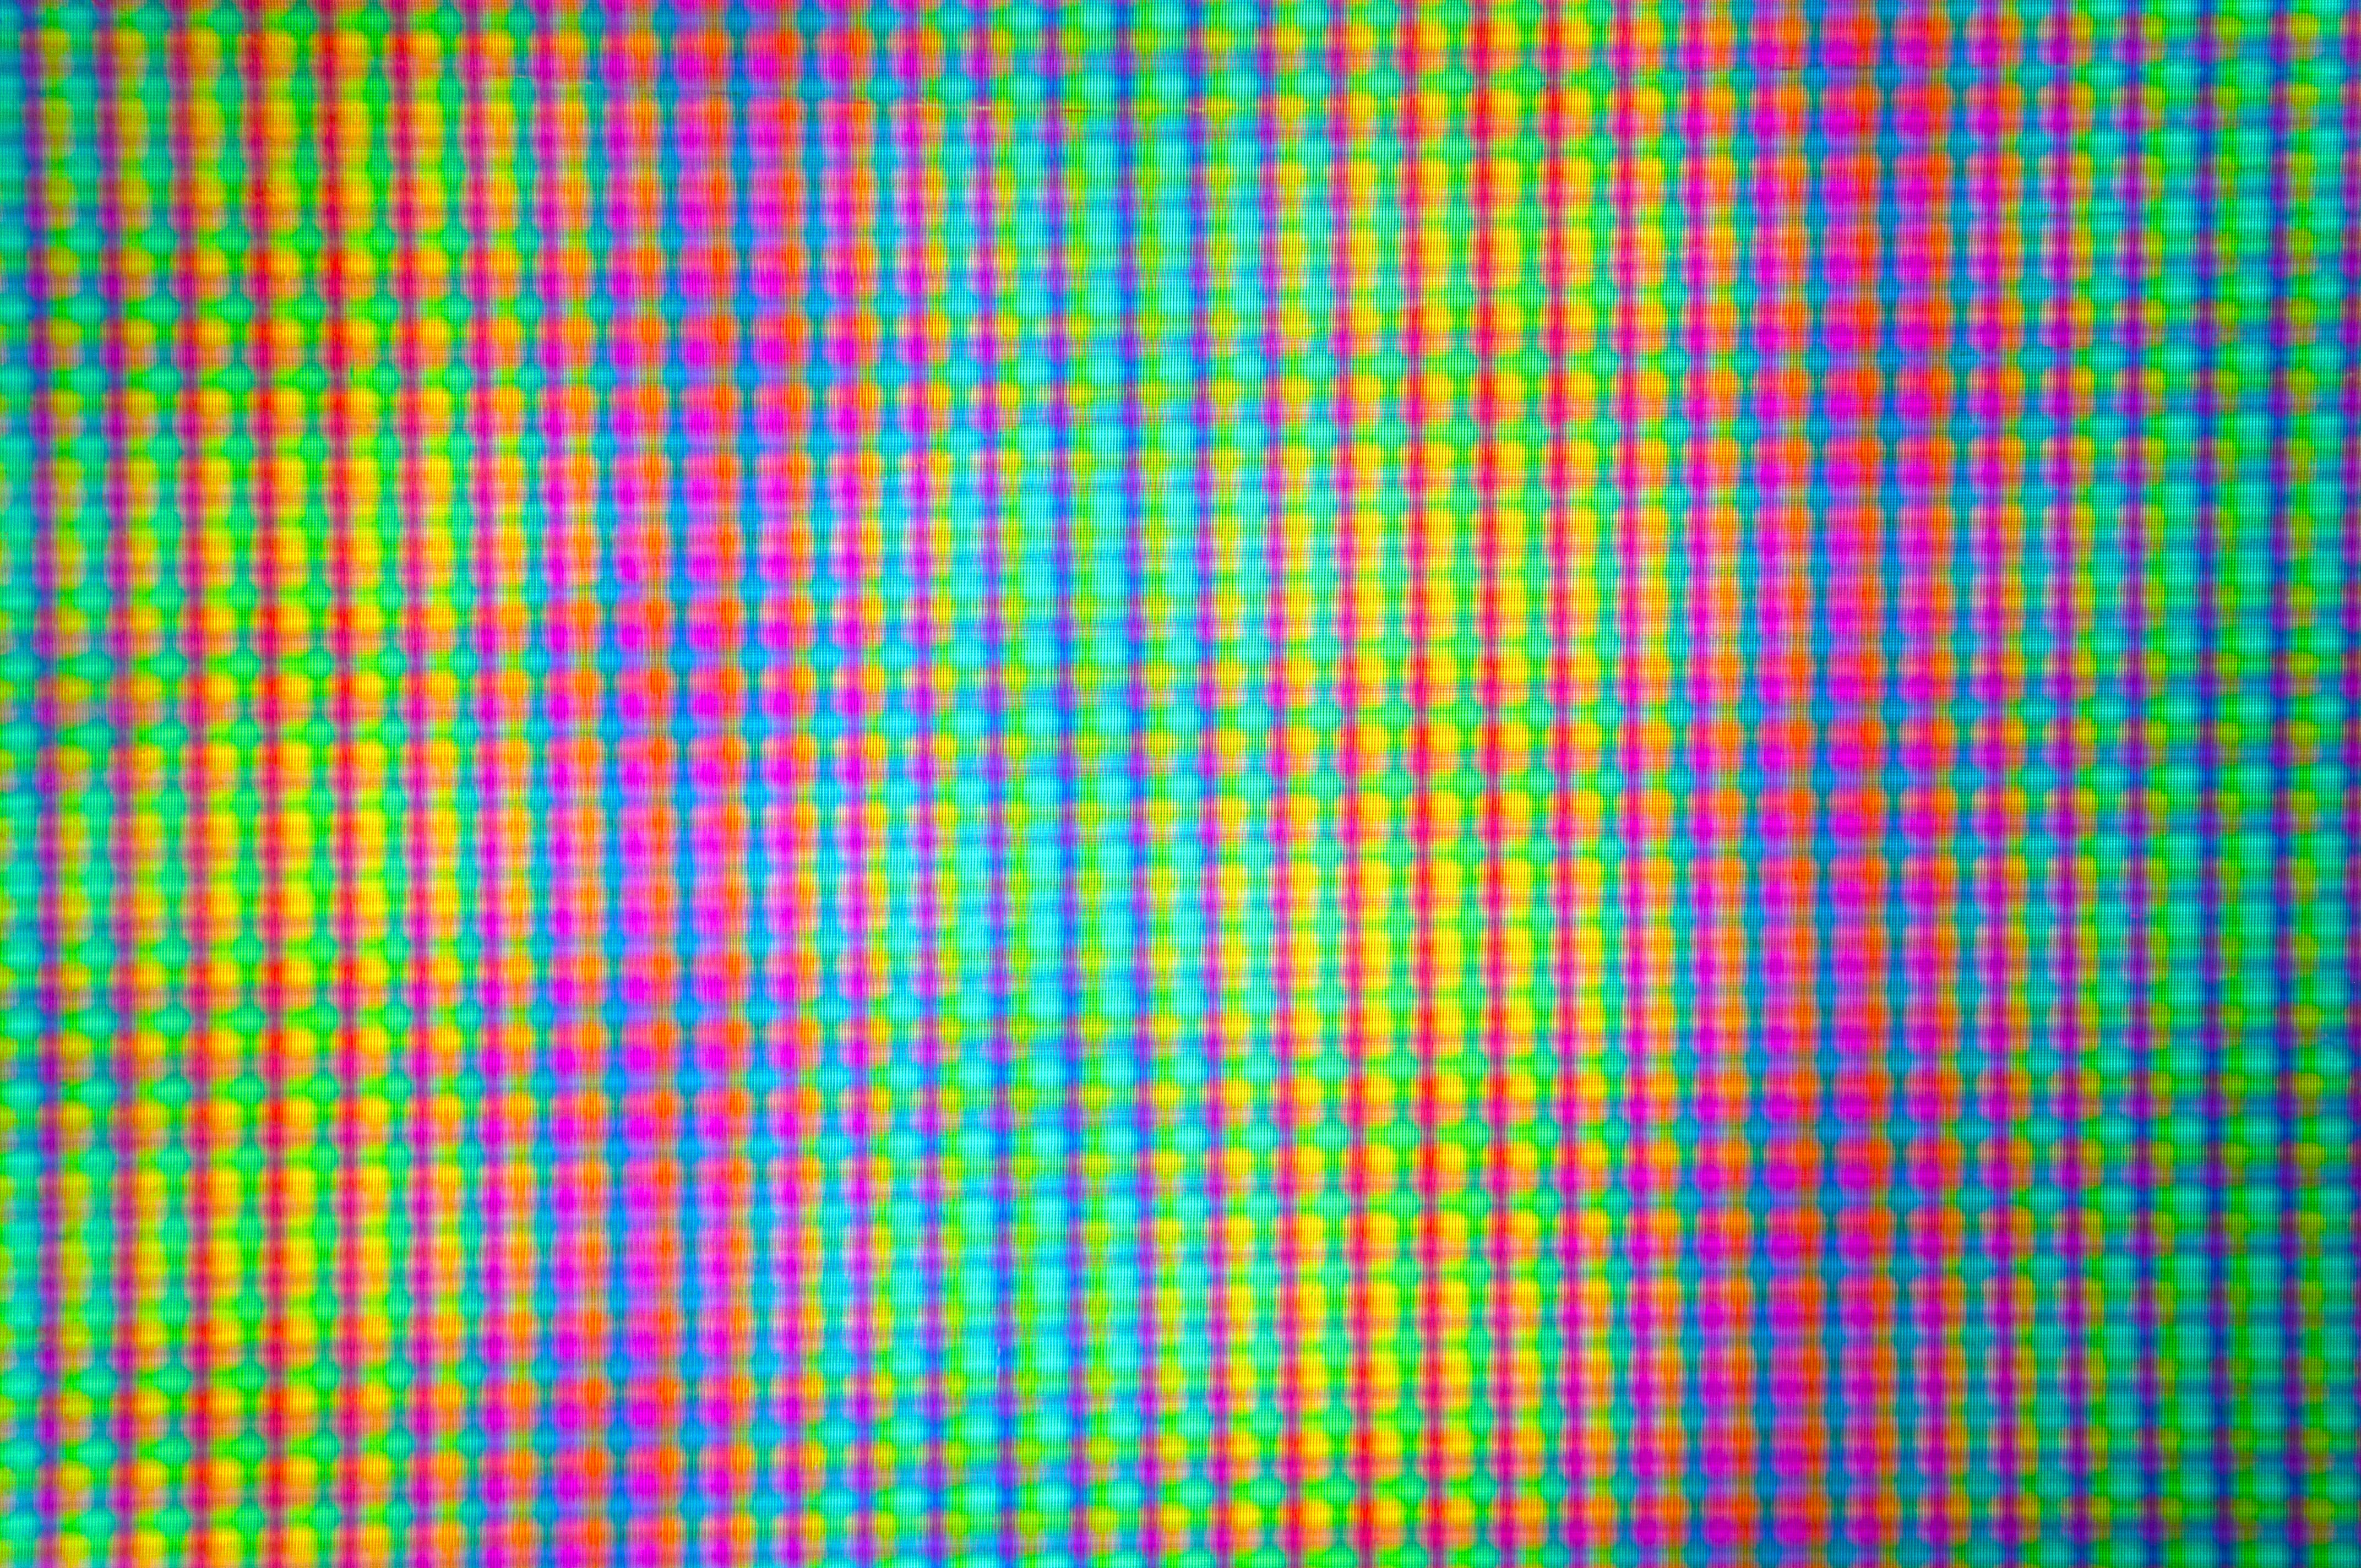
Filters used: RGB colour filter on a laptop screen
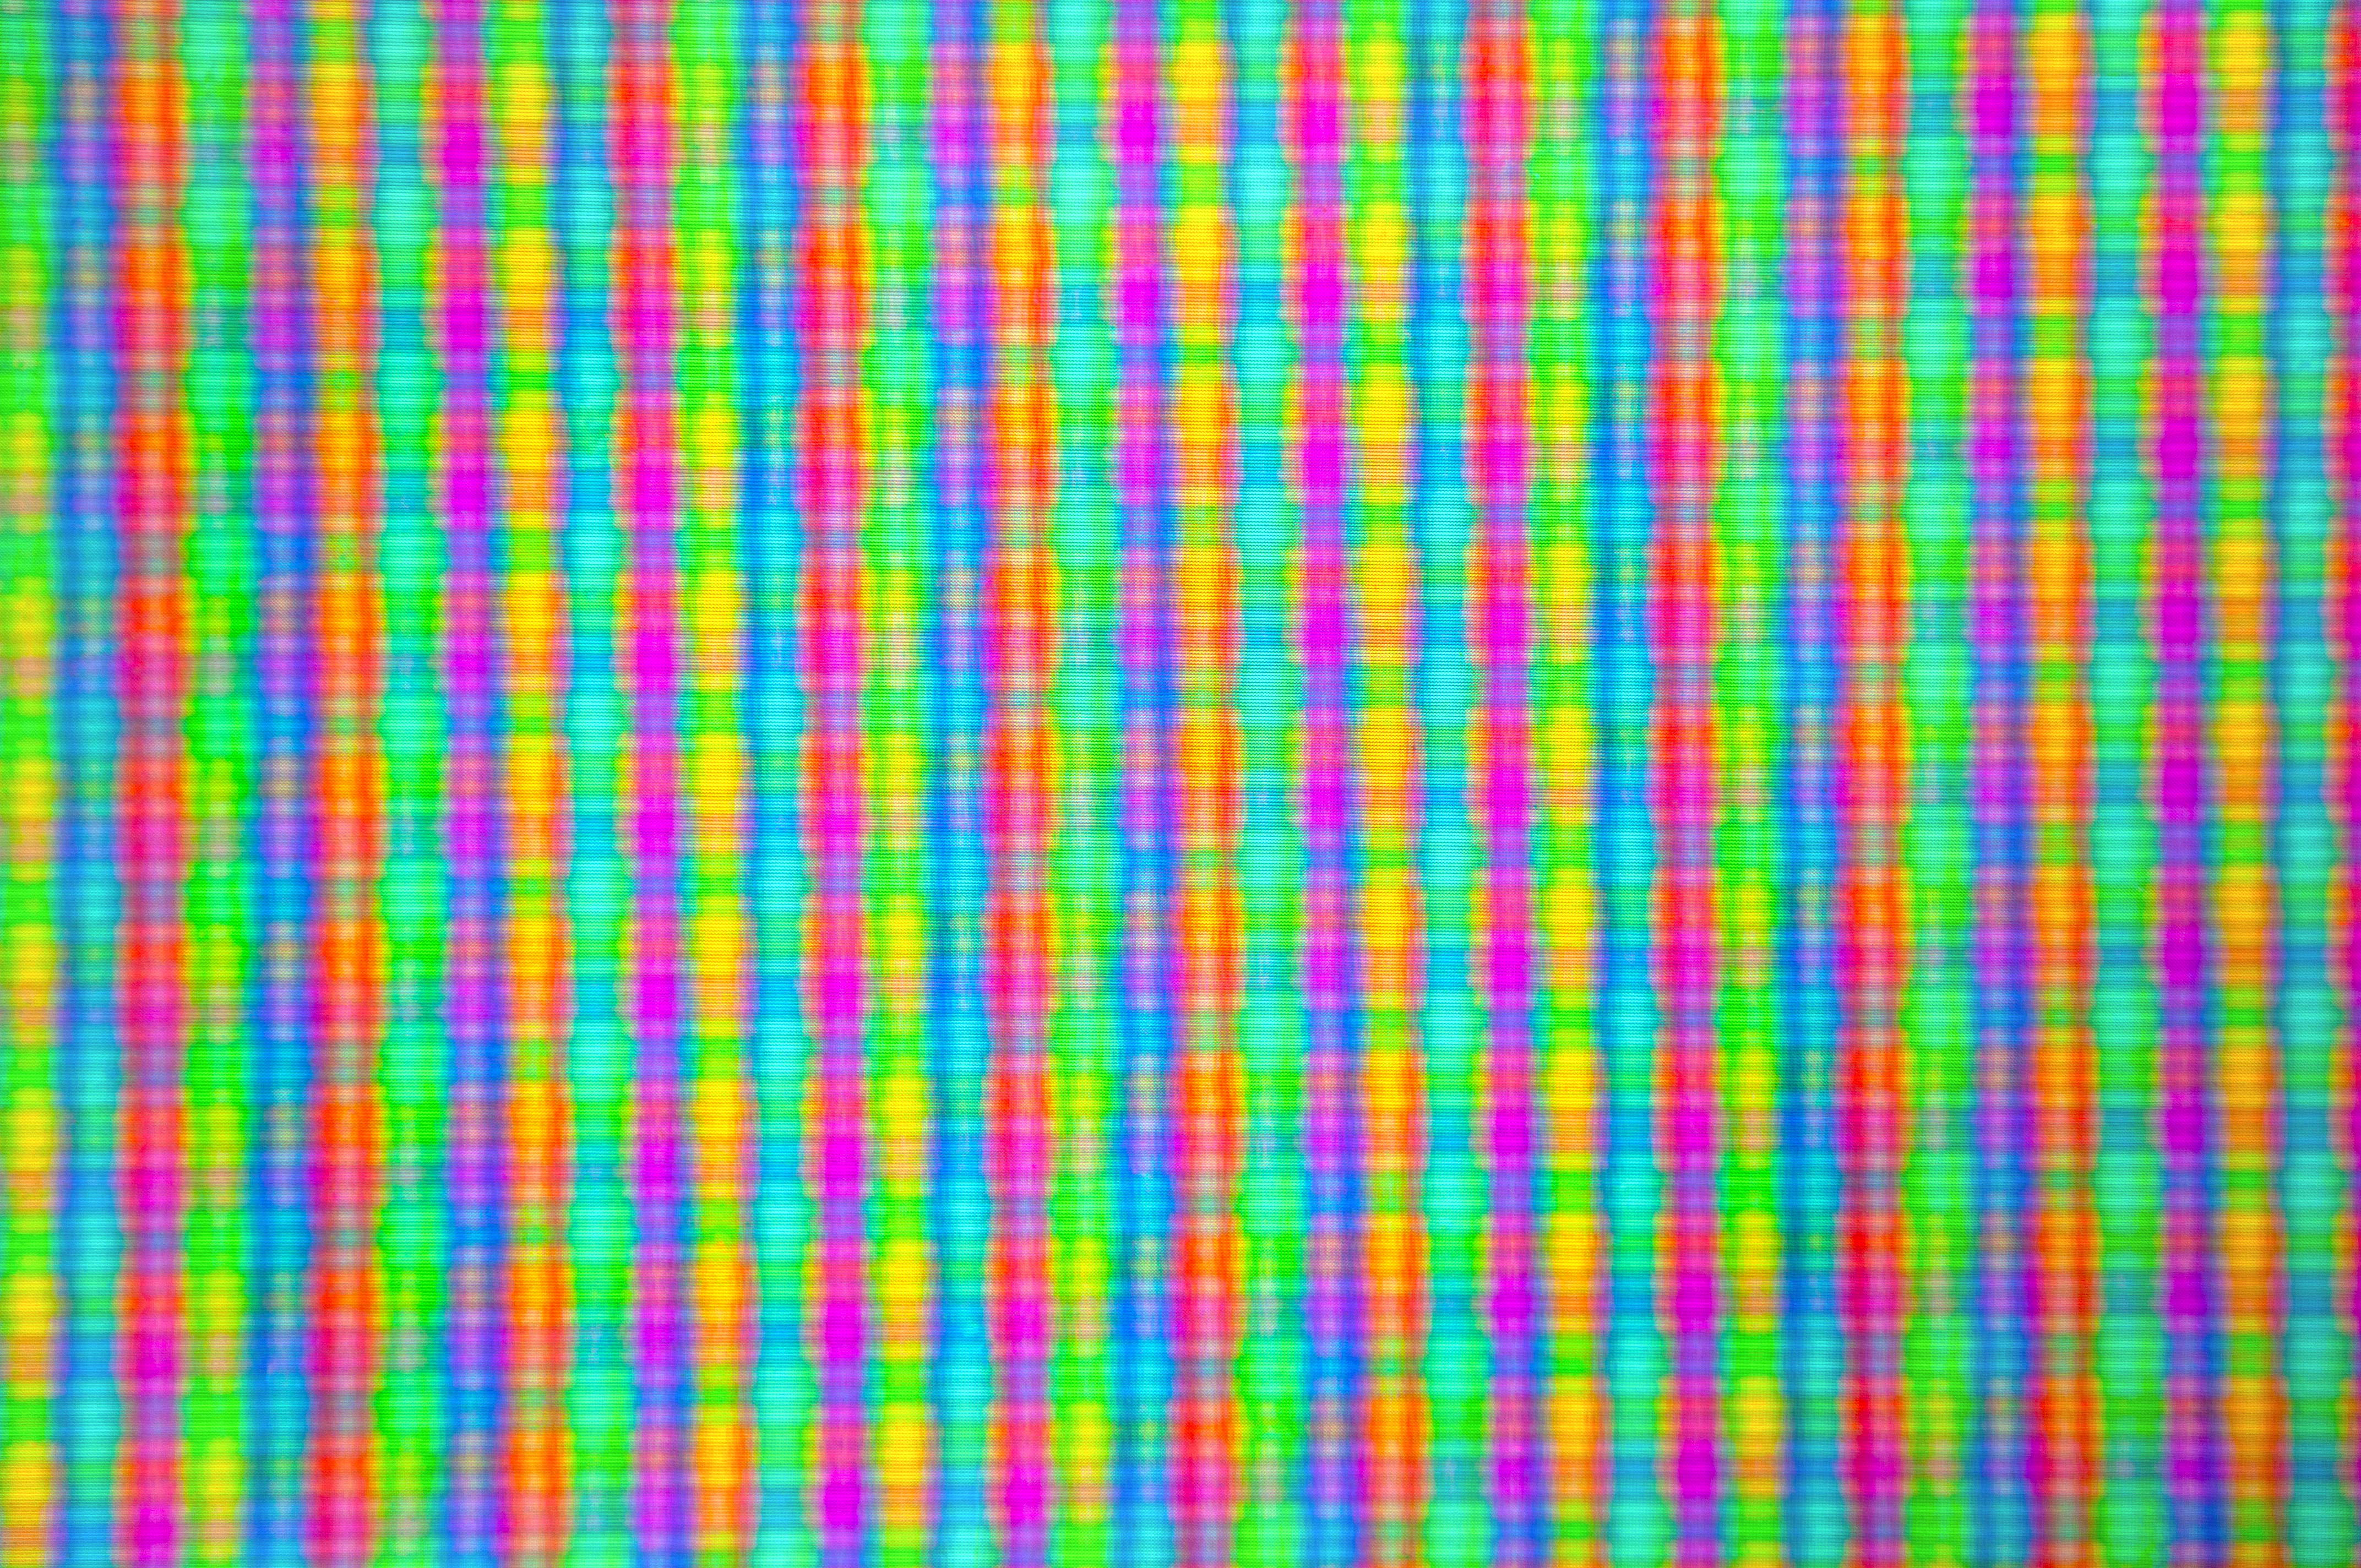
Analysis: By placing the filter on top of a functioning screen, I was able to explore ideas of interactivity between the screens. The backgrounds were solid rectangles in CMYK colours and applying the filter created new colours. These patterns could be great as a textural background or for a textile print. I also tried using two diffraction gratings, which creates the same moire effect but with more uneven patterning.
Filters used: Diffraction grating
Analysis: This creates interesting deformations of the hand. The doubling mirroring effect looks as though there are two hands where one is ‘trapped' under the screen is trying to get out.
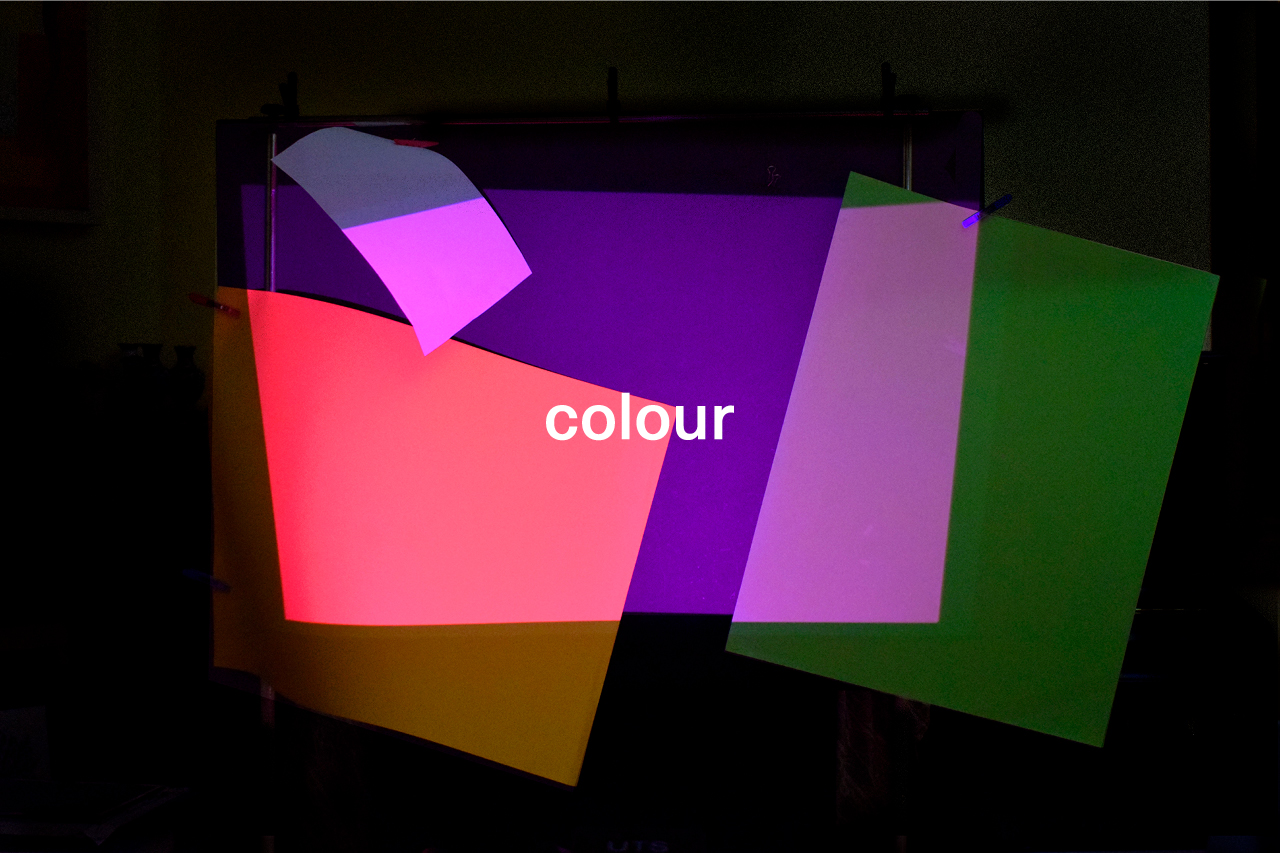
composite
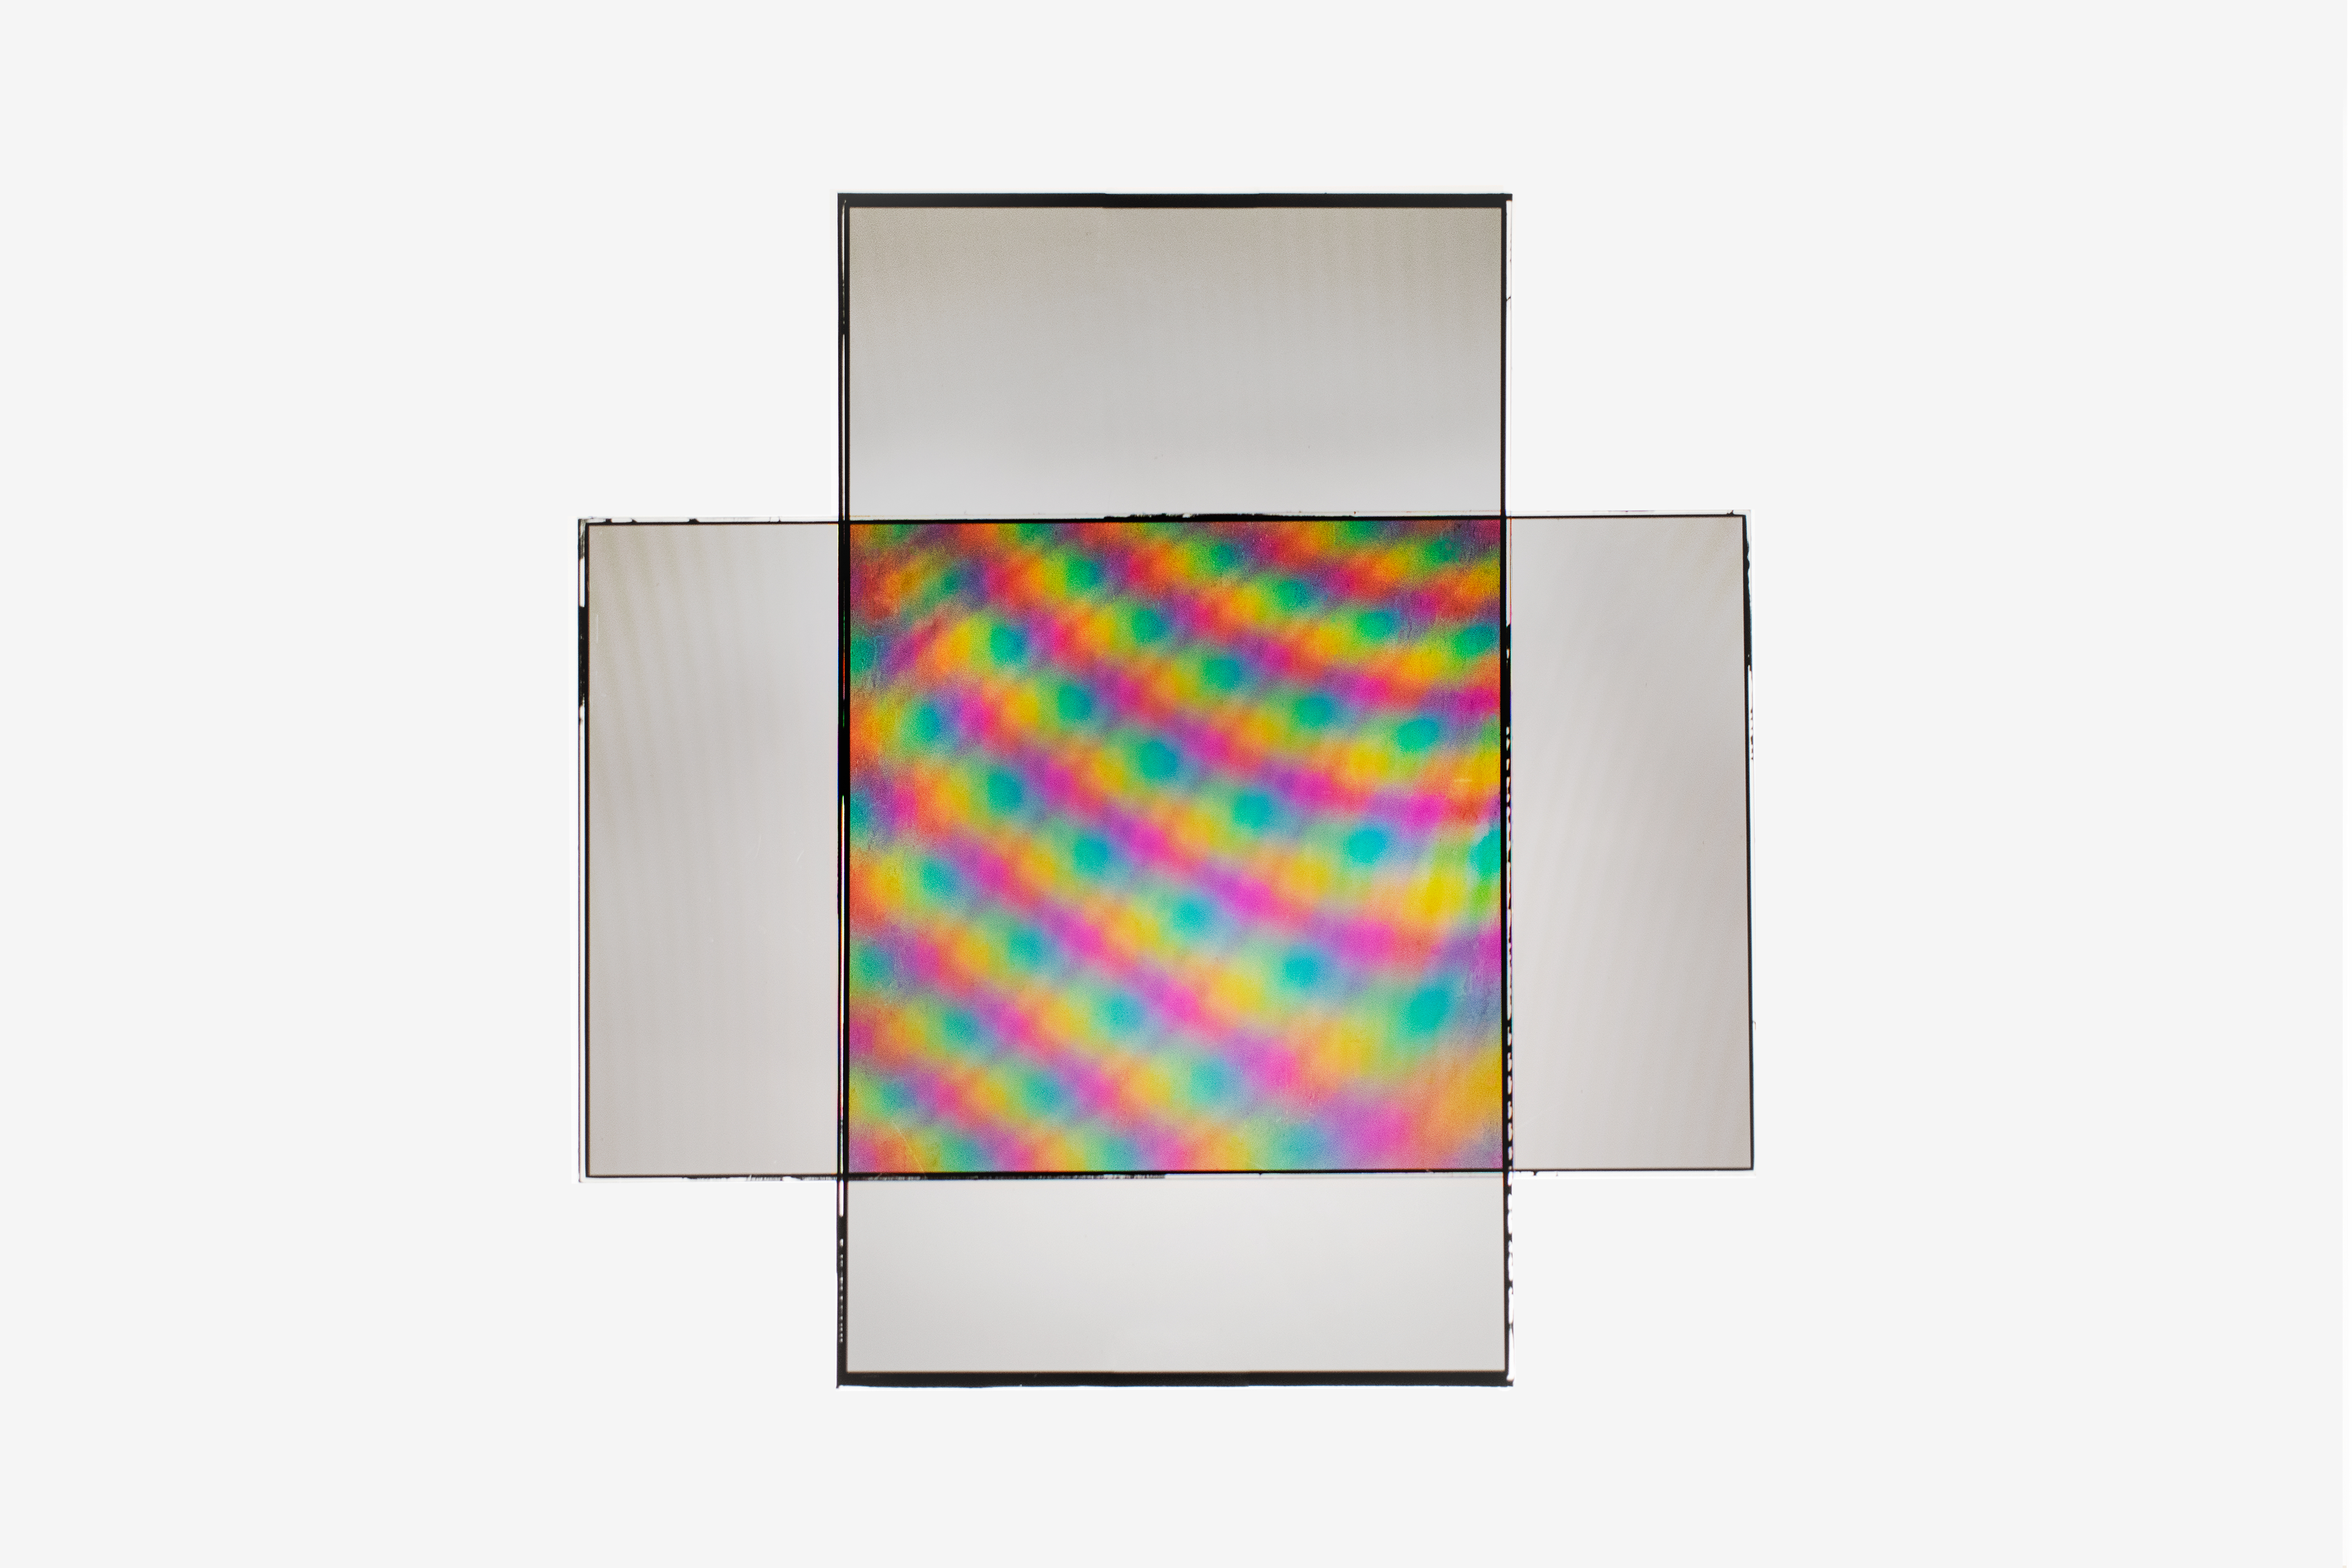
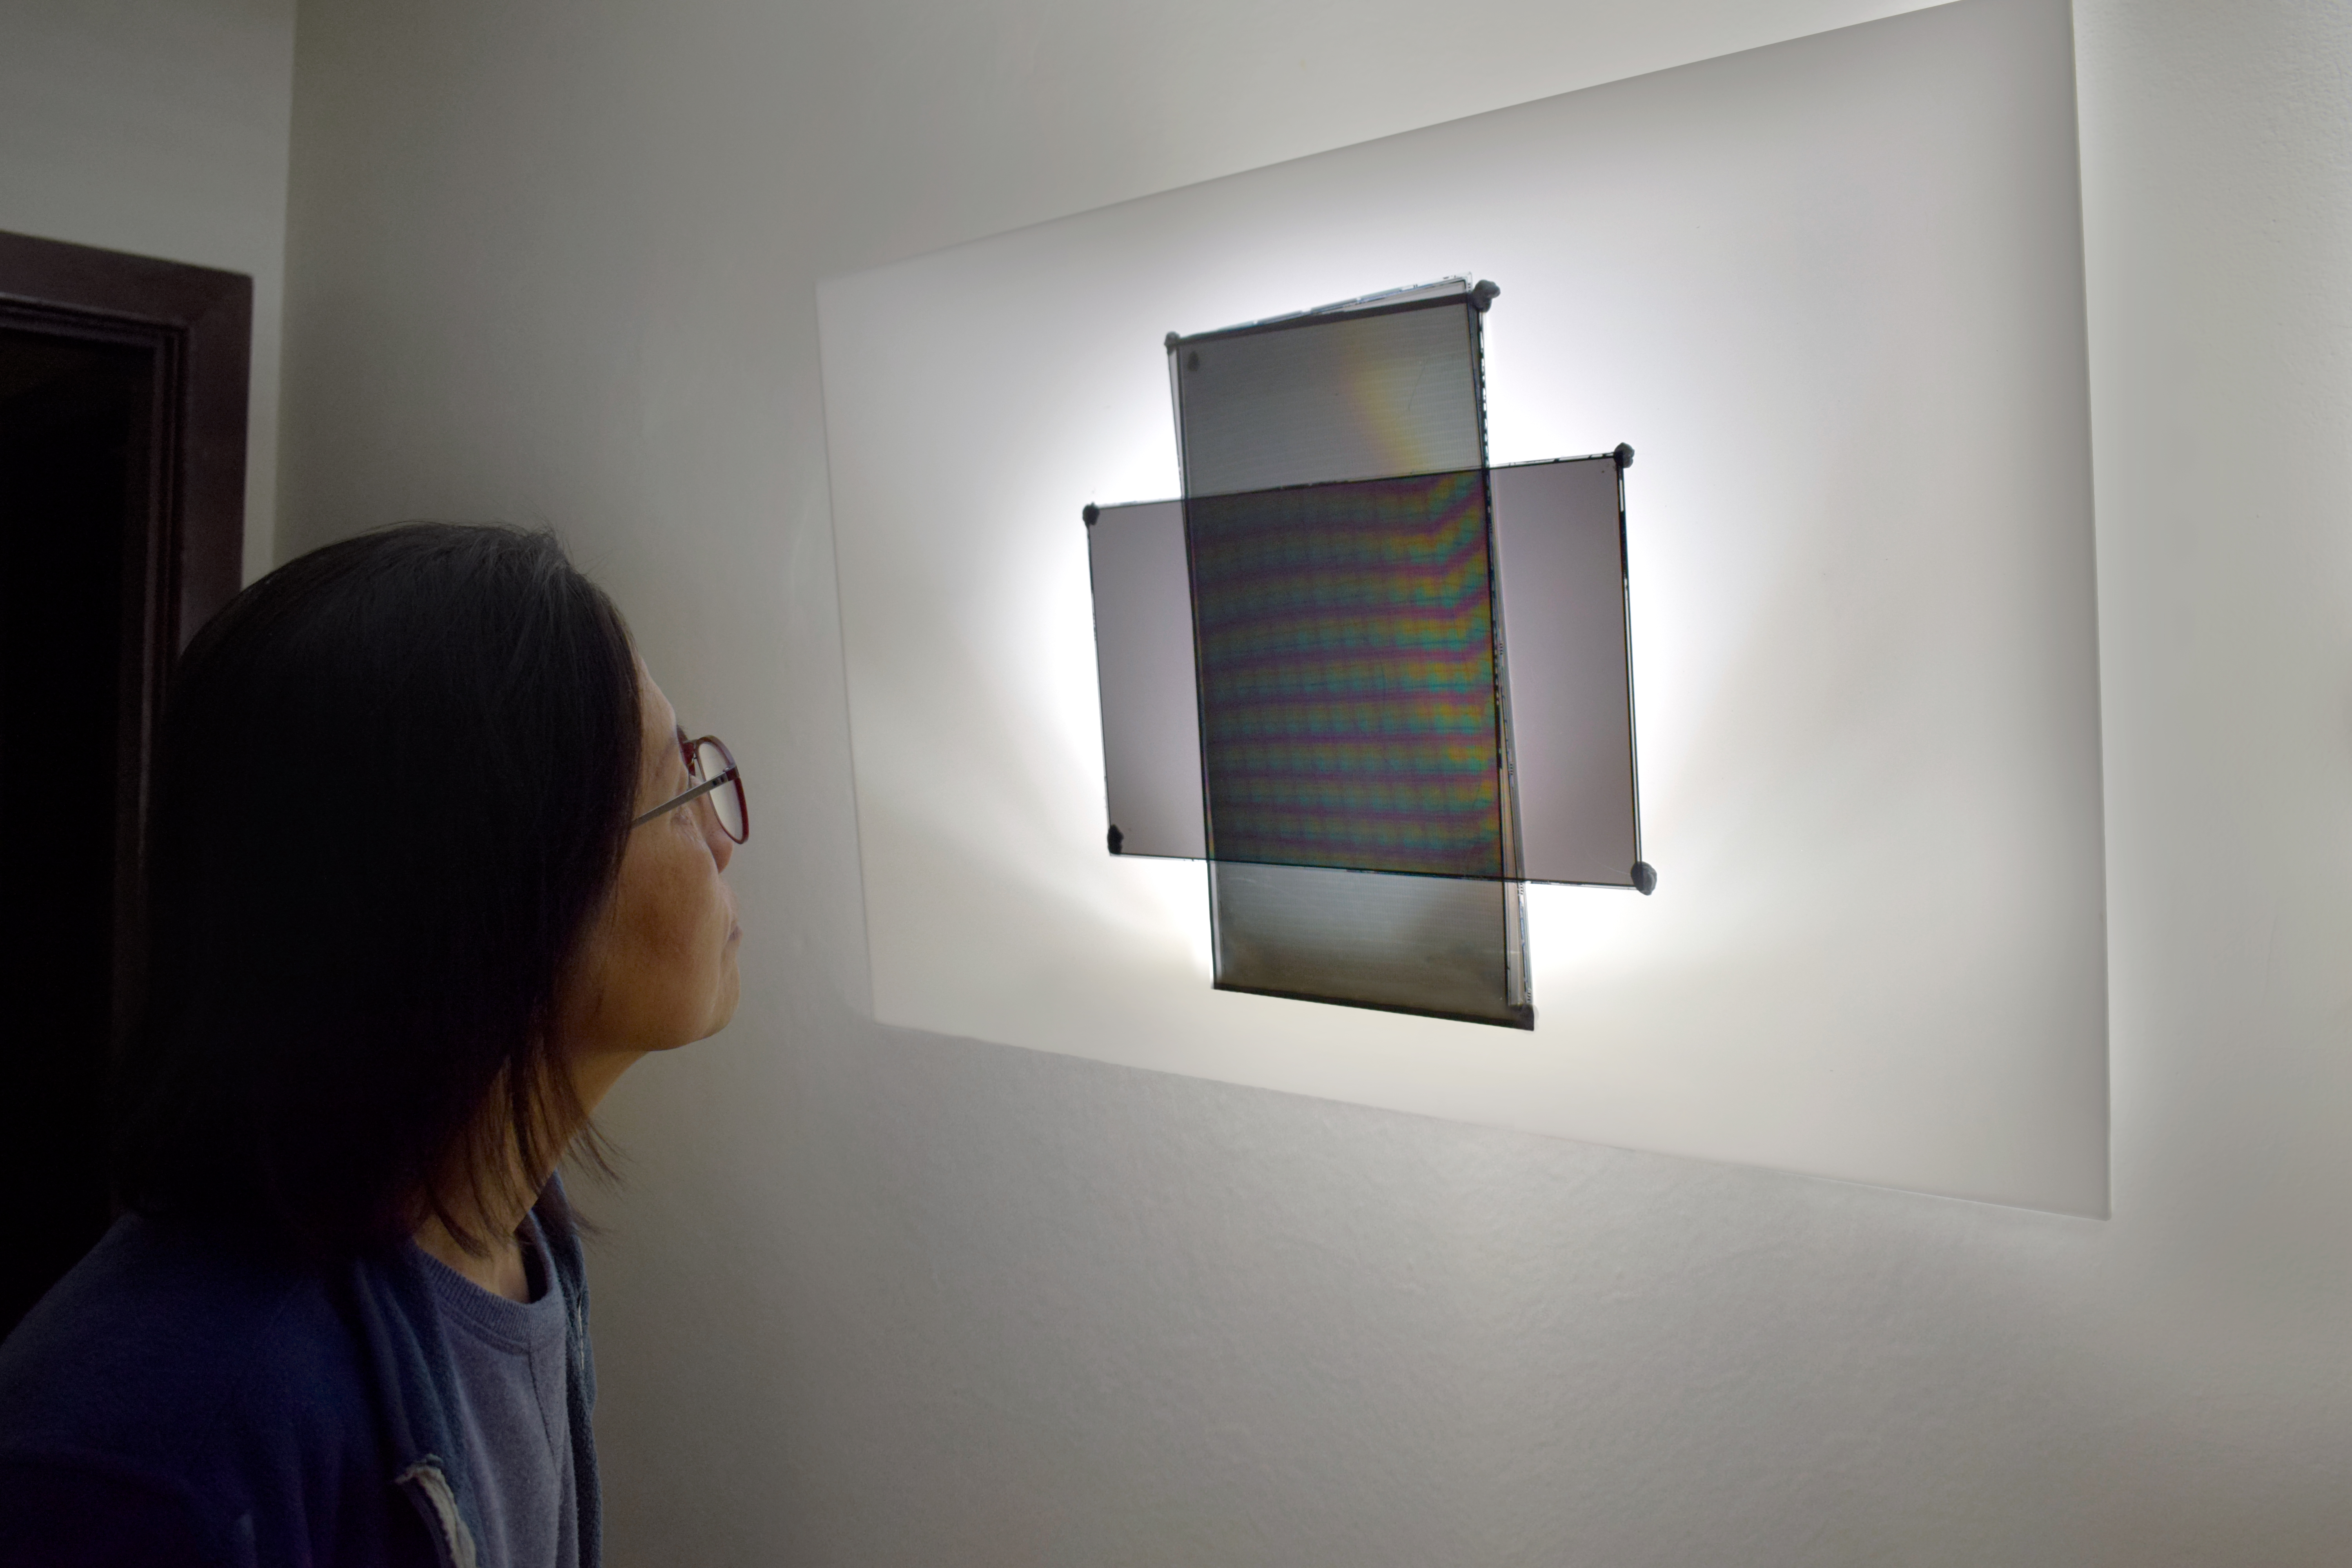
This experiment uses LCD matrices to create beautiful compositions. The name of this experiment is a reference to photo compositing, which is the process of combining images to make a single picture. Like a composite photograph, splitting the matrix and overlapping the layers creates an image.
Screen material
The cracked screens made it easy to separate the two glass panes. Reading about polarising filters and polarity inspired me to overlap and cross these individual layers. As such, it's necessary that the layers sit close to 0° or 90° angles. Depending on the which side is facing up, overlapping the screens created a black or vibrant patterned screen (sometimes it is grey). The patterns are generated mostly by random—I'm uncertain about how to reproduce them.
From the previous experiment, the light guide illuminates light very well. I used this underneath the patterns to bring out the textures.
Troubles
Because the glass panes were originally covered with the liquid crystal, the surface attracted dust. Any cracks in the glass showed through and can be seen in the photograph which was removed in post-production. The RGB matrix, which enables the colours, can easily scratch off.
Results
The compositions were photographed on a light box constructed of a piece of white acrylic and a backlight.
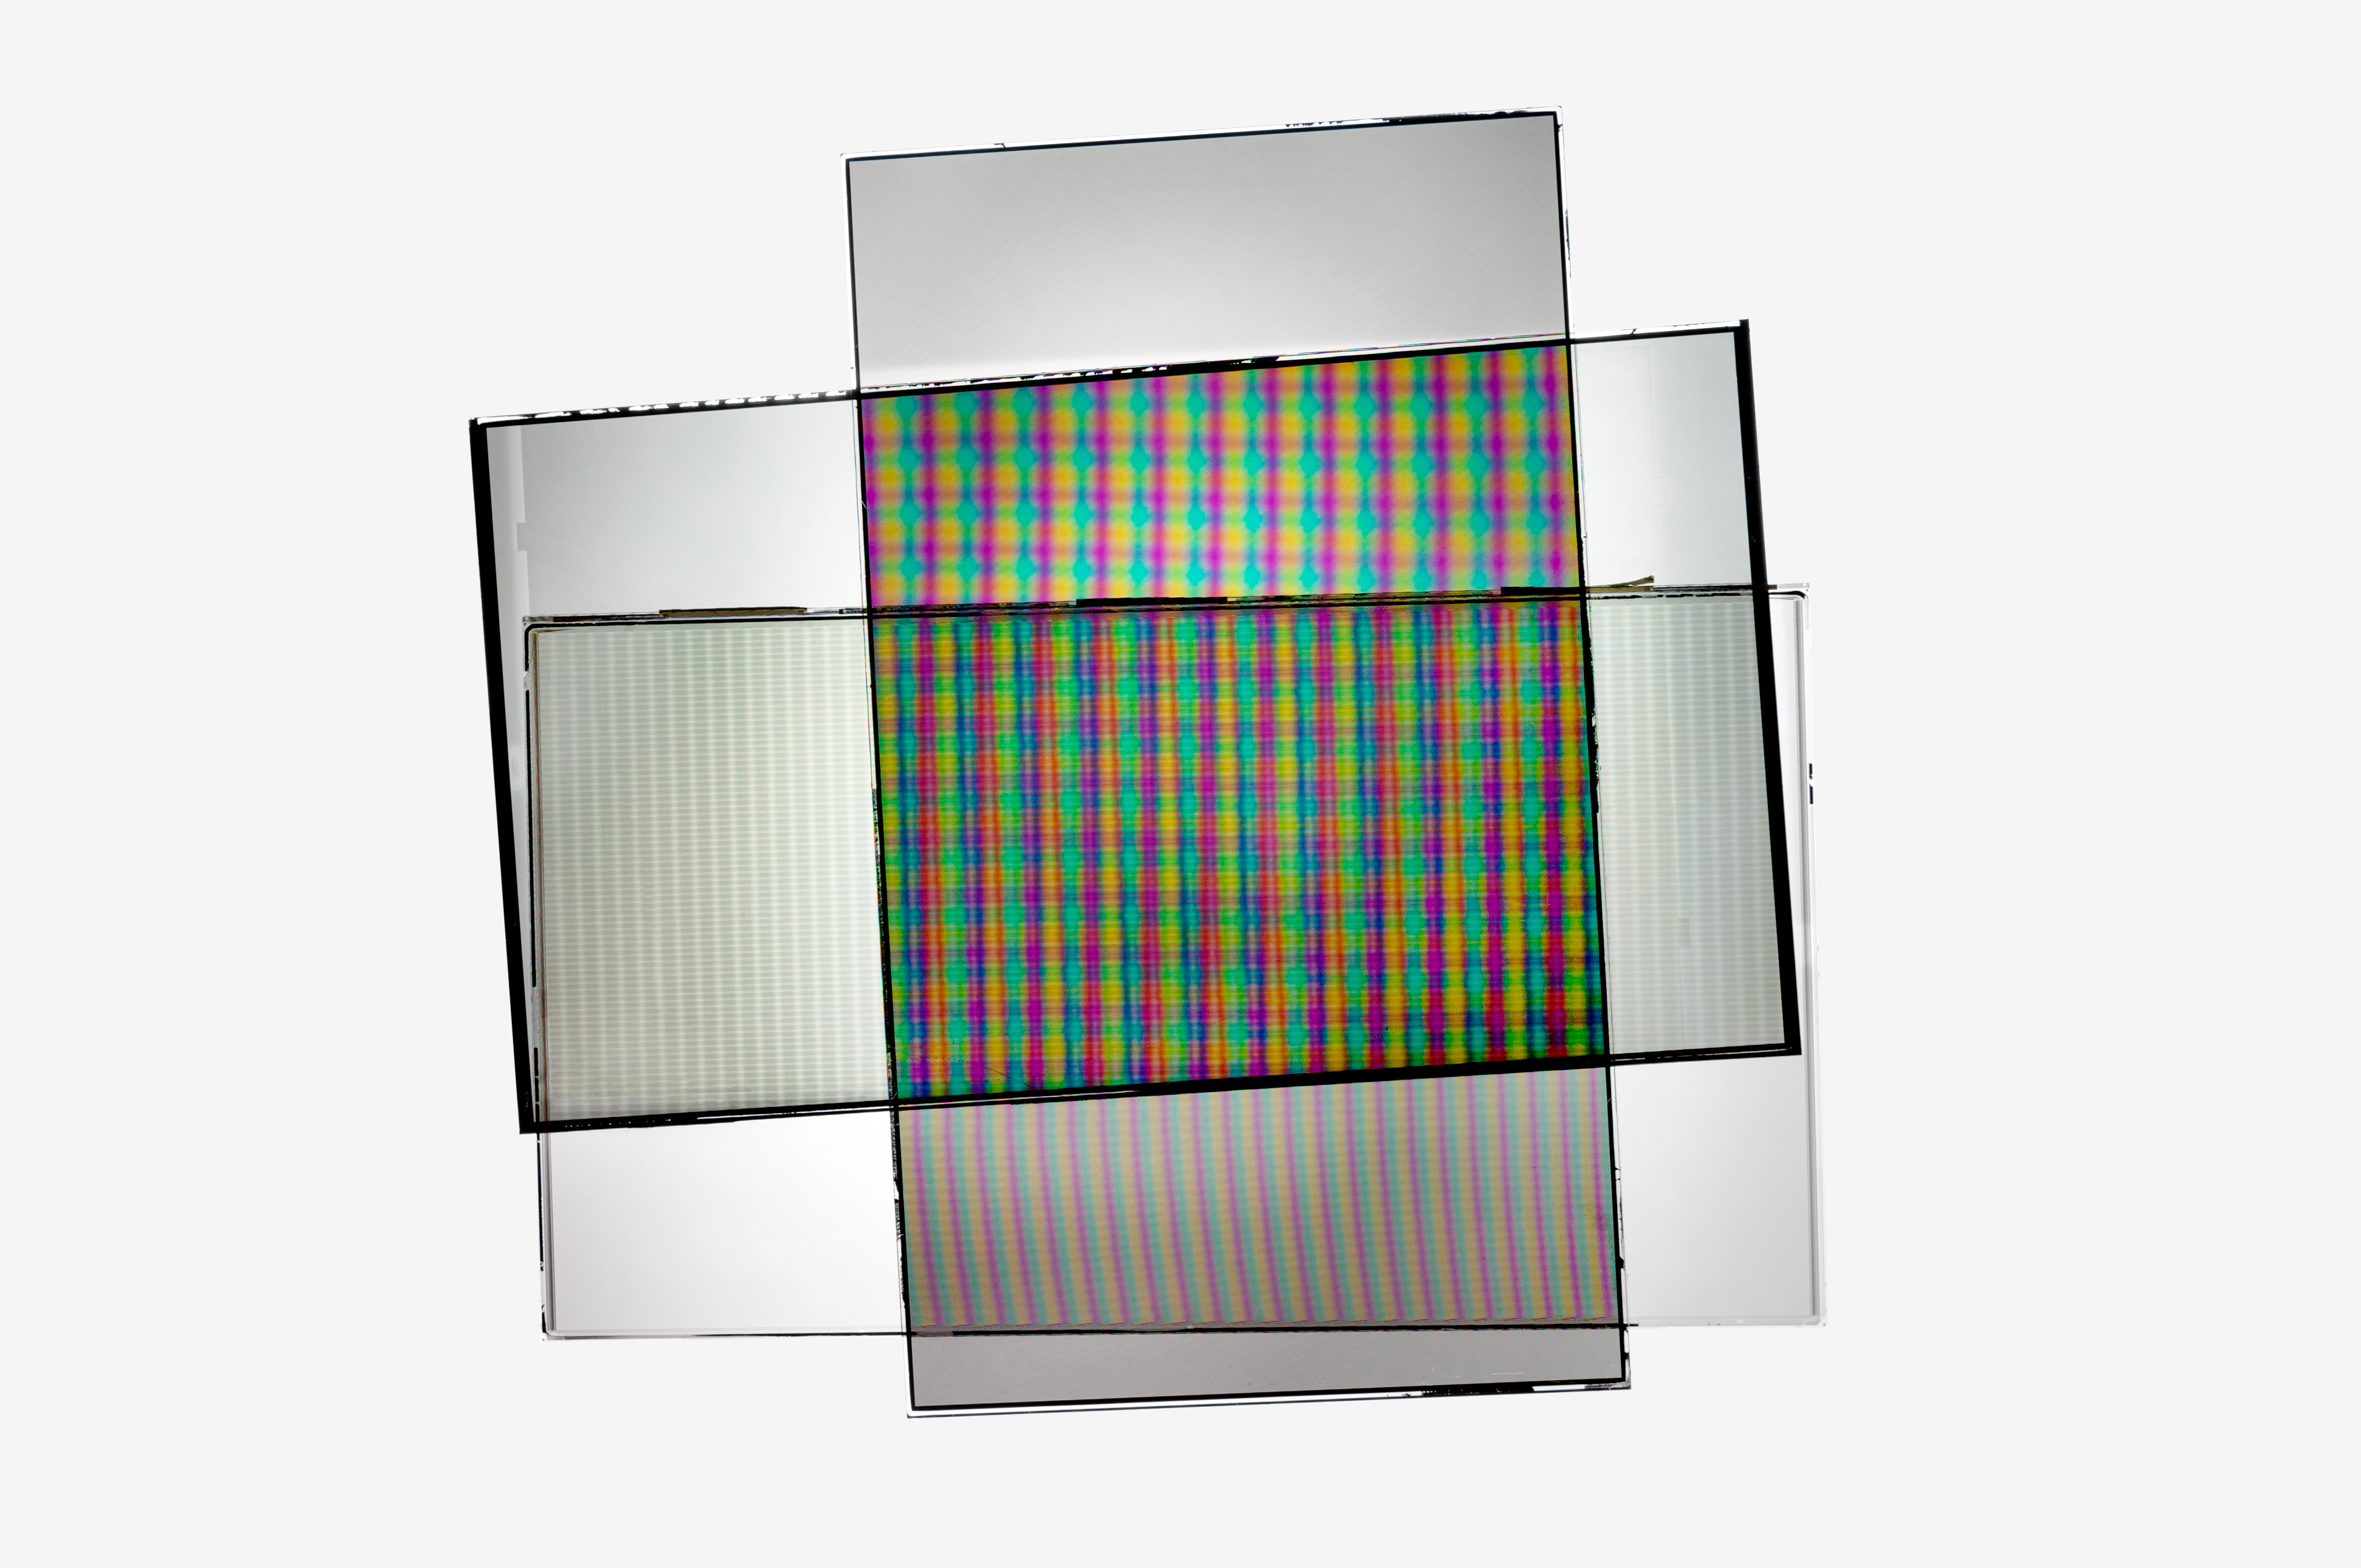
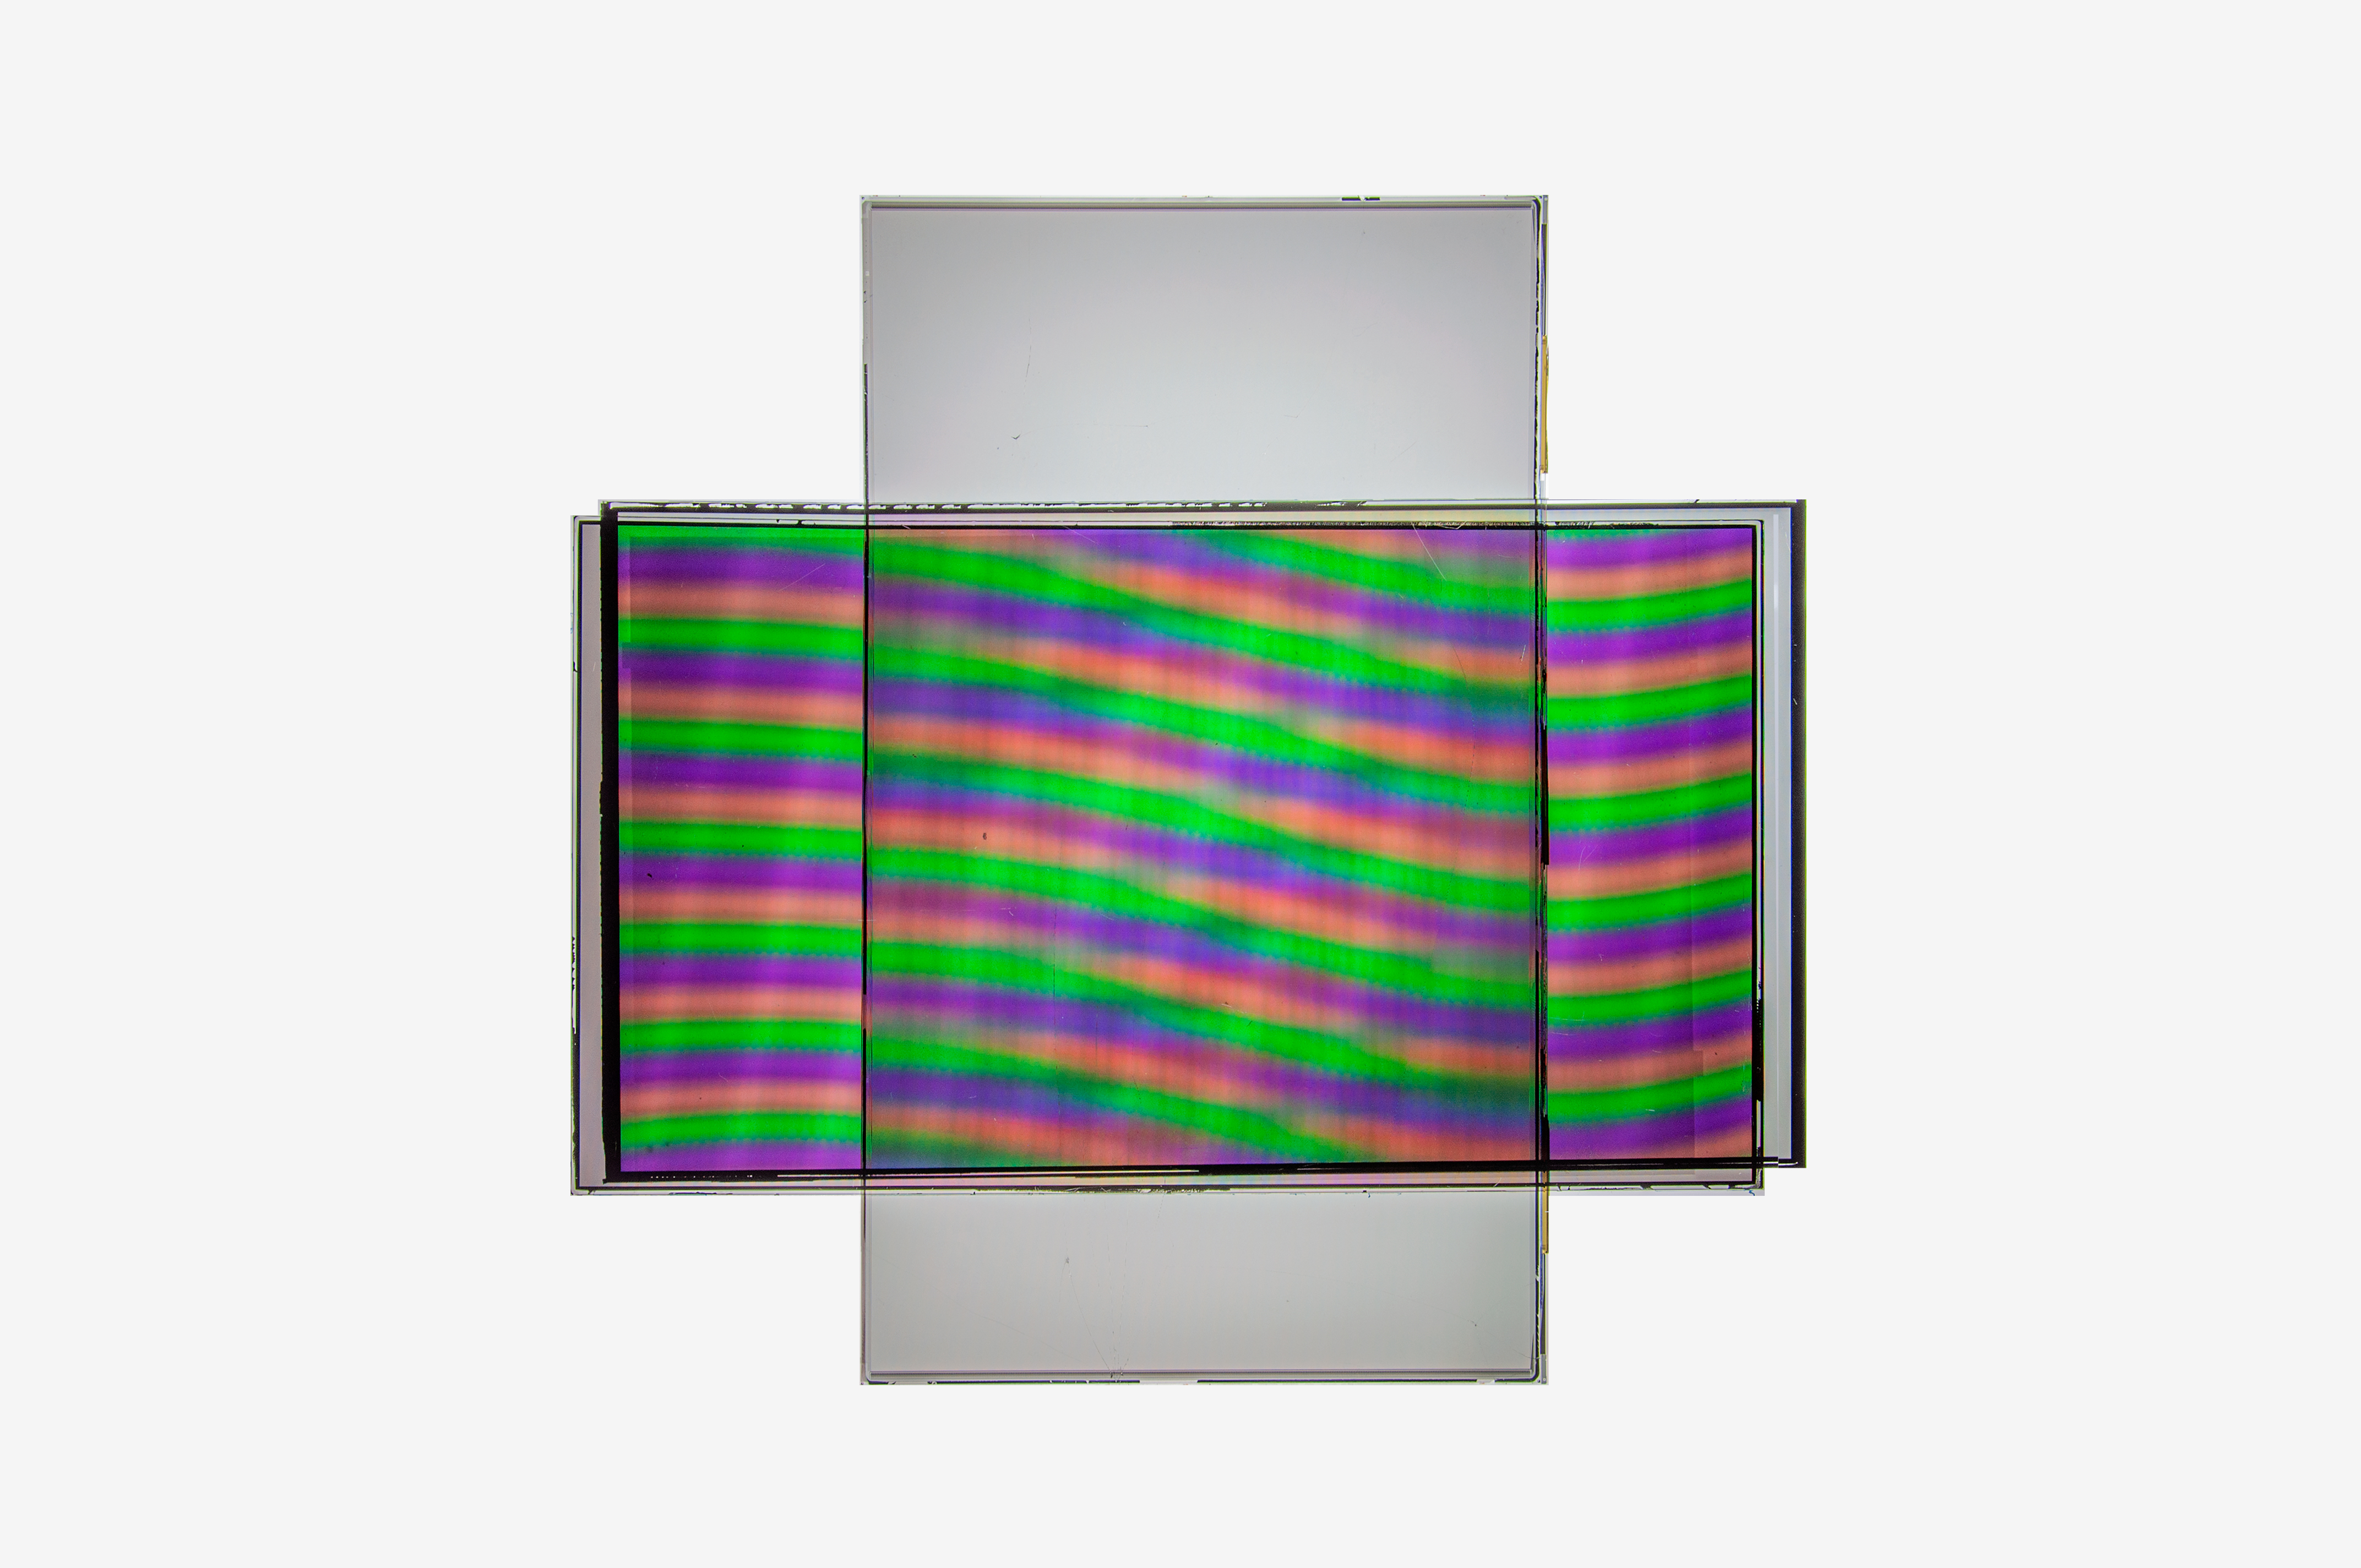

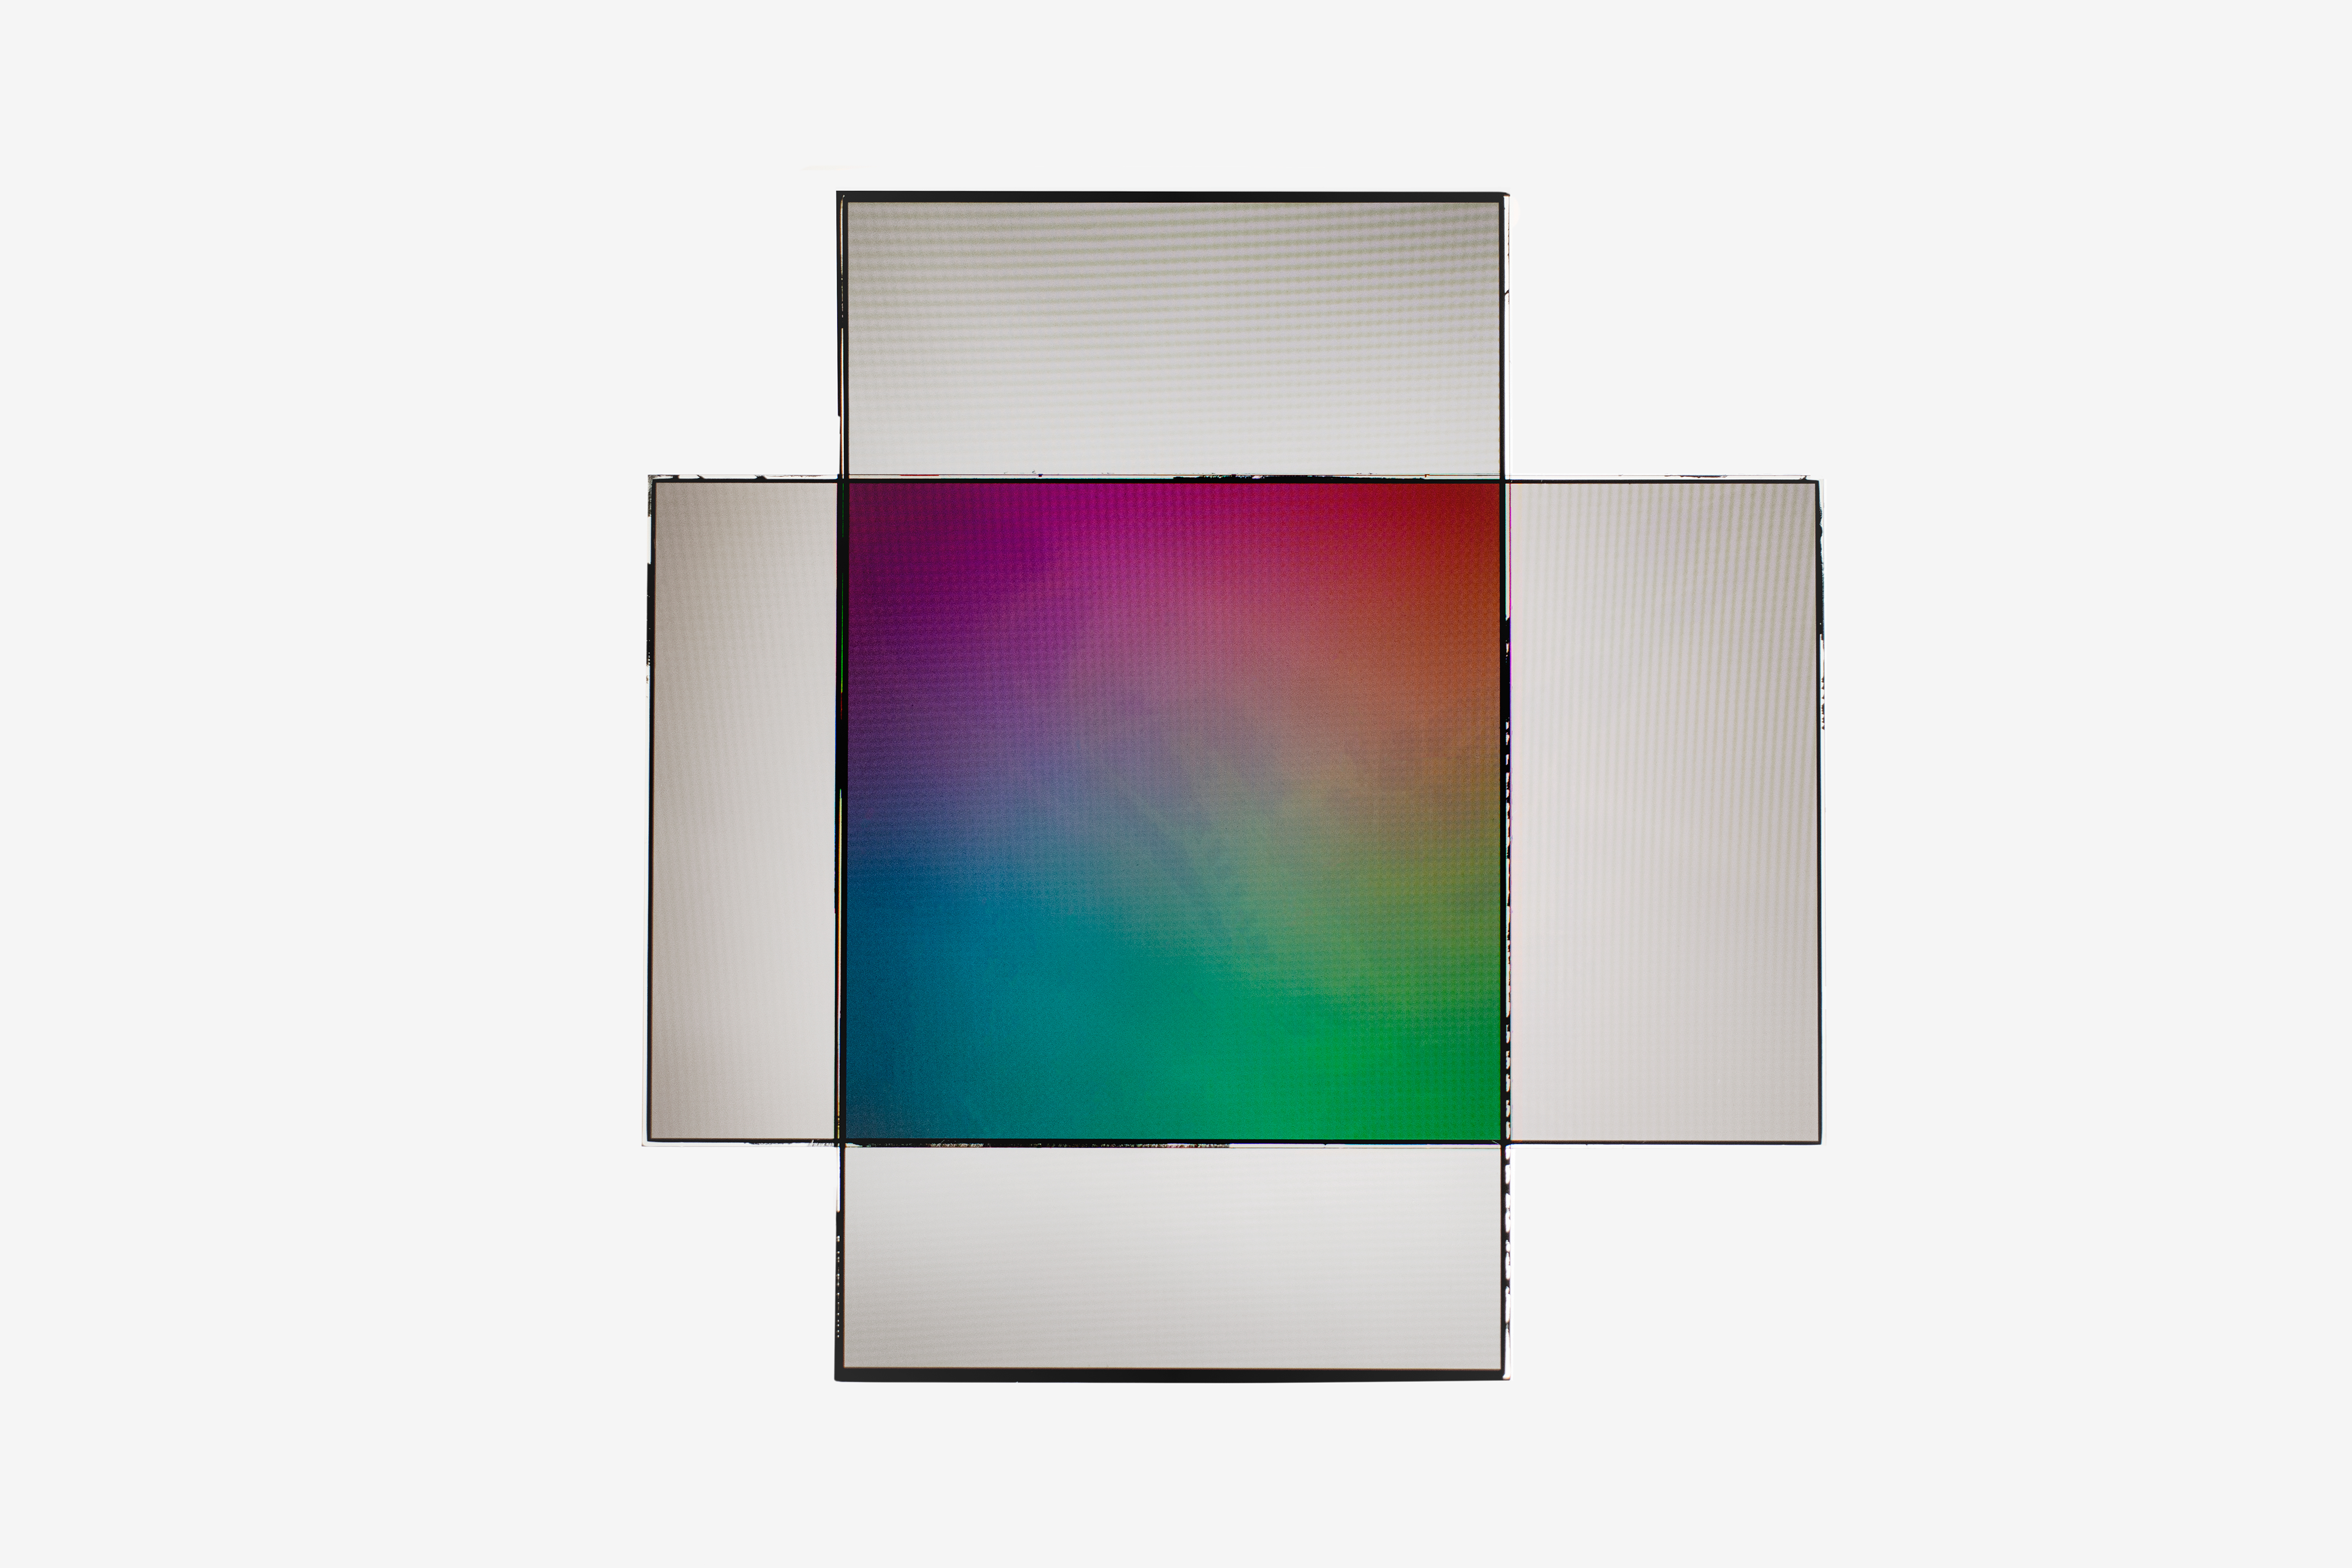
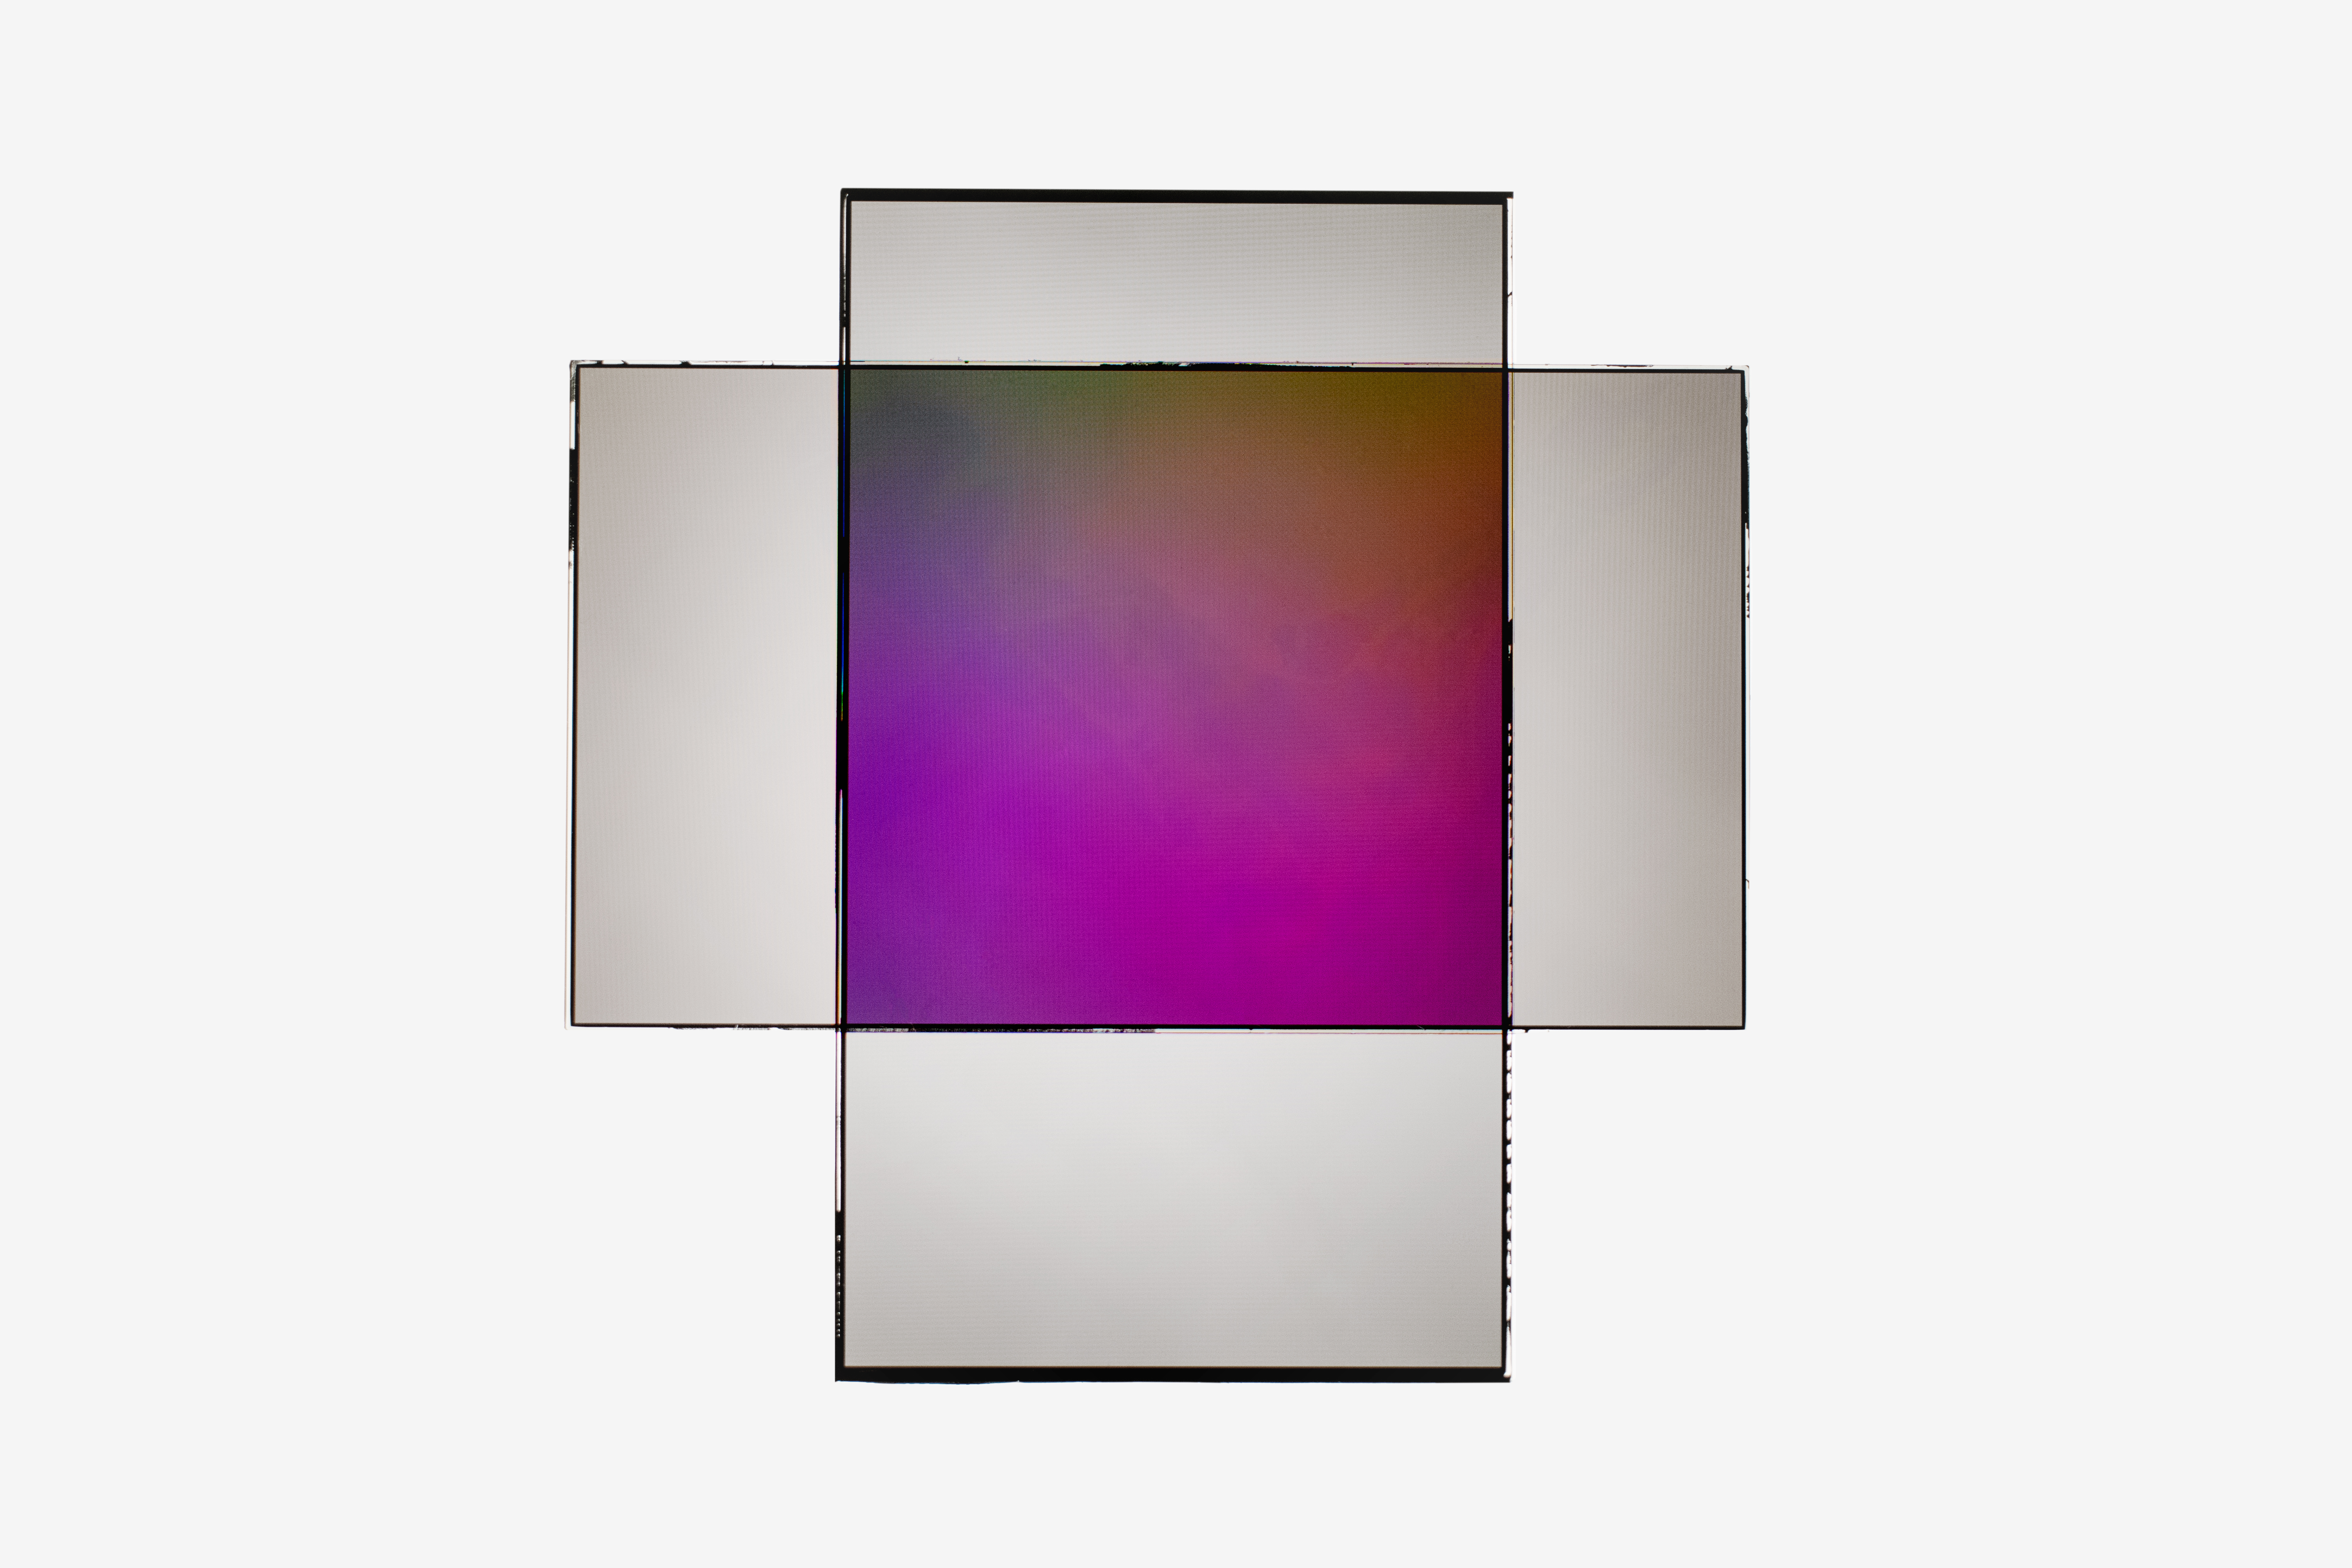
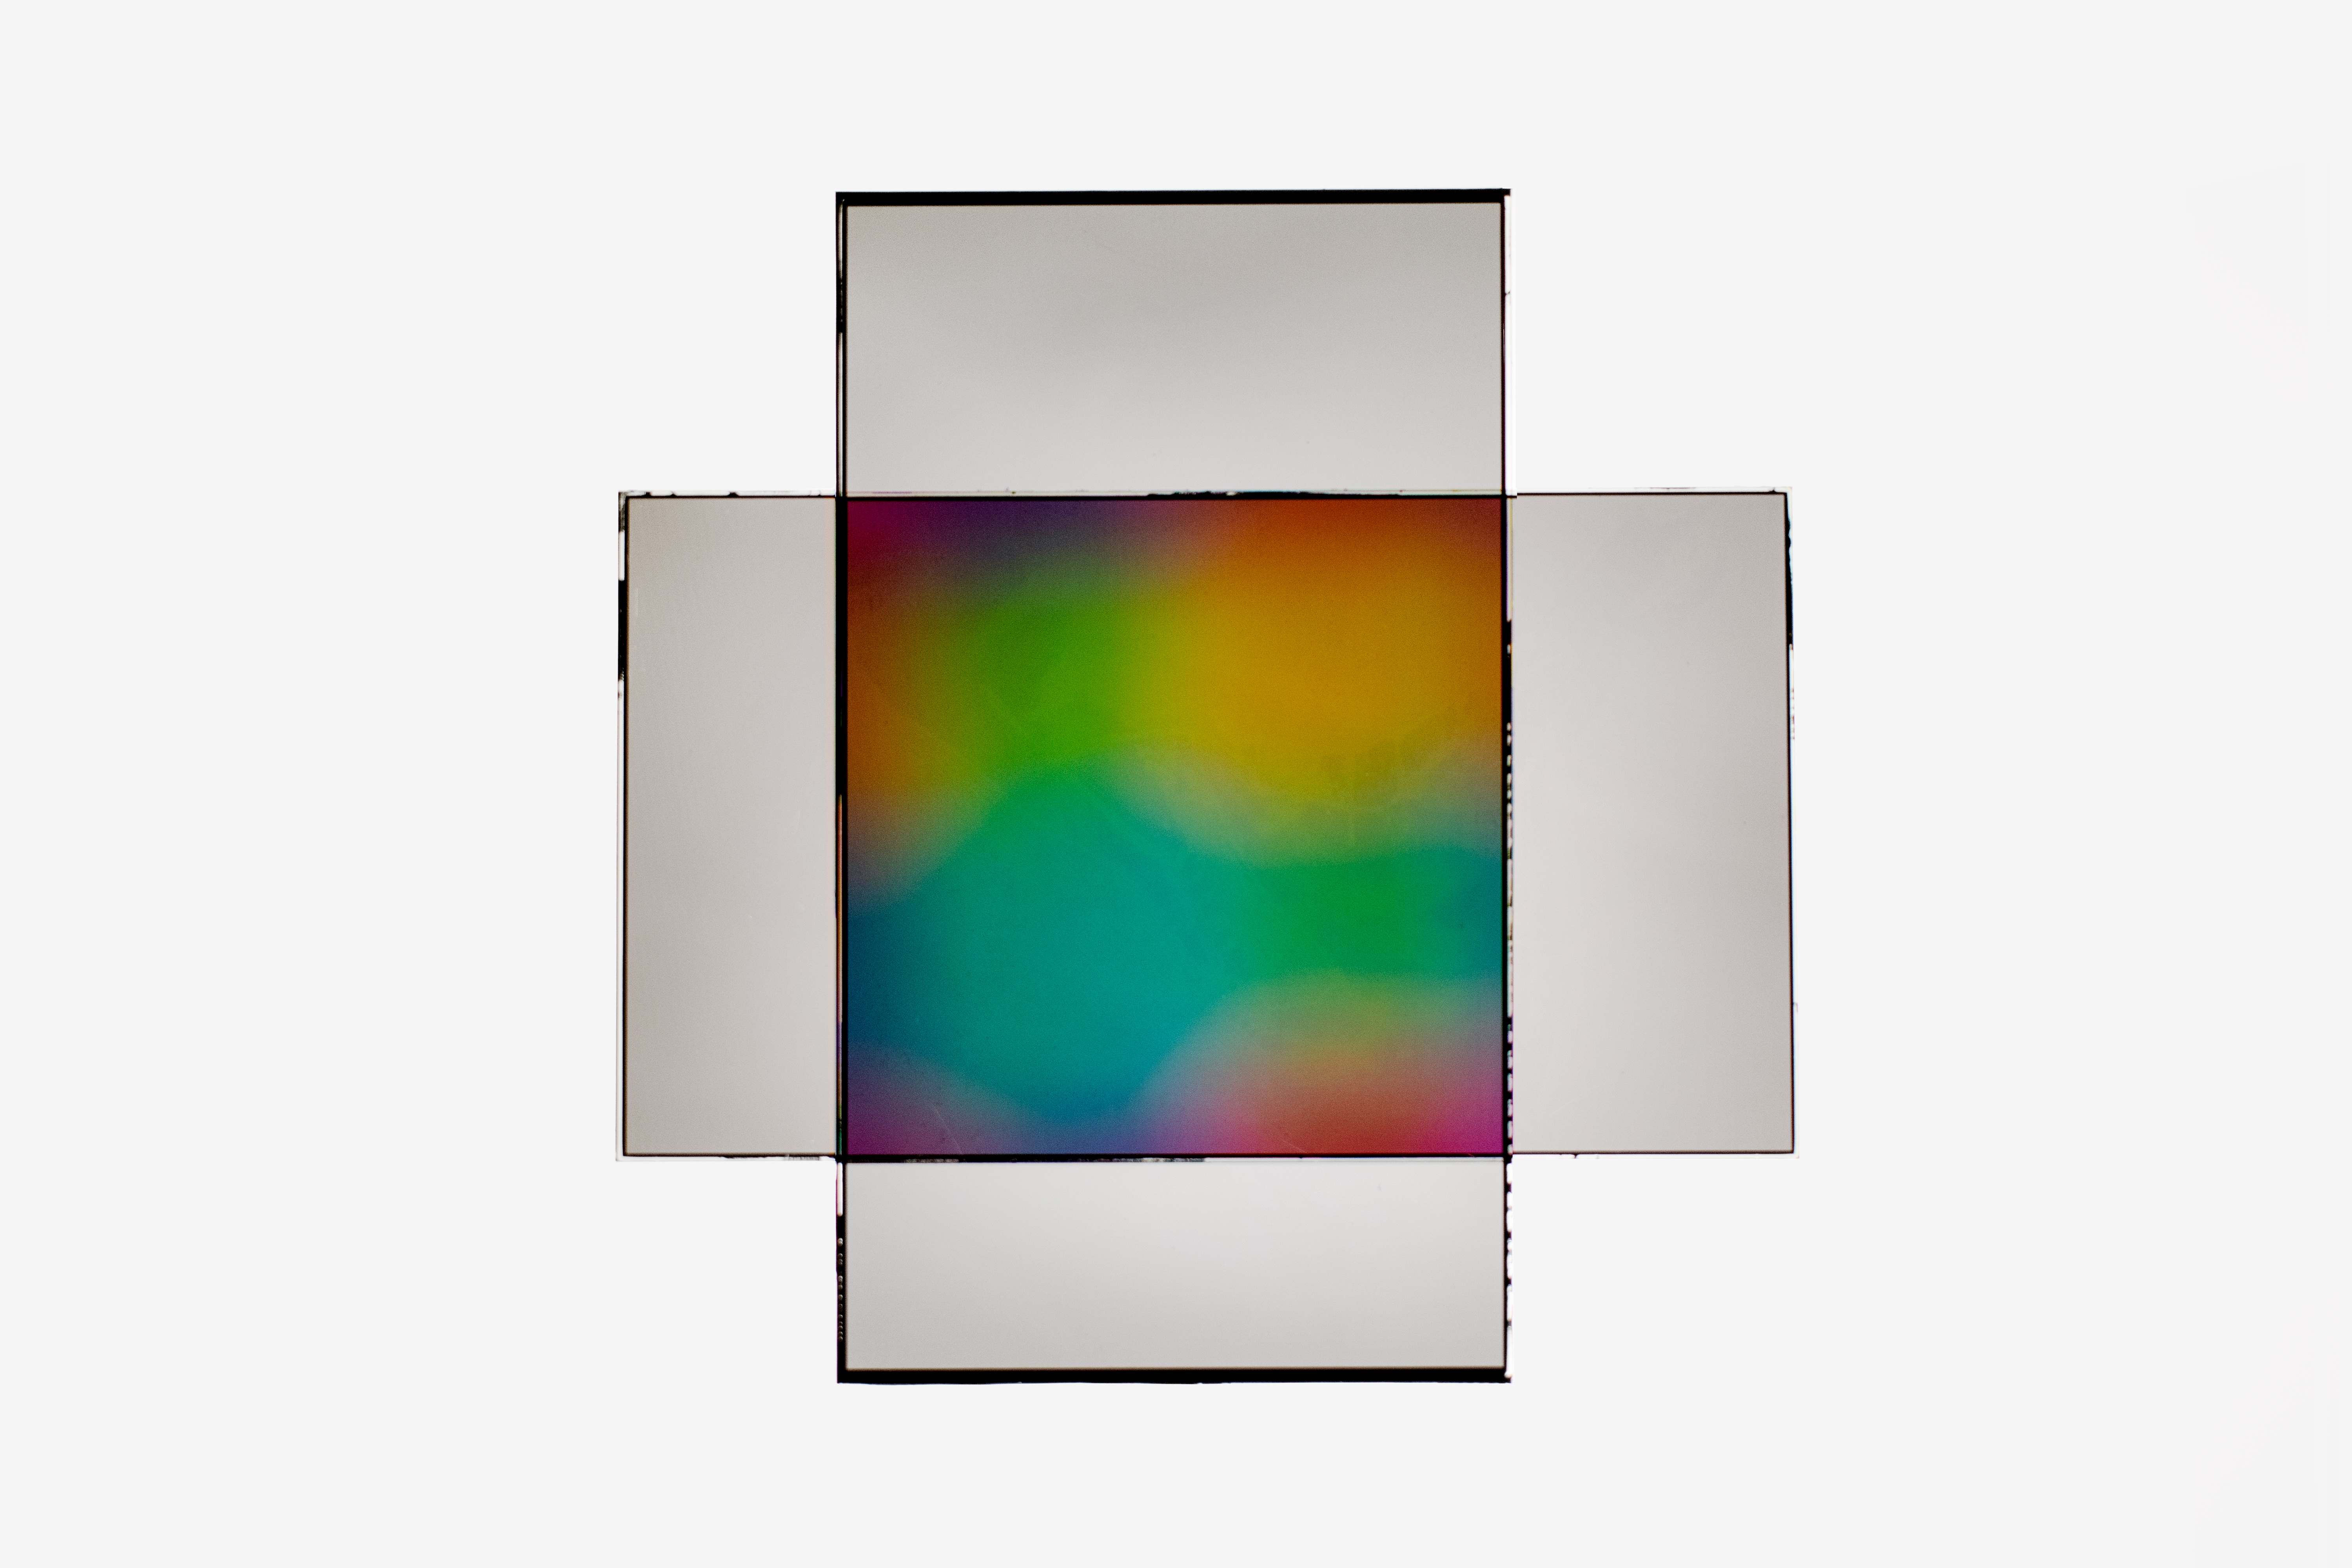

Changing the angle of the camera to the layers lead to a wide range of colours and patterns.
Layering other layers on top created more effects.

Exhibition
This experiment and photographs are essential inclusions in the exhibition because they demonstrate the physicality and an alternative visual mode of using the screen. Due to safety hazards from the broken glass, participants will not be able to move the layers themselves. As a substitute, audience members will be able to walk around the compositions that are installed on vertical light boxes. The arrangements will be chosen ideally based on the pattern created and whether it appears to move. Large-format photographic prints of other textures will also hang in this space.
These patterns will also work well as printed textiles for applications such as a scarf, which can sell as merchandise.
pixel
A digital screen displays images through thousands of tiny coloured pixels, which is short for picture element. From screen to screen, the geometry of the picture elements can vary, but they all consist of RGB colour phosphors that respond to electrical signals and emit light. Combinations of illuminated phosphors produce colours, and from a distance, many pixels form a visual. Screen as pixel uses the smallest part of the digital image to create drawings with light.
Painting with Light
Drawing Tests
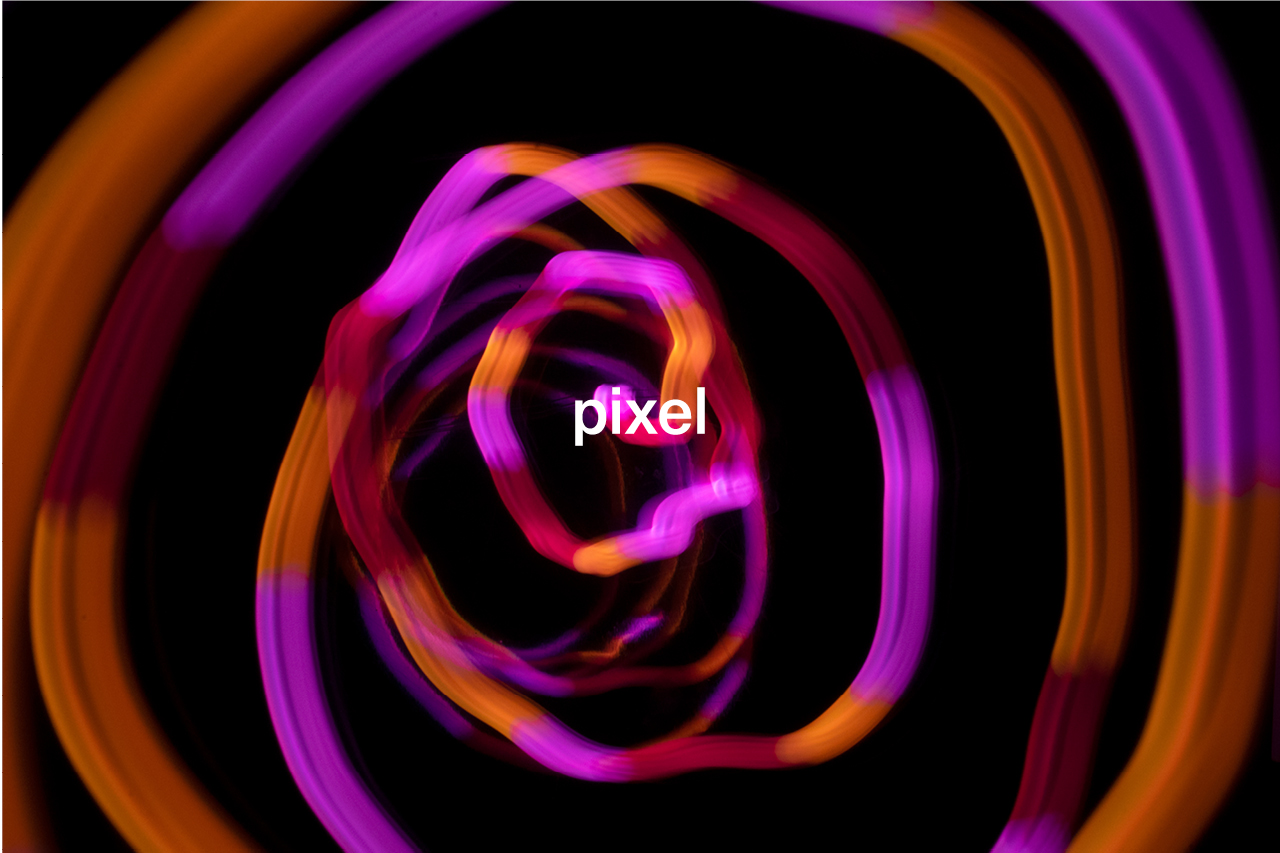
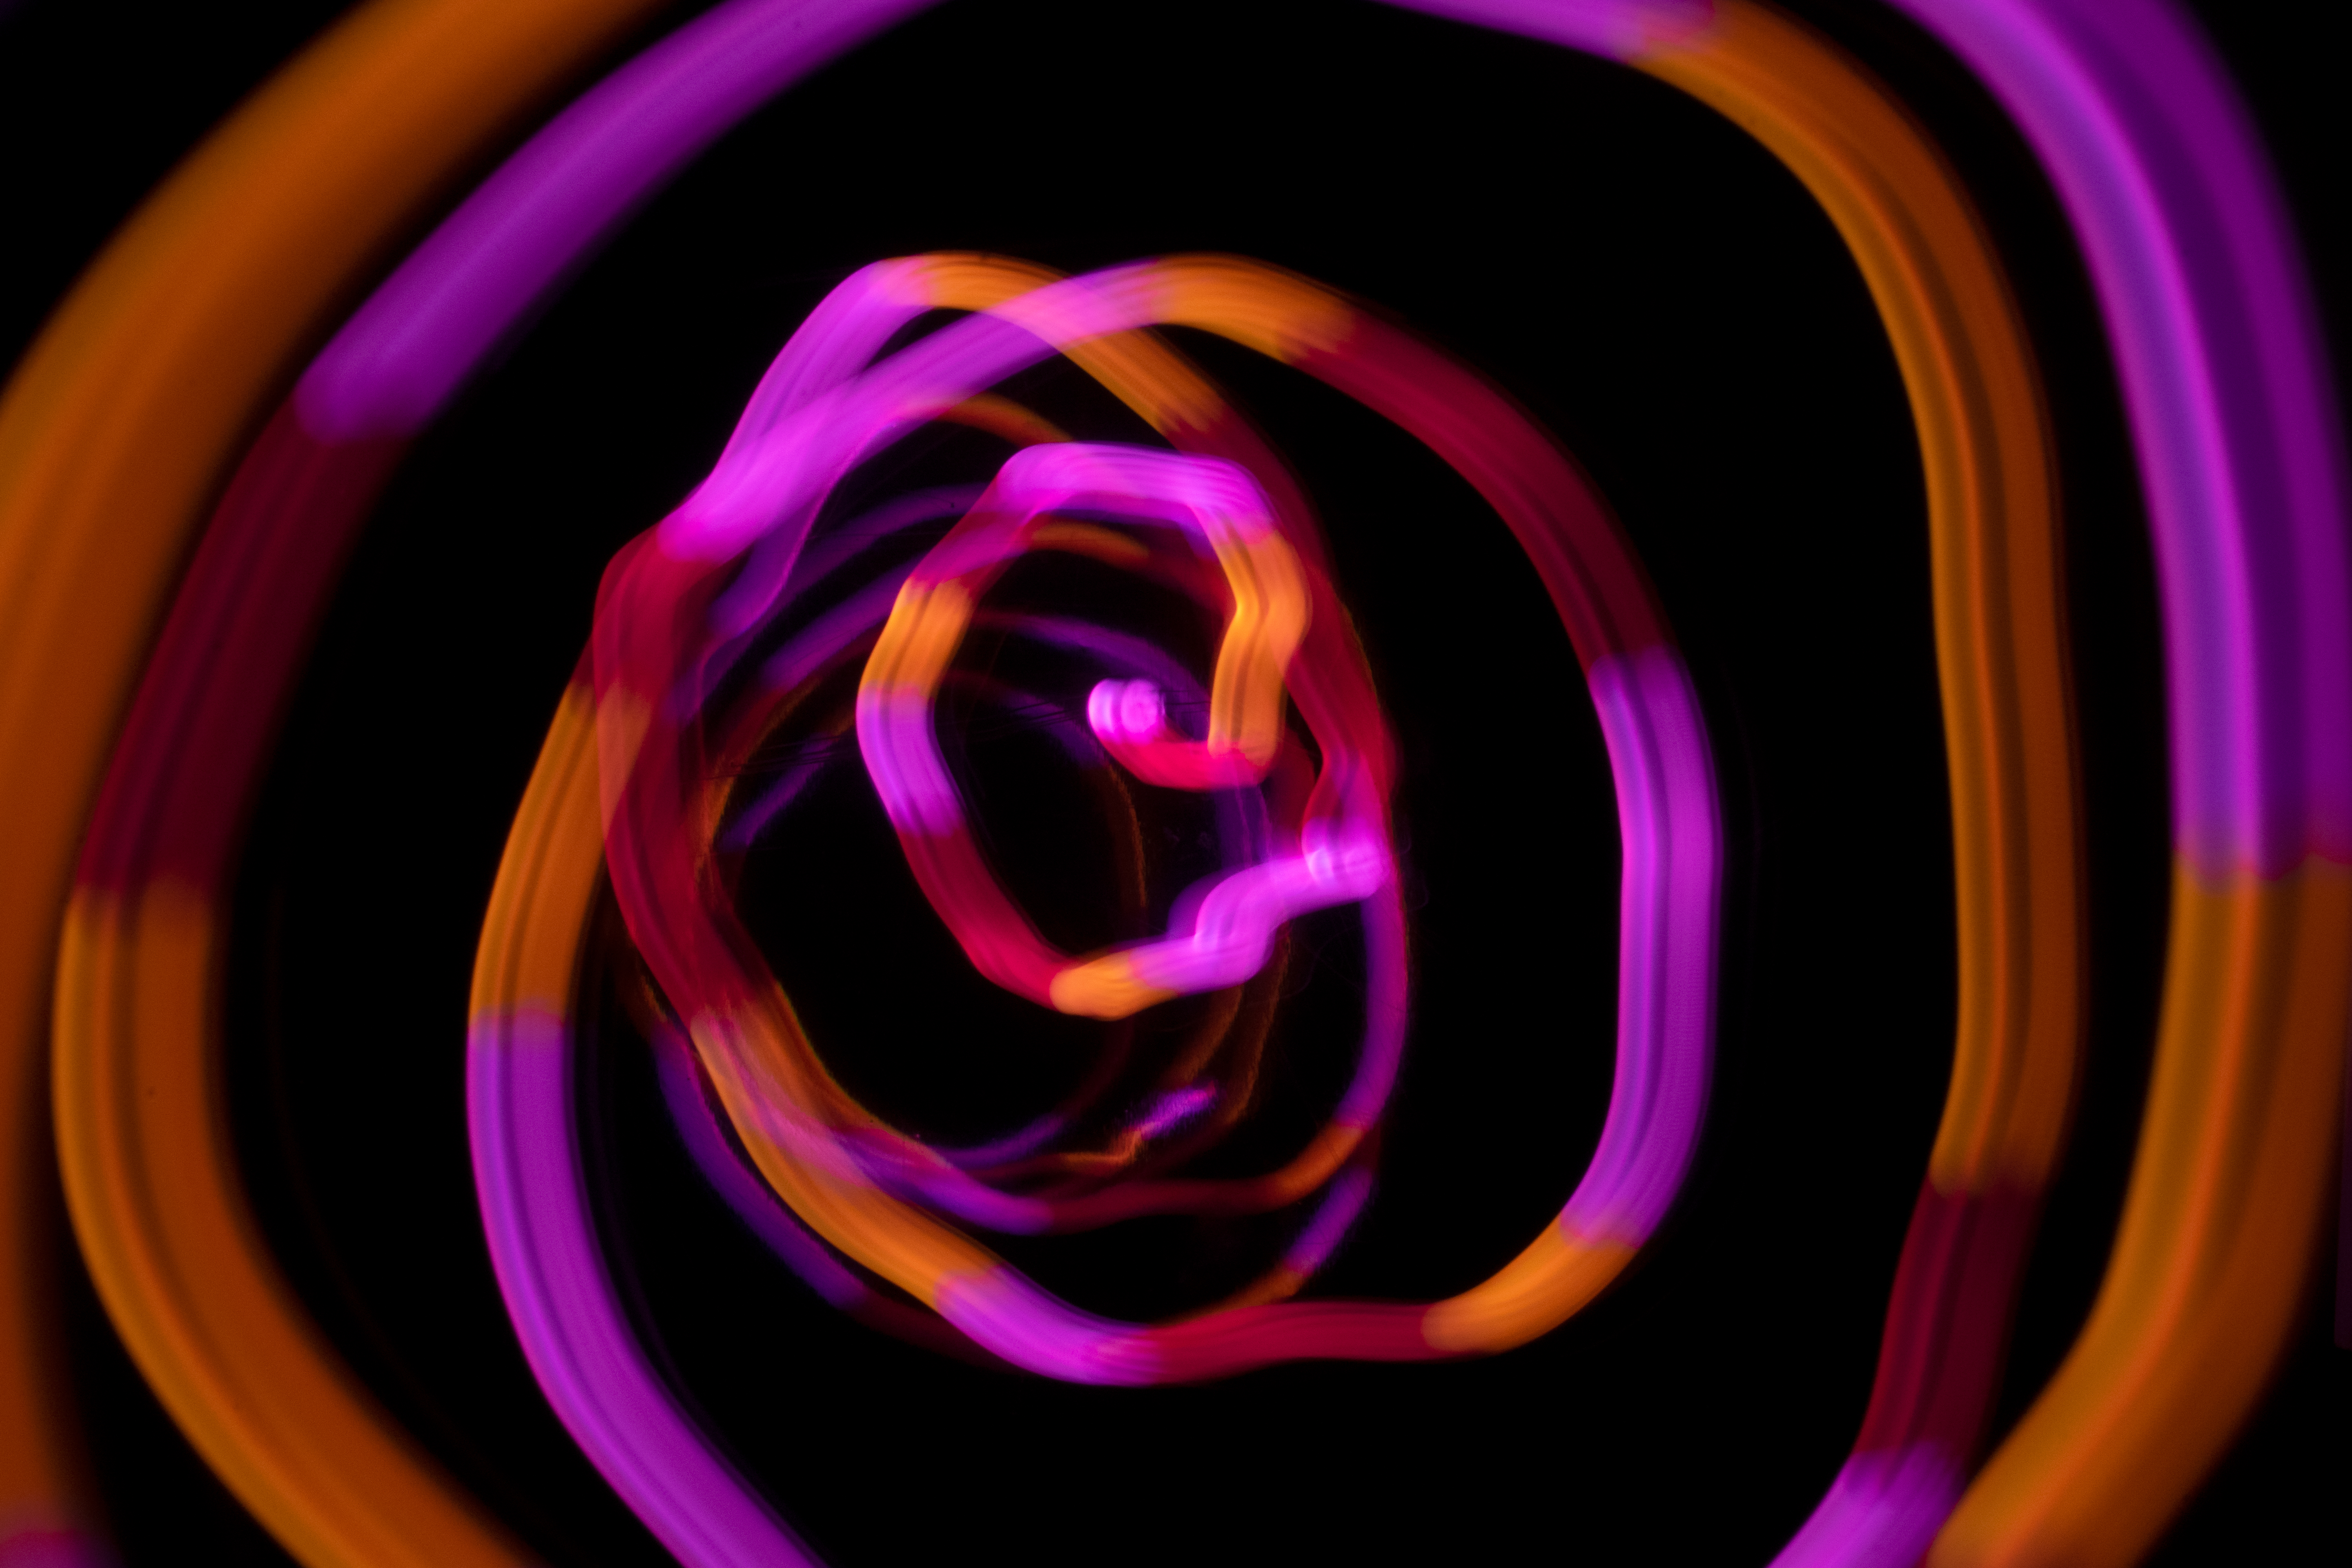
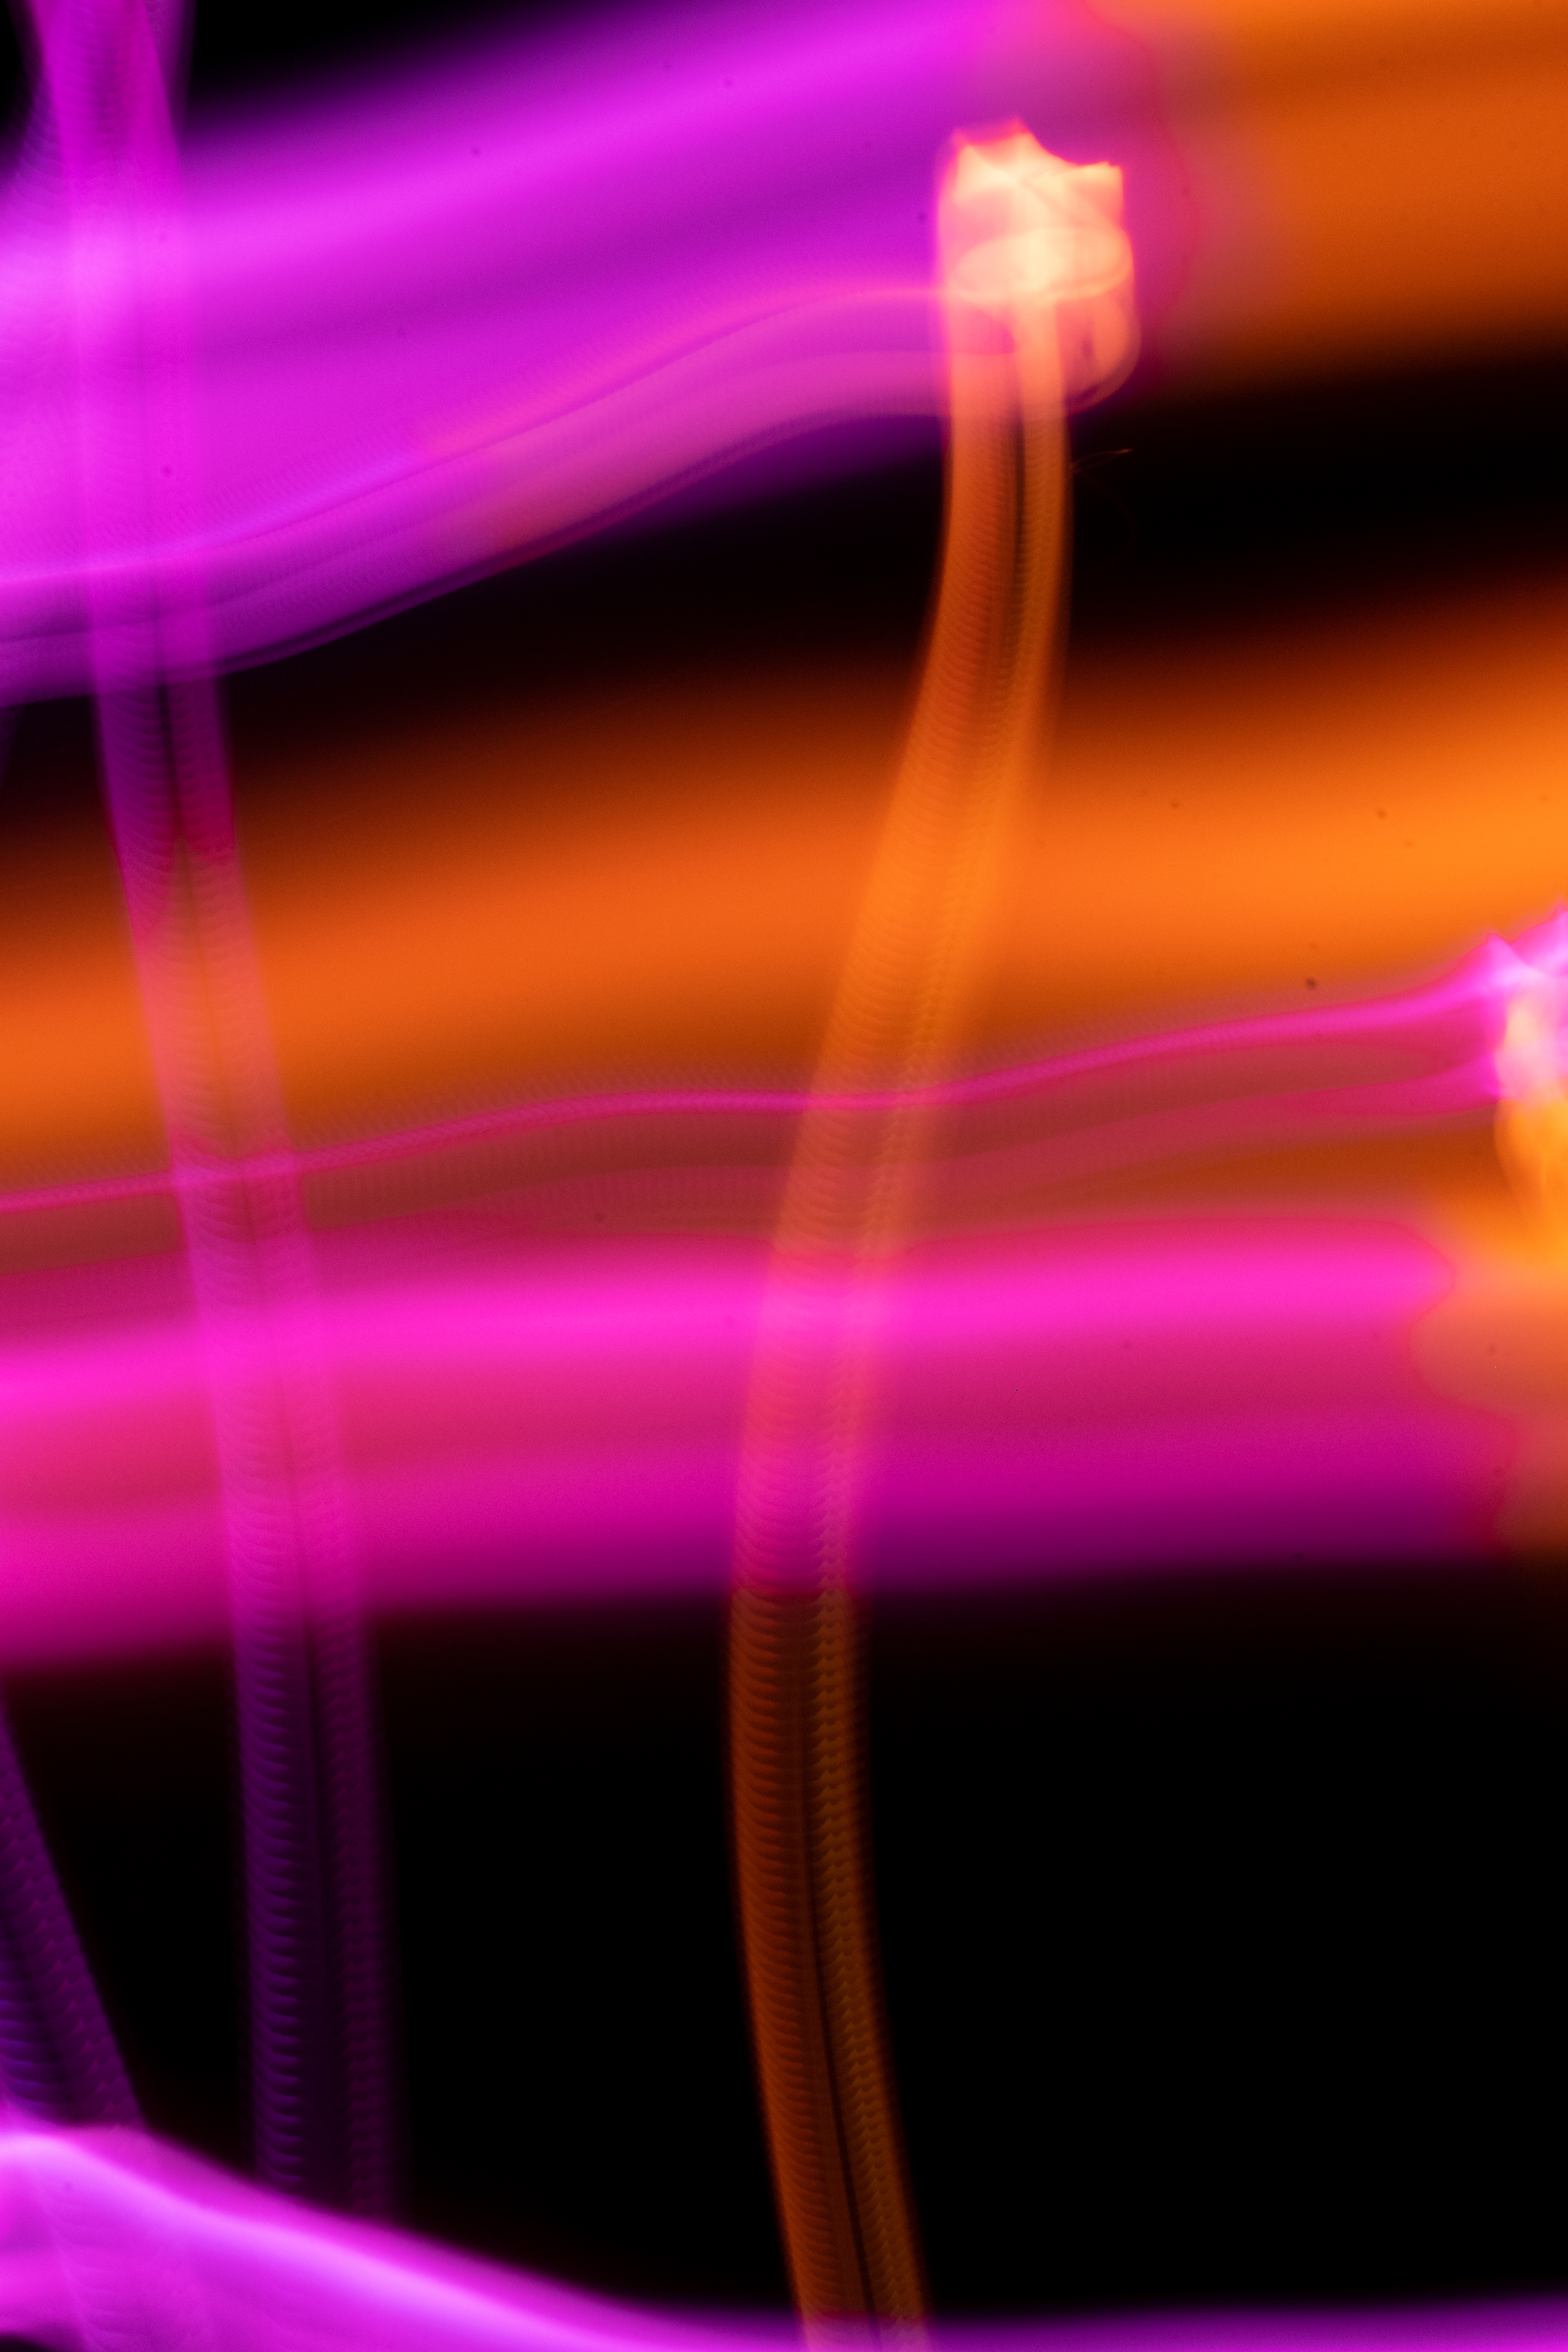
RGB is an additive colour space which means combining red, green and blue will produce white. When the LED is moved within a small area, the brightness concentrates in a smaller area. When the lines are more spread out, the light is more distributed, and you can see more variations in colour. Moving the LED swiftly through the air creates a more textural stroke. It is reminiscent of a snake or x-ray. Attempting to draw a straight line is difficult. With slower movements, the camera captures the changes in colour. In this instance, the colours change at regular intervals. Testing Backgrounds
At this point, I was only photographing on a glossy black acrylic surface. I wanted to see the changes in light from shooting with matte backgrounds. Black absorbs light while white reflects light, and you can see the difference. The light reflected in the glassy surfaces duplicated lines. With the black felt, some of the fibres got illuminated but could easily be removed in post-production. I think glossy black acrylic gives the most vibrant colours despite creating reflections.Programming Designs
Sometimes the connection between wires would separate and thus unexpectedly change the colour of the LED. This accident inspired me to program the LED to select from a tonal palette for random durations. I recorded the changes with long exposure.
Through code, I could program the LED to turn off and on at random intervals. Just like how a pixel works in a screen when the light is off, that section is black. This pause enabled me to draw separate shapes rather than a continuous line.
The Colour Grey
If screens display colour with light, how does it display tones of grey?
Is a dimmer light, grey?
Is grey a dimmer white?
Is white a brighter light?
Is grey a darker white?
Is grey a dimmer white?
Is white a brighter light?
Is grey a darker white?
Using Arduino, the LED can be programmed to display different colours. To create white light, you need all colour values to be at relative intensities; 100% creates white, and 0% creates black. Would an amount of 50% produce a grey colour? No. The light would be merely a less intense light. So how do screens display grey tones?
This website explains how grey colours appear on screens. Each pixel is surrounded in a black mask. With an intense light, more light filters through creating a whiter highlight as opposed to a weaker light which will produce a grey shade.
Source: Purdue Science
Results
I am pleased with the visual outcomes created with just one LED. The photos look like VR Tilt Brush drawings; a success because I always wonder about how we can create a VR-like experience without a bulky headset.
Despite being quite an abstracted inspiration from the screen, the final images show no relevance to the physical screen but are reminiscent of screen aesthetics with the neon colours. The LED represents a single tiny pixel, yet it presents itself as a large, colourful organic form here.

Try at home
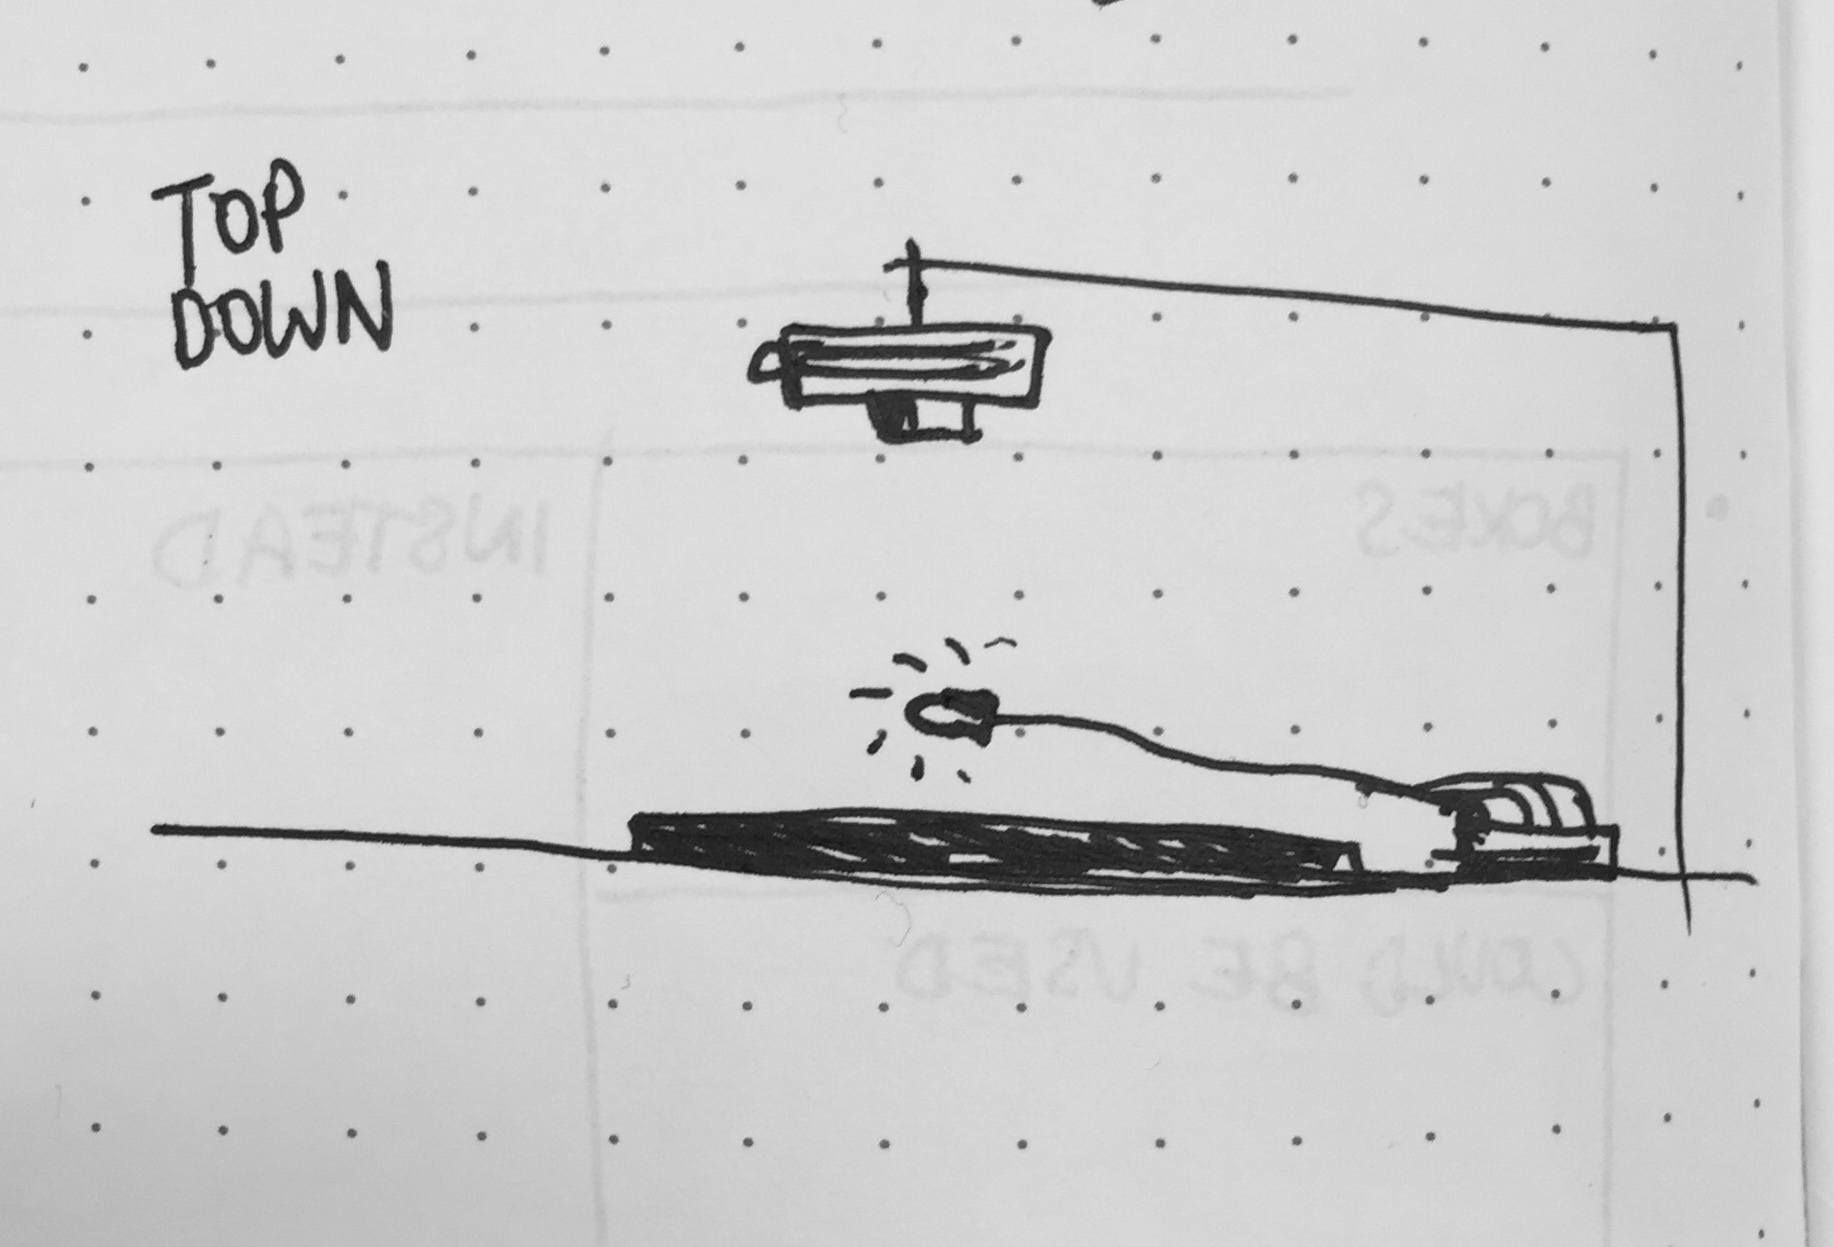
This image shows my top-down setup; the camera was mounted above the drawing area. For the instructions and code to run the program in Arduino, use this tutorial.
Exhibition
For the exhibition, large scale paintings offer a more physical experience. On a separate screen, the participants set the colour changes for the 3-second painting interval, which programs a pointer with an LED light. A camera sits in front of the participants to capture their movement. The risk of this setup is that the participants' clothes or bodies will appear in the image. Their final piece is presented on a large screen, along with others. To mirror the role of pixels, each of the individual paintings can come together to form an image.
artefact
In his article, Frank Chimero refers to the digital screen as being in a state of flux (having the ability to change). He considered Eadweard Muybridge’s zoopraxiscope as a precursor of screens and screen practice because of its ability to use light and image to reanimate still photographs. Since this invention, we have seen a plethora of electronic and digital methods for lighting and displaying images on surfaces. If we perceive these technologies to offer renderings of change, all screens become a combination of three elements: colour, light and movement in time.
Precedent
Daniel Canogar is a Spanish artist who works with new and old technologies. His work Icaro references the old Greek legend of the same name and recreates the fall. The photographs are printed on duraclear film and adhere to a plexiglass shelf that is mounted perpendicular to a wall. A spotlight shines down from above, casting a shadow of image against the wall. This setup is a projector in which the image does not move.
![Icaro 2002]()
Icaro 2002

Icaro 2002
Other projectors
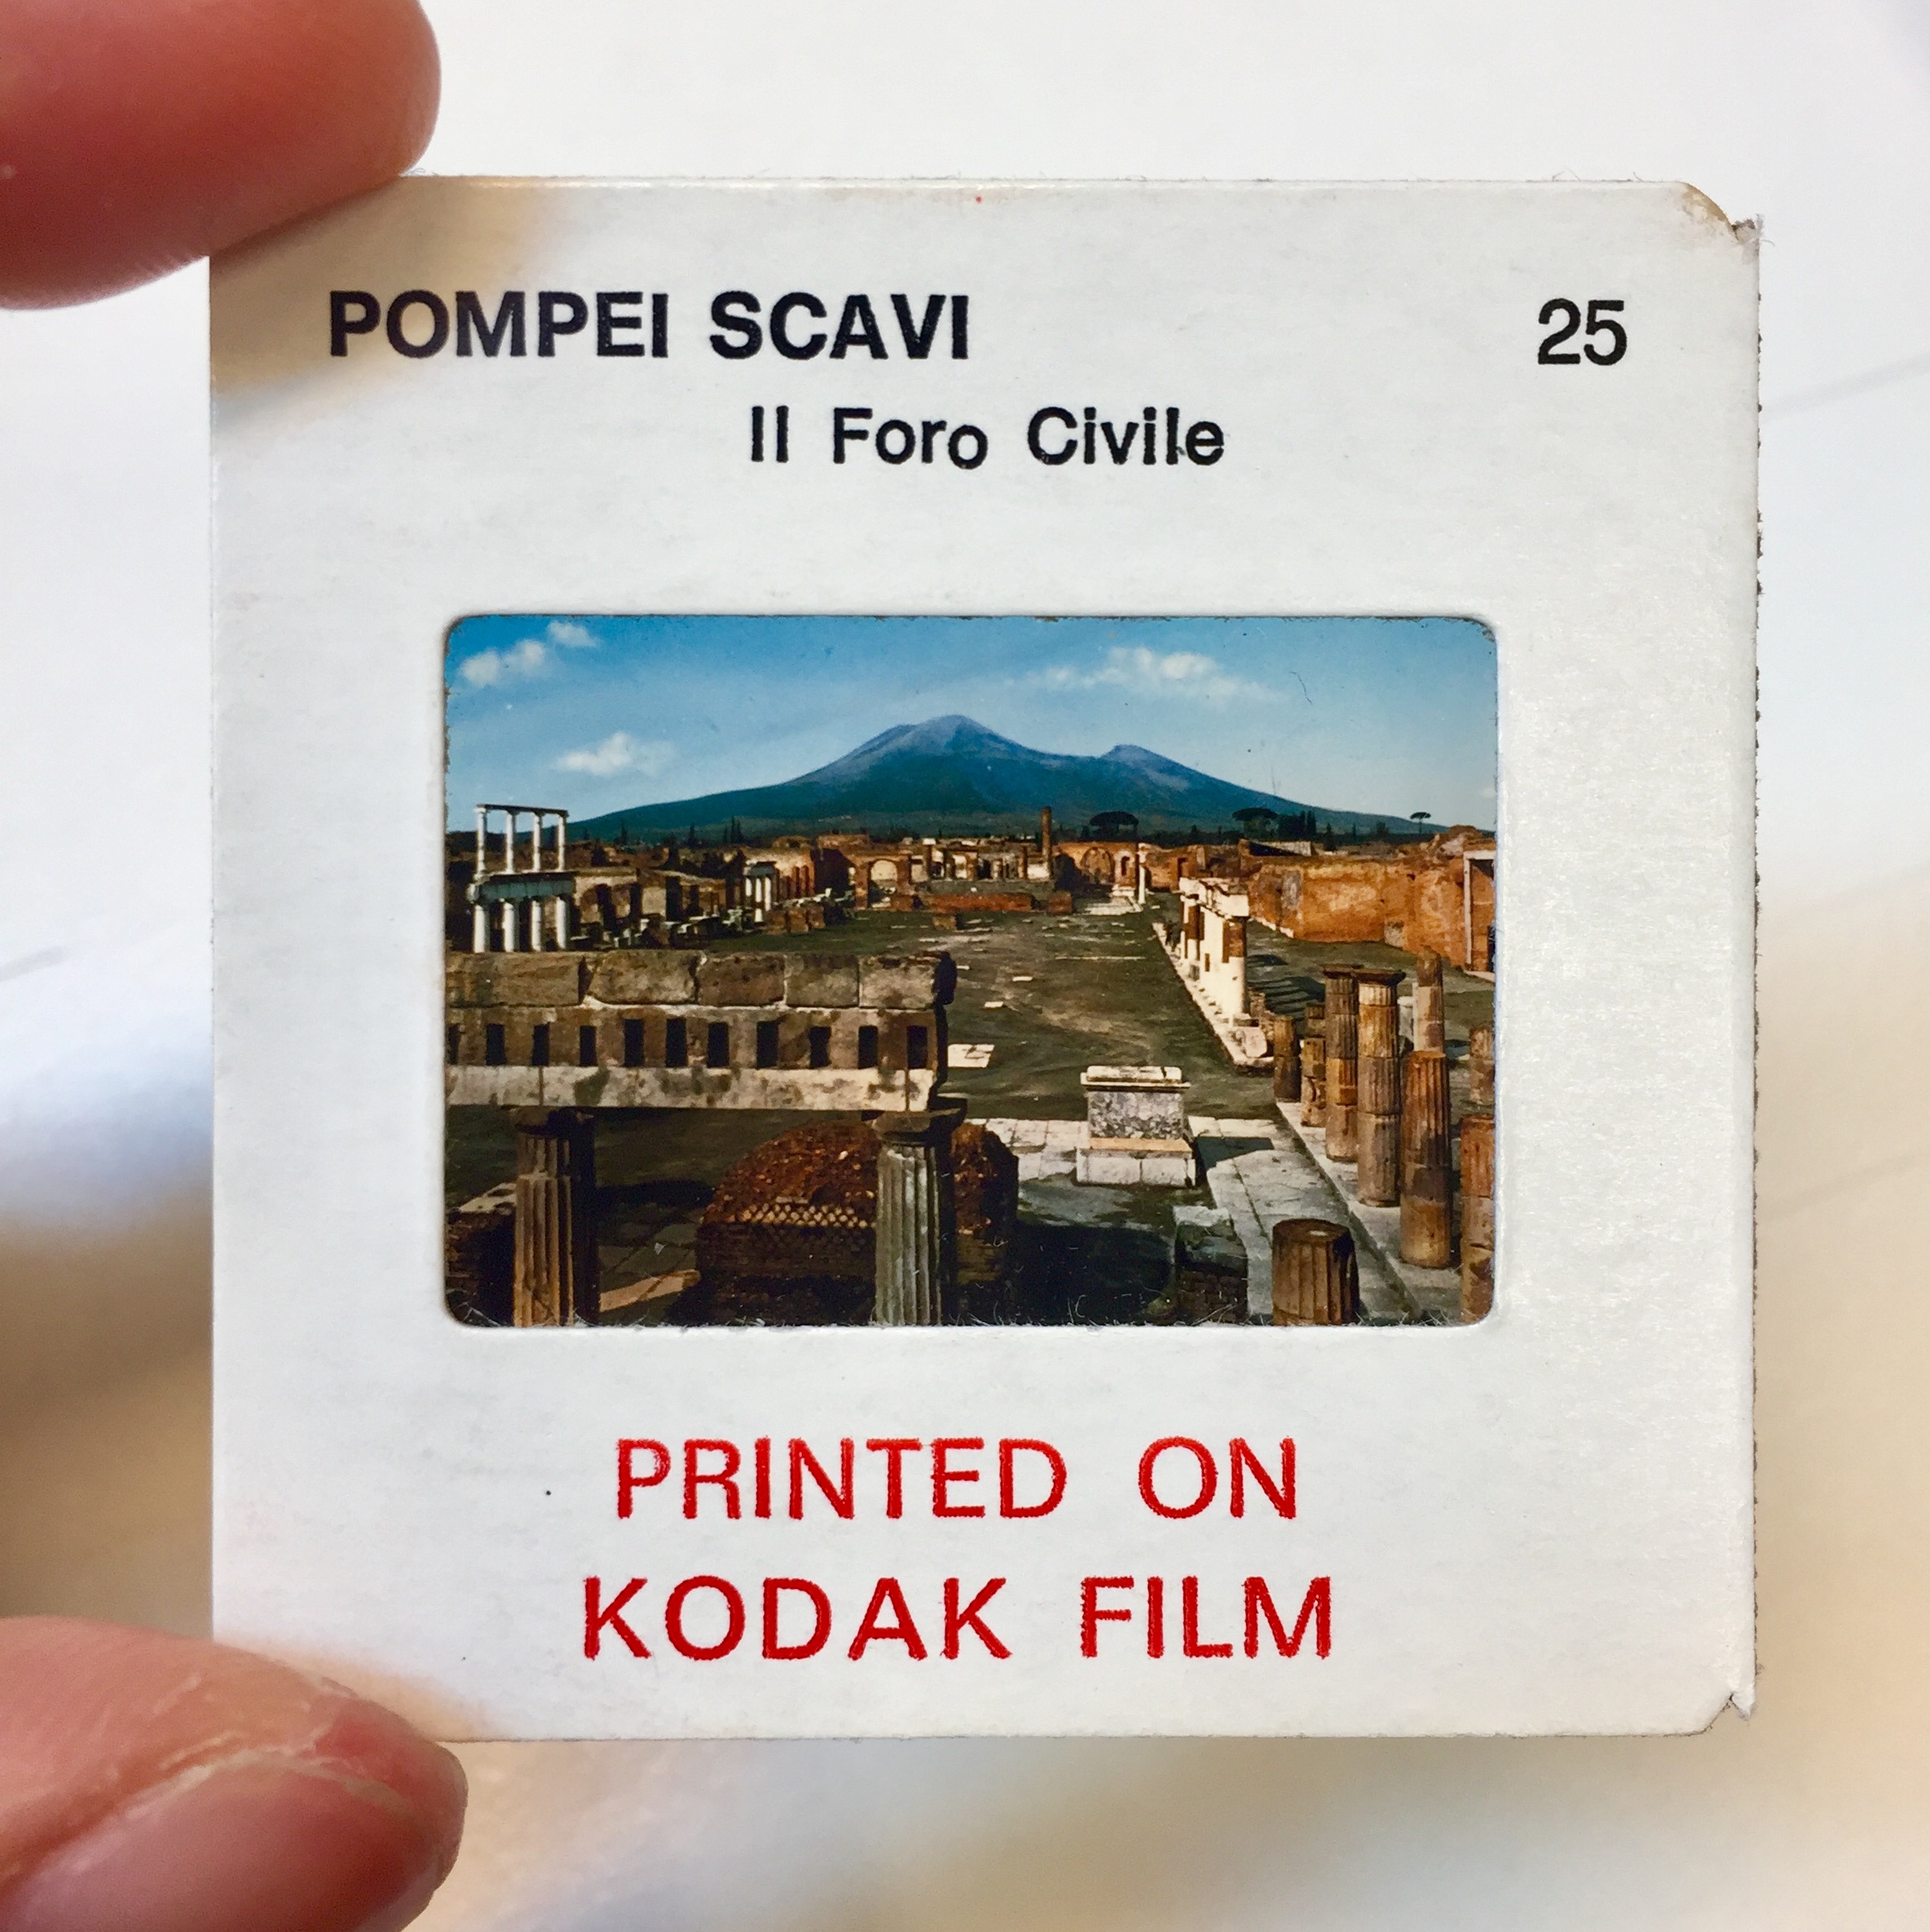
Magic lantern and film slide projectors are analogue technologies that also shine light through images. In magic lantern performances, the entertainer changes the slides and adds exciting commentary to build the narrative. Film slide projectors present a slideshow of static images which can illicit oral explanation or dialogue. While the images are static in both projectors, the passage of time and change is driven by human manipulation-verbal story telling, interchanging the slides.
The digital screens we see today are also projectors but the images they show are dynamic and have the ability to change automatically.
Method
Choice of Images
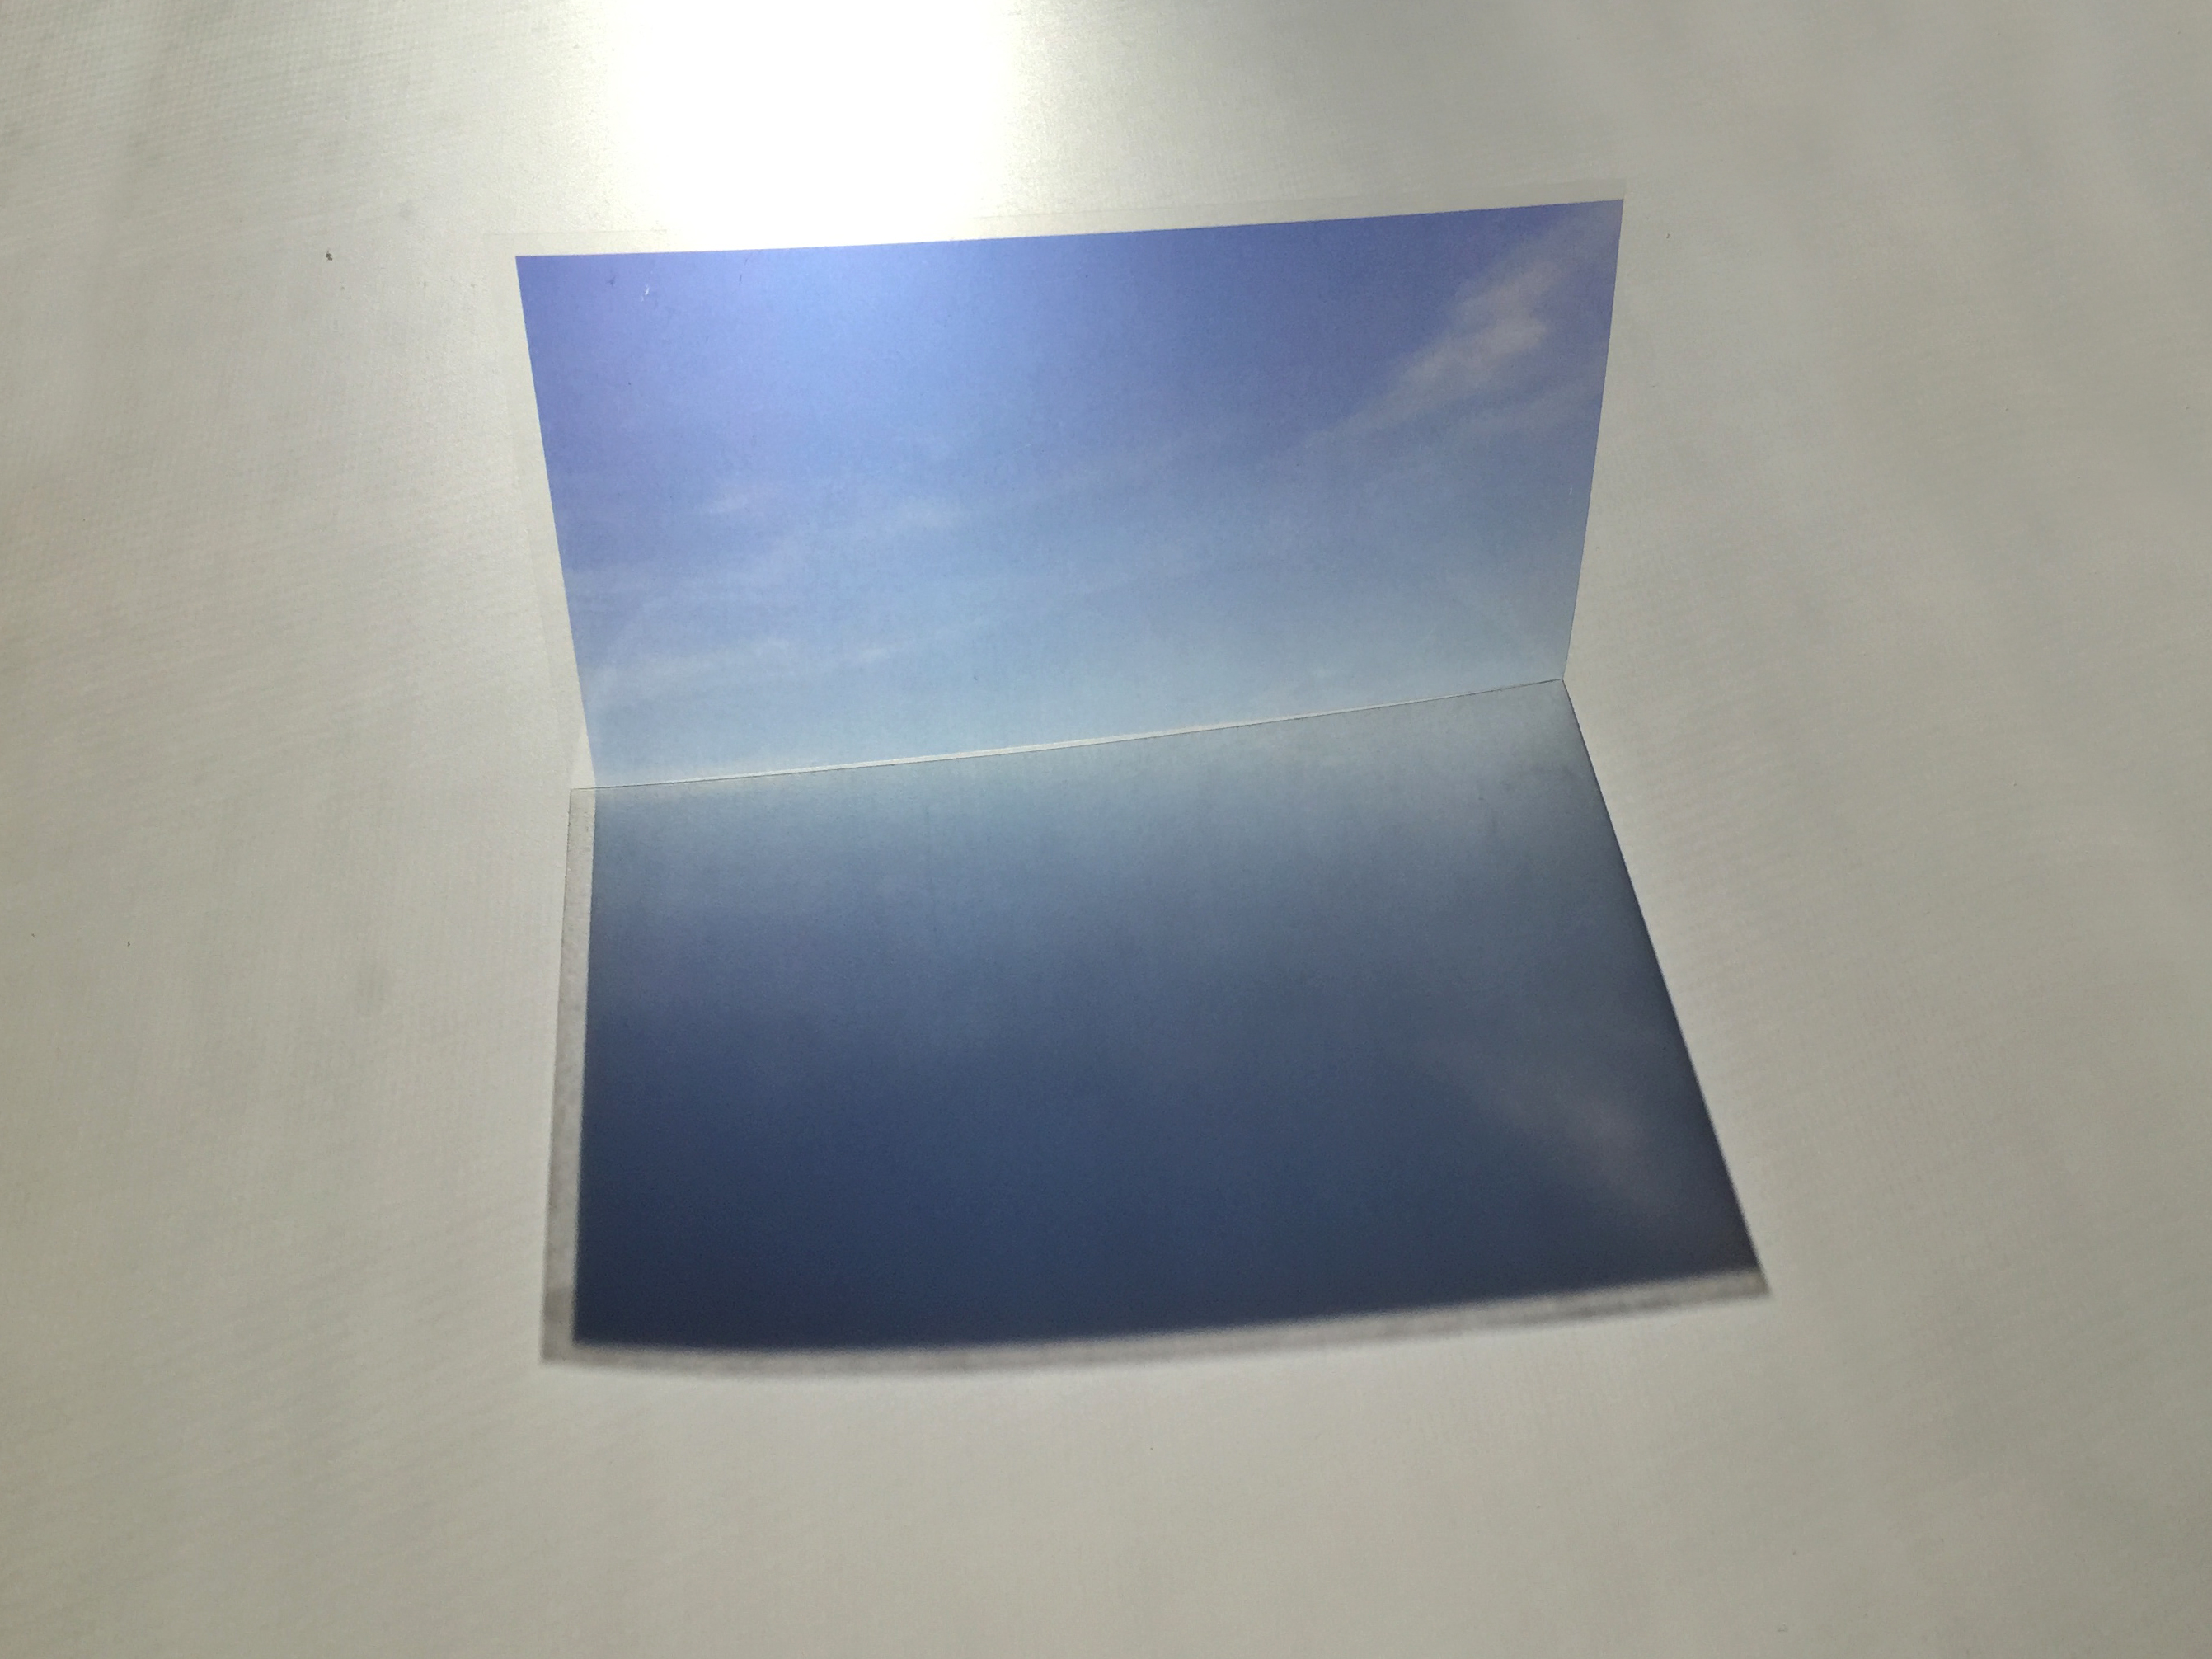
Reflecting on feedback from the previous experiments thus far, I chose images that were from my phone’s camera roll. In this case I choose landscapes which I thought provided a good cross section of neutrality but something that we all see and have a photo of in our phone. By choosing an image, instead of drawing directly on the plastic for example, I can reimagine images and our relationship to them.
Printing the images
The first attempt for printing the images did not go too well. The pictures I had chosen were too light and transparent that the shadow cast was weak. For the next round of printing, I increased the contrast and saturation significantly. The resulting shadows were rich and colourful. I used double sided tape to adhere the film to acrylic.
![Increasing saturation is important for lighter colours]()
Results
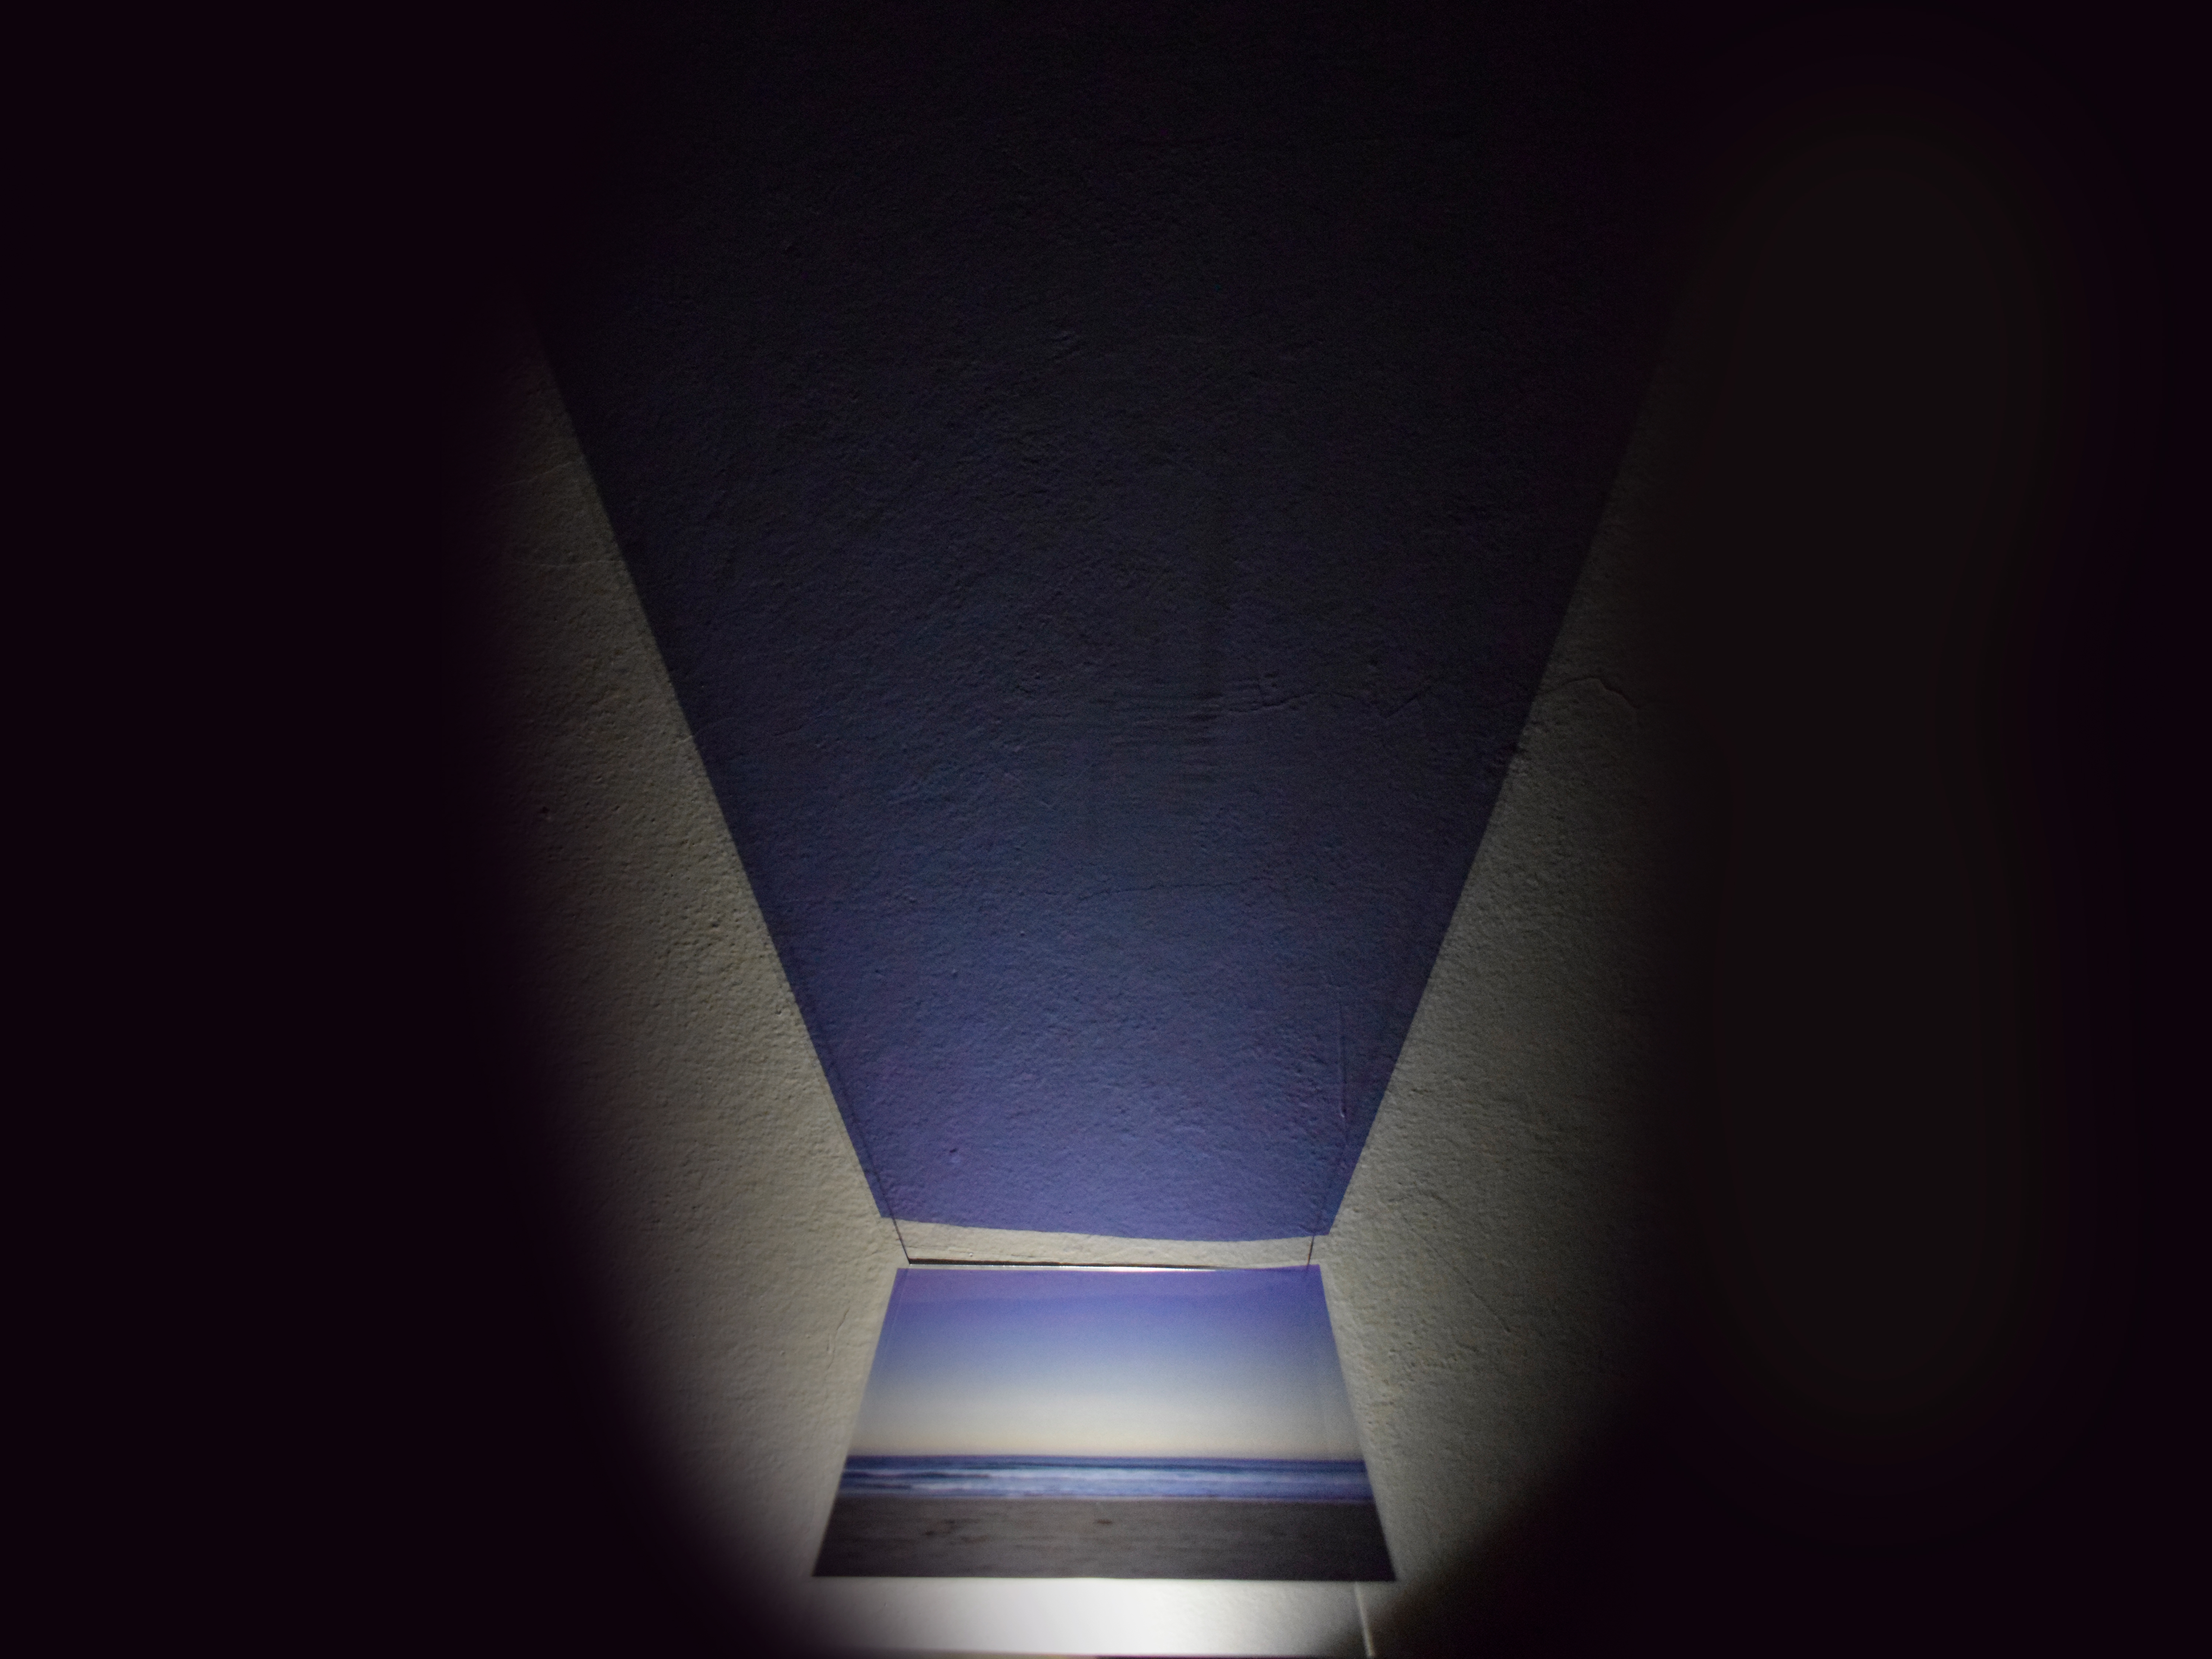
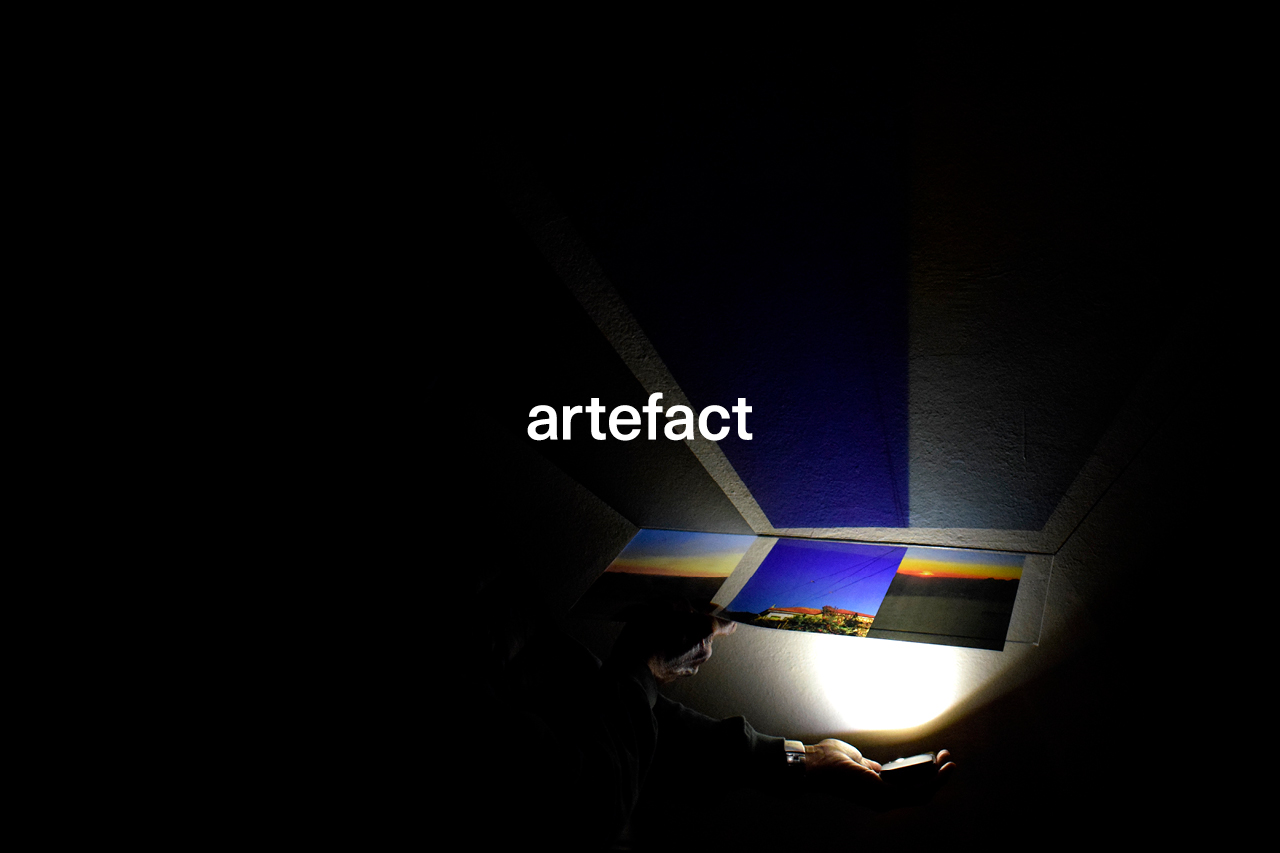
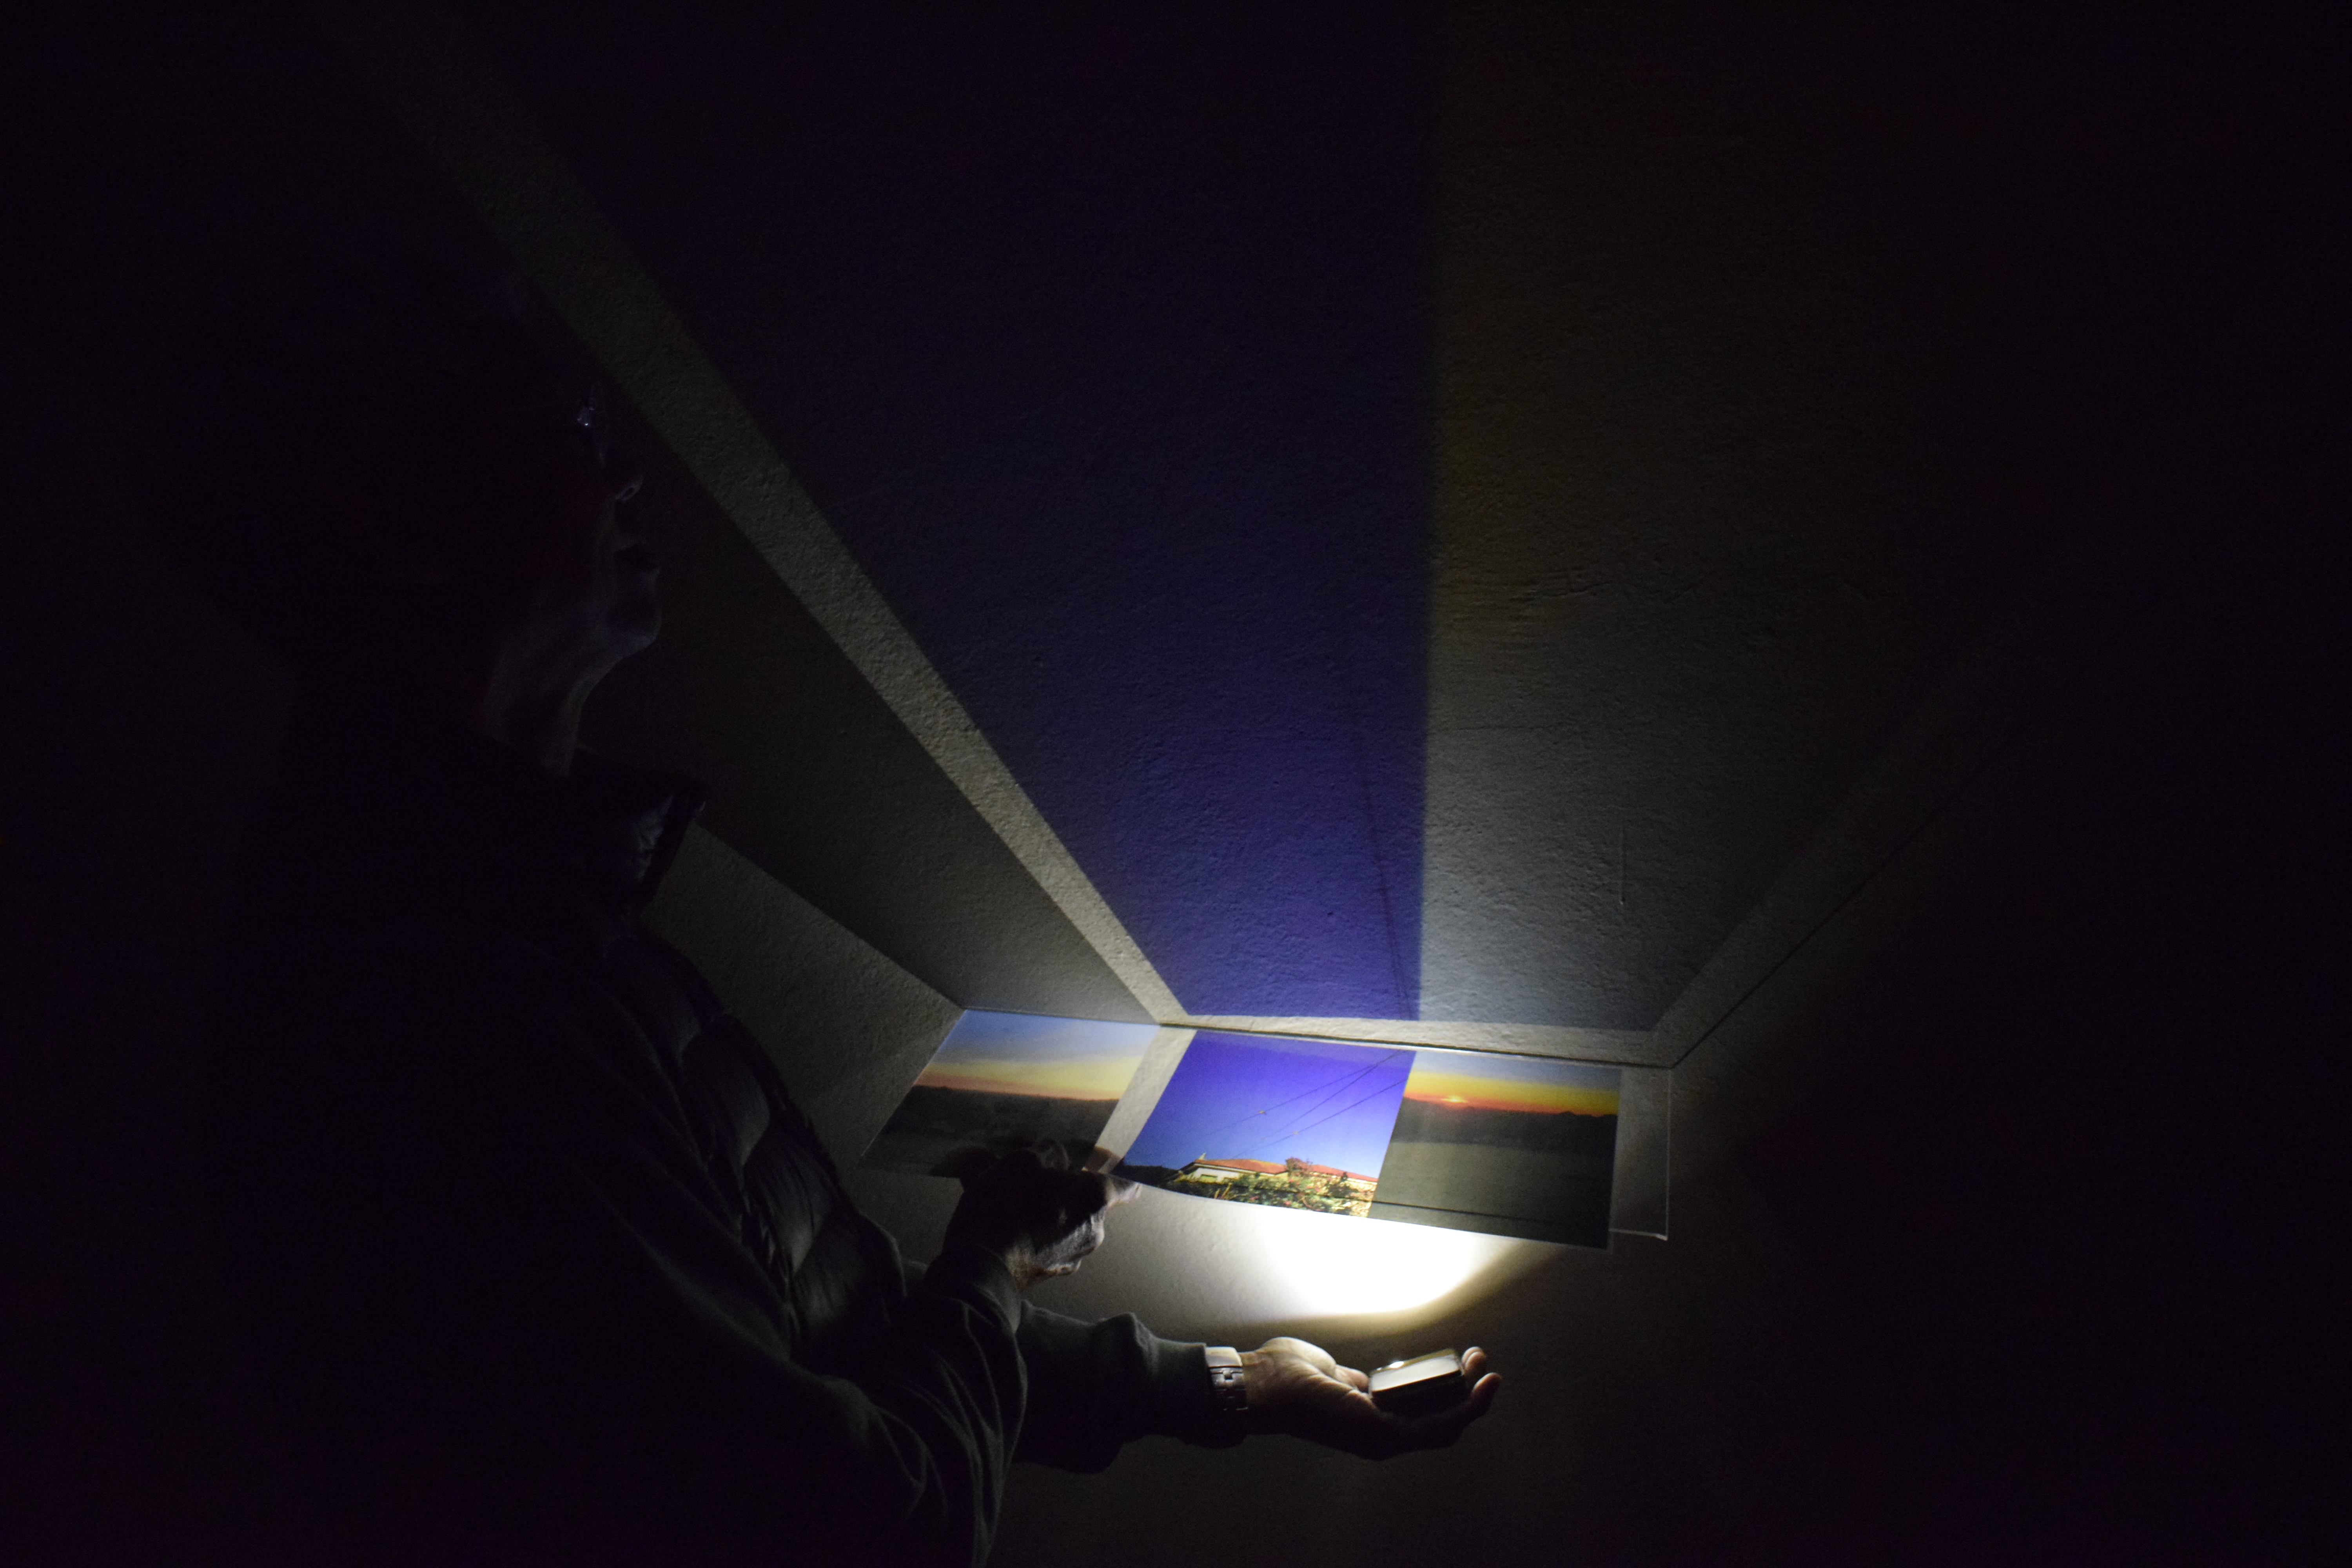
I tested this experiment during the day (using natural light) and the night (using a torch). The natural light created a warm inviting tone, while during the night, the projections conjured a mysterious tone. There is more control over the intensity, angle and position of the light during the night.
Day
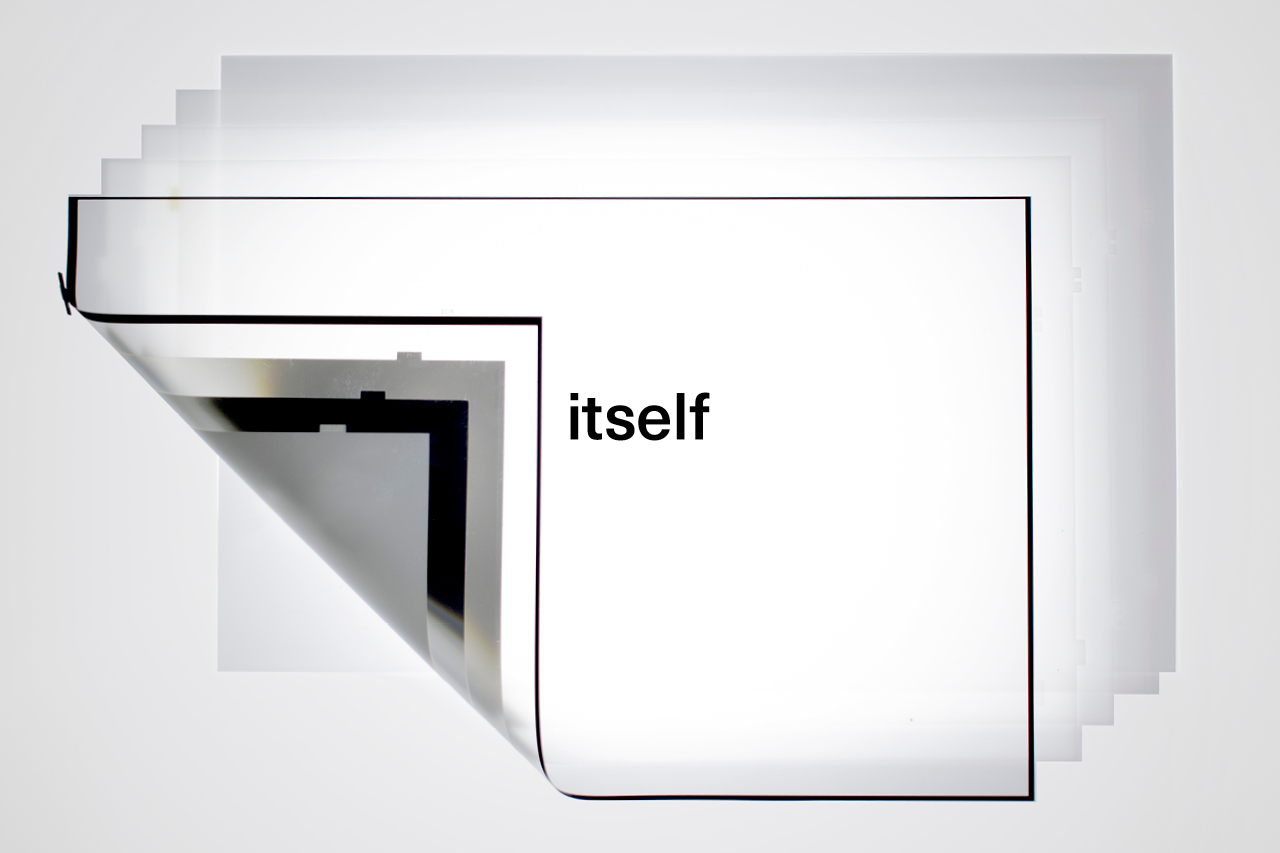
Because there is more light, you can see both the shadow and the film. 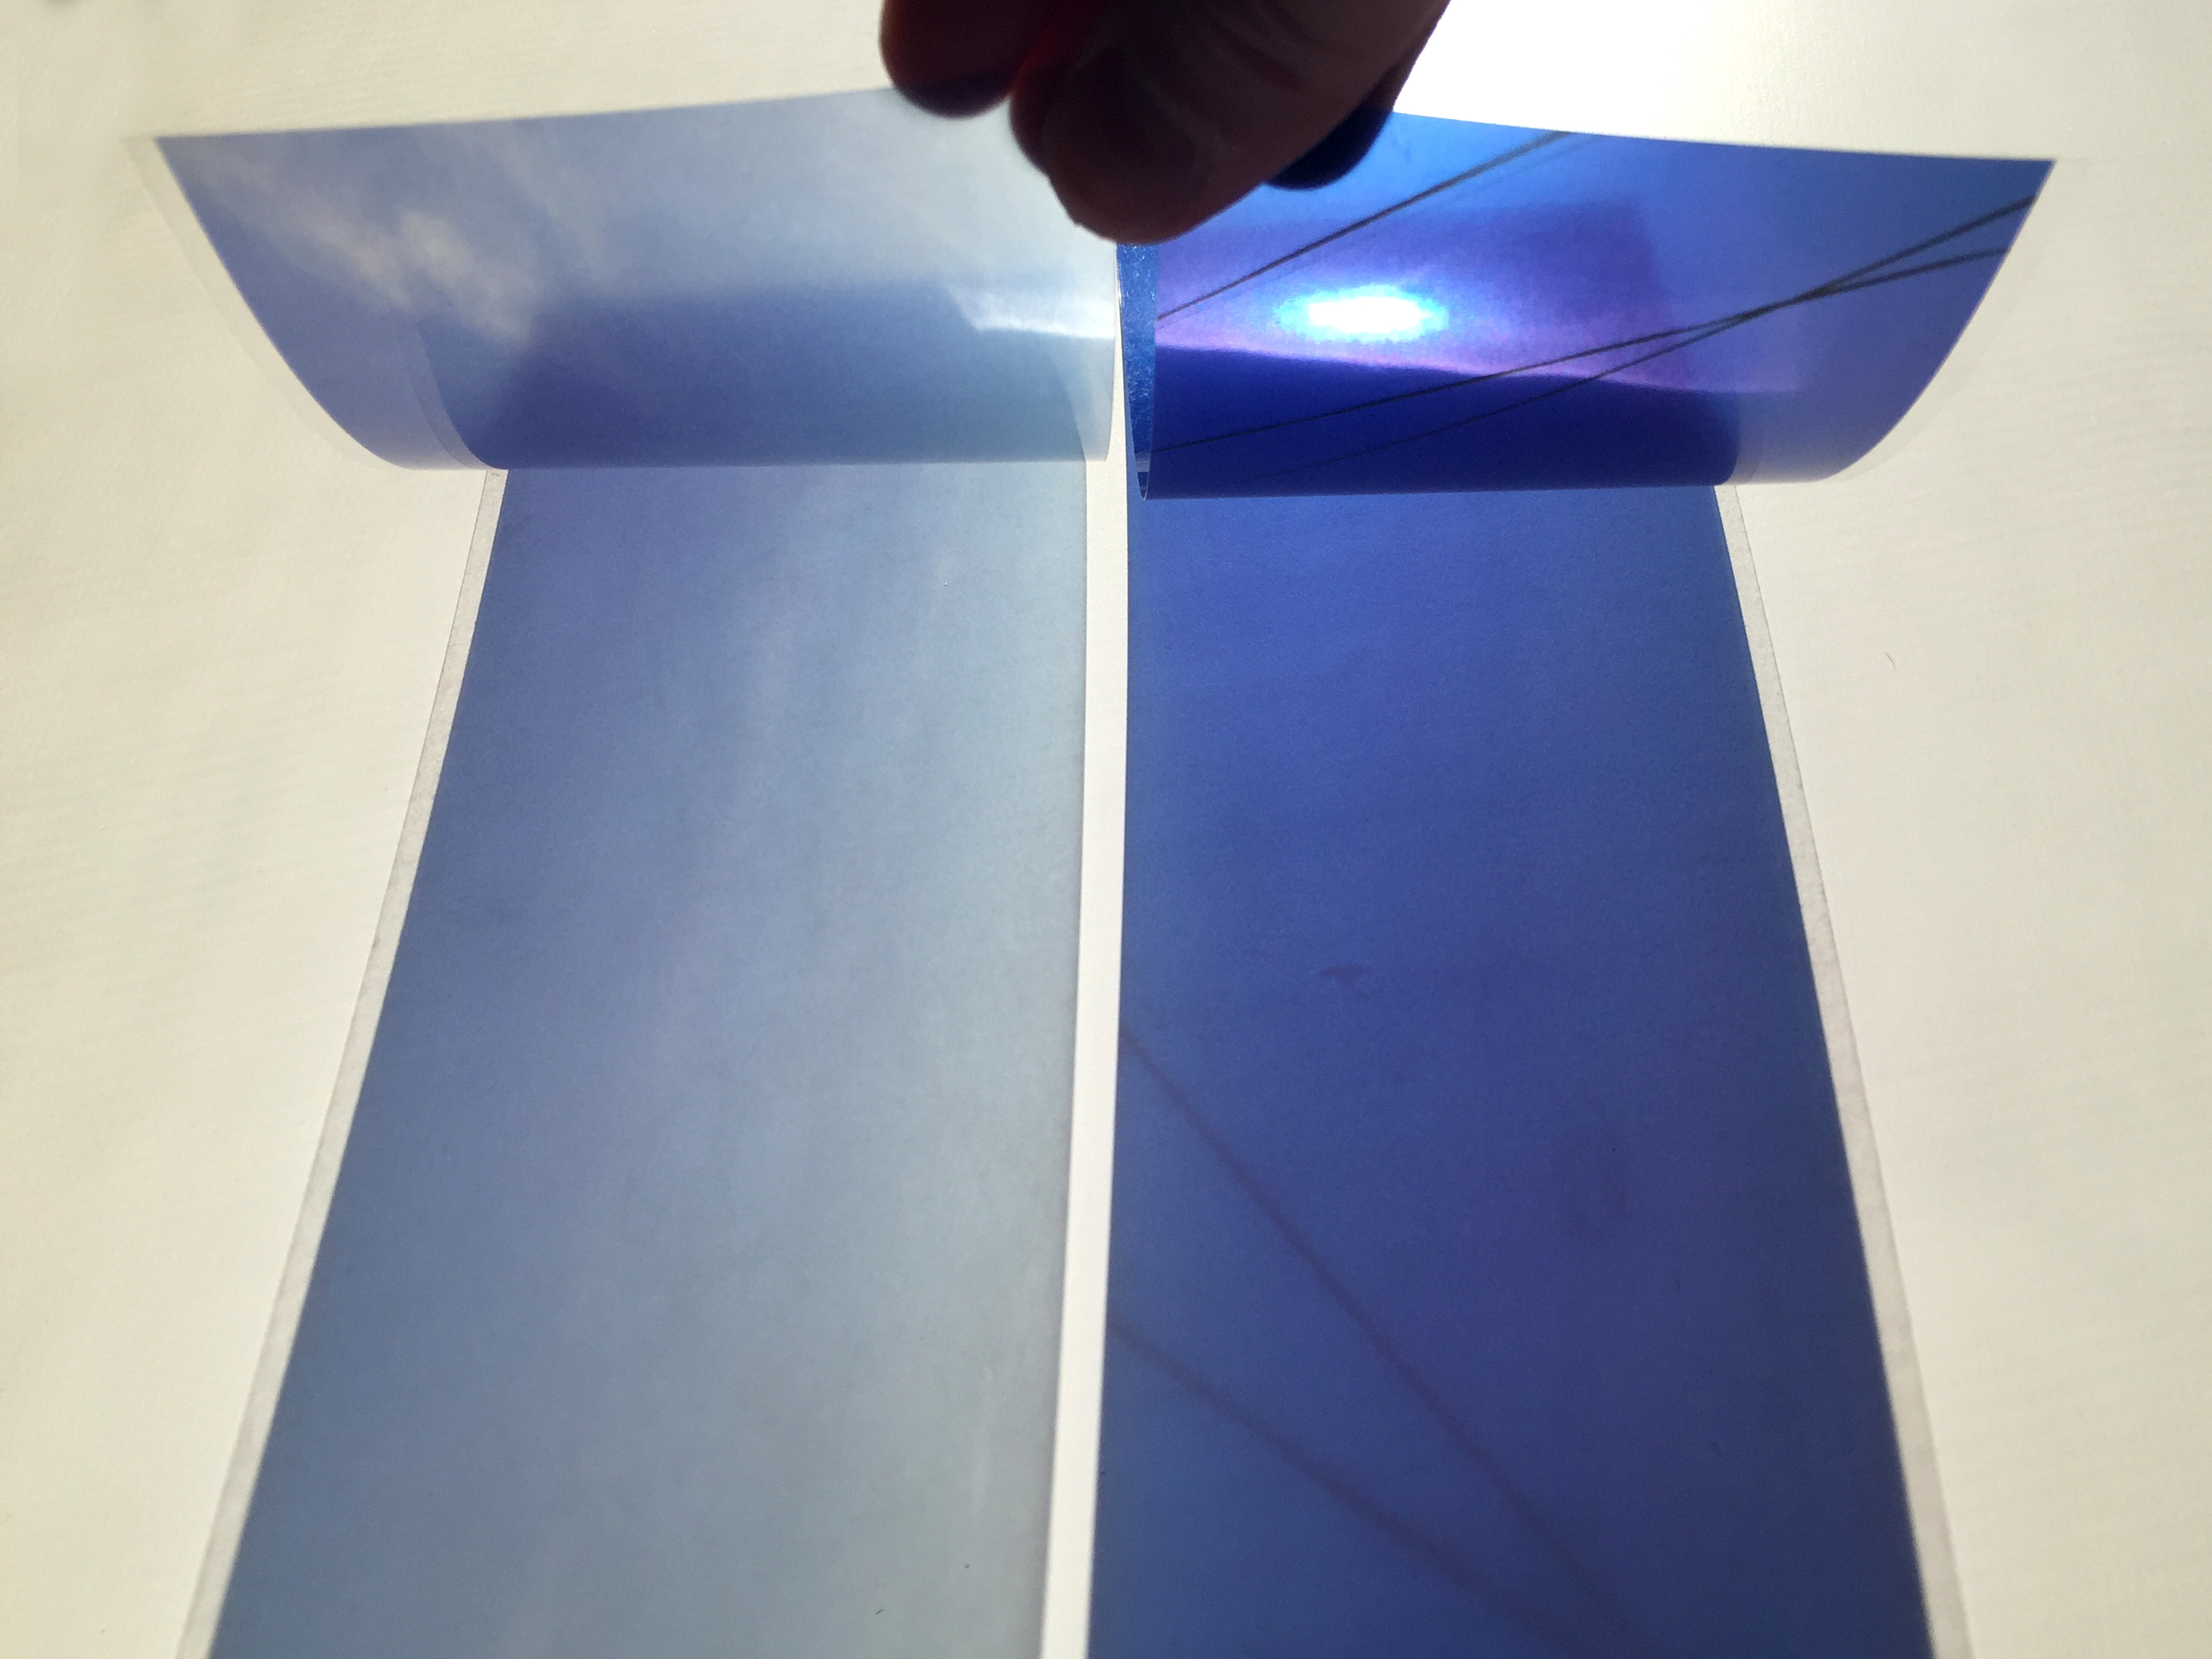
The flexibility of the film can create an illusion of peeling something off.

____
Night